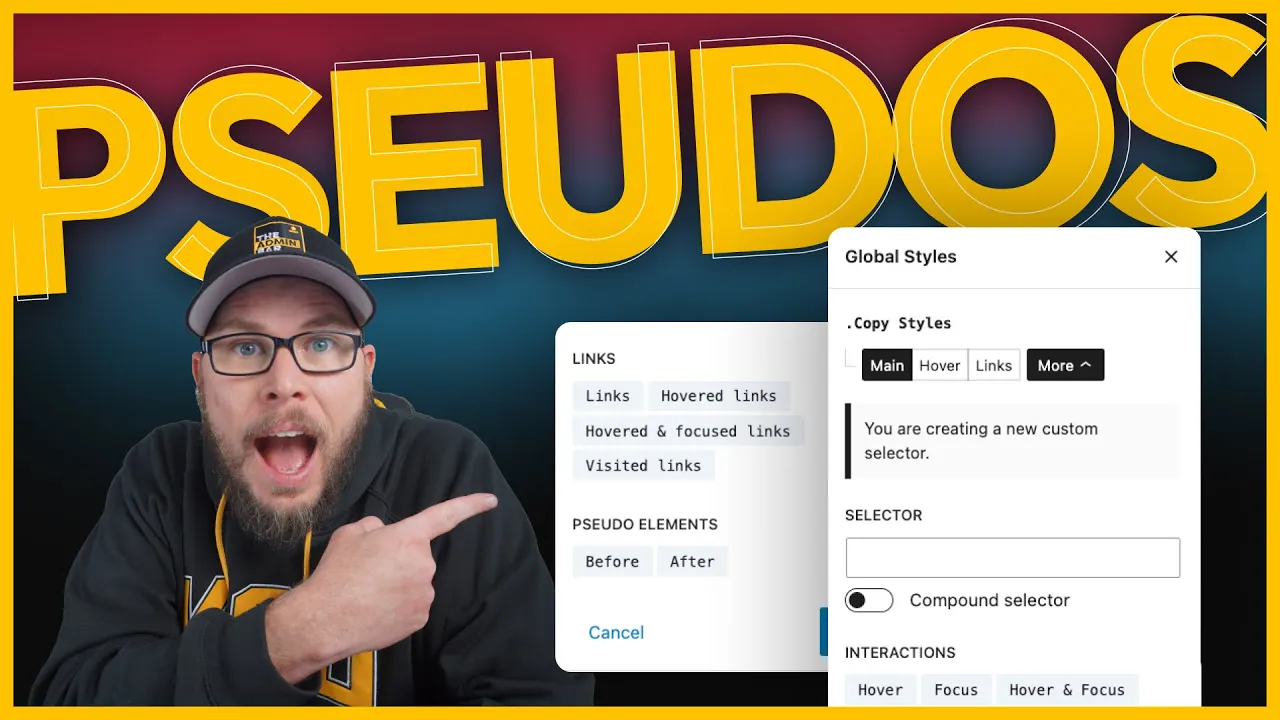
The new Global Styles system in GenerateBlocks introduces a powerful way to style elements using classes, pseudo selectors, and compound selectors. If you’ve worked with CSS before, this system will feel familiar and open up nearly unlimited possibilities for styling directly inside the editor.
In this post, we’ll take a more advanced look at how to use these tools effectively, from hover states to pseudo elements, and explore how they can transform your workflow.

Styling Hover States
One of the most common use cases for pseudo selectors is styling hover states.
Adding a Hover State
- Select the element you want to style (e.g., a container with the
CTA-wrapperclass). - Click on the Hover state. This appends
:hoverto the class, meaning you’re now styling the element when it’s hovered. - For demonstration, change the background color to black.
When you hover over the container, the background changes to black. To return to editing the default state, click back into the main class and remove :hover.
Exploring More States
While the hover state is the most commonly used, there are additional options available. Click More to see a list of states, including:
- Hover and Focus
- Links
- Hovered Links
Styling Links Inside a Container
Let’s say you have a link inside a container with a blue background, but the link is also blue, making it hard to read. Instead of adding a class to the link itself, you can style all links inside the container.
Targeting Links in a Container
- Select the container (e.g.,
CTA-wrapper). - Click Links or go to More > Links. This targets all links inside the container (
.CTA-wrapper a). - Change the text color to white.
Now, any link inside the CTA-wrapper will be white, while links outside the container will retain their default styles.
Styling Hovered Links
To style links when hovered:
- Click Hovered Links.
- Change the text color to red.
When you hover over a link inside the CTA-wrapper, it changes to red, but links outside the container remain unaffected.
Using Compound Selectors
The Global Styles system allows you to use compound selectors for more advanced targeting.
Example: Targeting Specific Elements
- Select the container (e.g.,
CTA-wrapper). - Add a new selector (e.g.,
.CTA-wrapper h2). - Change the font size to
5rem.
This targets only h2 elements inside the CTA-wrapper. Other h2 elements on the page remain unaffected.
Nested Selectors
When you click More, you’ll see a list of nested selectors under the main class. For example, if you’ve styled .CTA-wrapper h2, you’ll see it listed with a dot next to it, indicating that styles have been applied.
This system is incredibly powerful for creating scoped styles without affecting other parts of your site.
Creating Pseudo Elements
Pseudo elements like ::before and ::after allow you to add decorative elements or additional content without modifying the HTML.
Adding a ::before Pseudo Element
- Select the container (e.g.,
CTA-wrapper). - Click New and select Before. This targets the
::beforepseudo element of the container. - Add styles:
- Size: 50px by 50px.
- Background Color: Red.
- Position: Absolute, top-left.
Adding Content
To make the pseudo element visible, add content:
- Go to the Content field.
- Add two quotation marks (
"").
The pseudo element now appears as a red square in the top-left corner of the container. You can style it further using any of the available controls.
Advanced Selectors and Customization
The selector input field allows for even more advanced customization.
Writing Custom Selectors
You can manually type selectors into the input field. For example:
:hover: Targets hover states..CTA-wrapper h2: Targetsh2elements inside the container.
This flexibility lets you create highly specific styles directly in the editor.
Compound Selectors
You can also toggle the Compound Selectors switch to target elements with multiple classes. For example:
.CTA-wrapper.special: Targets containers with bothCTA-wrapperandspecialclasses.
Why This System Is Powerful
The new Global Styles system in GenerateBlocks is one of the most advanced styling tools available in a page builder. It combines the flexibility of writing CSS by hand with the ease of a visual editor.
Key Benefits
- Scoped Styles: Target specific elements without affecting others.
- Pseudo Selectors: Style hover, focus, and other states directly in the editor.
- Pseudo Elements: Add decorative elements without modifying HTML.
- Compound Selectors: Create advanced styles for elements with multiple classes.
Final Thoughts
The Global Styles system in GenerateBlocks is a game-changer for anyone who wants more control over their designs. While it can feel overwhelming at first, especially if you’re new to CSS, the built-in helpers and intuitive interface make it easy to get started.
As you become more comfortable with these tools, you’ll be able to create highly customized designs directly in the editor, without needing to write custom CSS. Whether you’re a beginner or an experienced developer, this system has something to offer.
Start experimenting with these features in your next project and see how they can transform your workflow.

Kyle Van Deusen
After spending 15 years as a graphic designer and earning a business degree, I launched my agency, OGAL Web Design, in 2017. A year later, after finding the amazing community around WordPress, I co-found The Admin Bar, which has grown to become the #1 community for WordPress professionals. I'm a husband and proud father of three, and a resident of the Commonwealth of Virginia.
Use of AI: AI helps me outline, research, catch typos, and find better words & phrases. I take full personal responsibility for all my published content (the good, the bad, and the em dashed).