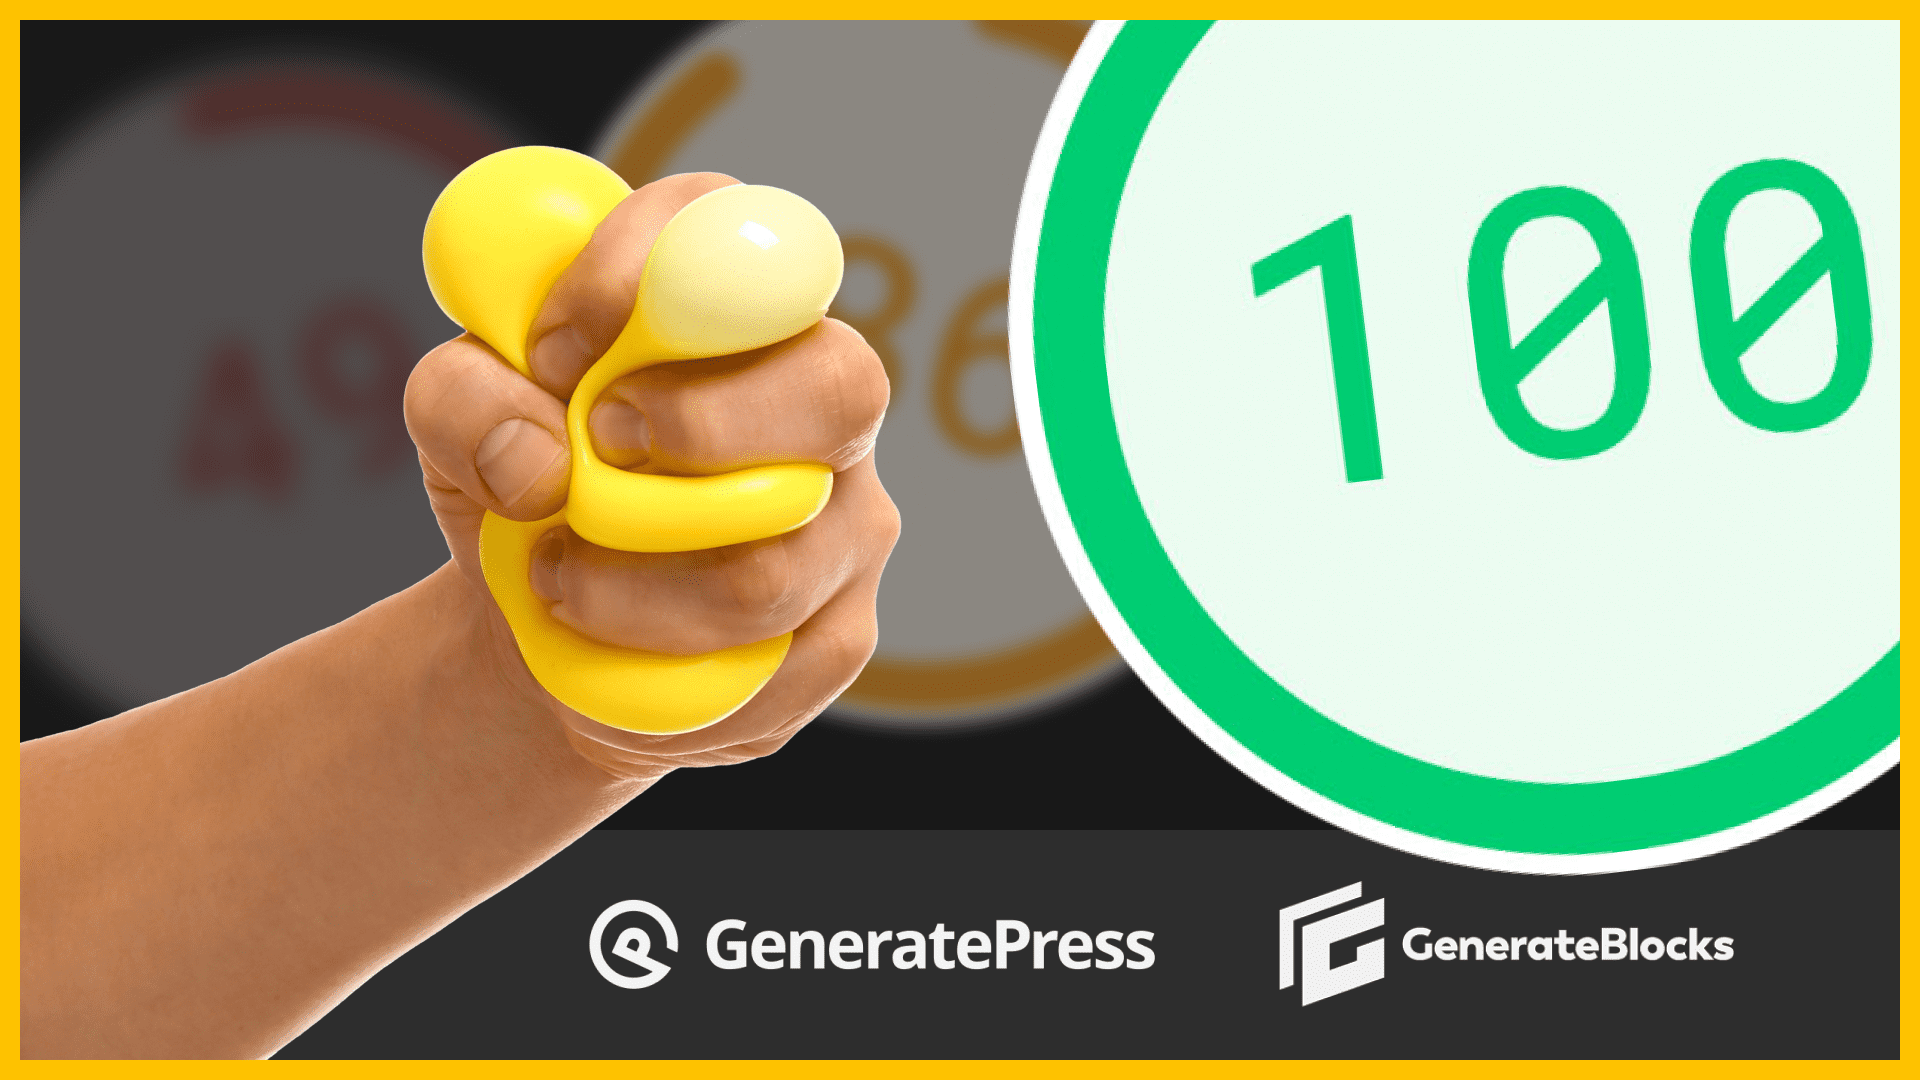
If you know me, then you know I’m obsessed with building websites that excel in performance. Those little green numbers on Core Web Vitals testing are my addiction!
Out of the box, the combination of GeneratePress and GenerateBlocks is just about as fast as they come — which is a massive part of the reason I use it.
But in today’s video, I wanted to share 3 tips that will help you get the most out of the GB/GP combo — ensuring you’re squeezing it for every ounce of performance you can get!
If you’d like to improve your performance metrics, then let’s get to it!
CSS Print Method
Both GeneratePress & GenerateBlocks give you the option to choose how to print your CSS.
Either inline or through an external file.
And while you might think adding an external file for the CSS would slow things down — the opposite is true.
Having the external file for your CSS actually offers significant performance benefits.
First, let’s take a look at how to enable this inside the GeneratePress Theme.
Open your website and head over to the Customizer.
From here, select the “General tab”, and under ‘Dynamic CSS Print Method’ make sure your website is set to “External File”.

Just below the dropdown you also have the ability to regenerate your CSS file if there’s ever a hiccup.
Next, let’s ensure we have the same option selected for GenerateBlocks.
Go back to the backend of your website, and in the admin menu, underneath GenerateBlocks, select ‘Settings’.
In the second box, labeled settings, make sure the CSS Print Method is set to “External File”.

Just like the setting in the theme, you also have the option to Regenerate CSS files from this area.
Now on a small site, this might not give you significant or noticeable improvements on your test scores, but as your website grows these two settings can have a significant impact on your performance.
Advanced Backgrounds
This next tip is all about the background images — especially those you find in the hero section of any page.
Images are one of the biggest factors when it comes to speed, and typically when we create a hero image for our website we’re creating it at a full resolution of something like 1920px wide so it looks great on desktop.
But phones are significantly smaller than that, and loading in an image that’s 3 or 4 times too big can have a serious negative impact on your performance — especially the mobile numbers.
But GenerateBlocks has a solution for this — it’s called “advanced backgrounds”.
With this option, you can select a completely different image file for desktop, tablet, or mobile (and any combination of those three).
Let’s take a look at how it works.
In this hero section, I have a nice background image that stretches the full width of the viewport – which in this case is 1920px wide.
Saved as a JPG straight out of Photoshop (at the quality level of 7), this image, at 1920px, is 195KB.
But if I reduce the width of this image down to 768px (the widest it will ever be on the mobile breakpoint for GeneratePress), the file size dramatically reduces to 52KB.
That’s a 93% reduction in file size!
Reductions like this make a significant impact on your performance.
So, let’s take a look at how we set this up to show the appropriate image for each breakpoint.
First, hop into the page or post you’re working on, and select the container that’s going to have the image background.
Instead of putting the image inside the ‘Image URL’ field, we’re going to use the “Advanced” settings.
Just toggle on the Advanced toggle and click the wrench icon to get started.
We’ll set up the desktop version first.
Hit ‘Add Background’, then under type, choose ‘Image’.
Under the device dropdown, choose desktop.
Now you can hit the browse button to select the desktop version of your image.

Of course, you have all the size and position settings available to you here, but we’re just going to leave all those at default.
With the advanced background window still open, hit the ‘Add Background’ again, but this time choose ‘tablet’ under the device dropdown.
Now, browse and find the tablet-sized version of your image (which should be no bigger than 1024px wide).
Lastly, hit ‘Add Background’ again, and this time choose mobile.
Select the mobile version of your image, and hit close.
Now, GenerateBlocks is going to serve the most appropriately sized version of your image based on the breakpoint.
Yes, this is a little more work — but when it comes to hero sections, which are above-the-fold content, it’s worth the extra two minutes of setup to save 90%+ on file size.
Another great benefit to using advanced backgrounds is you can select completely different images if you want. I’ve found in some cases images that work great on desktop are too messy and distracting on mobile (where the text is typically taking up the full width of the screen).
With the advanced background method, you can choose a completely different image and improve your mobile designs.
Hosting Fonts Locally
Ironically enough, Google’s PageSpeed scores will penalize your score heavily if you’re making calls out to Google’s servers for fonts.
I’ve found that in some cases, hosting fonts locally can shave a full second (or more!) off your load time!
Personally, I do this with the Perfmatters plugin, which offers a simple toggle to load your fonts locally — but you can do this pretty easily without having to add another plugin.
Let’s take a look at how it’s done.
First, we need to take an assessment of what fonts, and font weights, are being used in our design.
For this example, I’m only using the Roboto font, with both the 400 and 700 weights.
To load this font locally, we’re going to use the steps inside the GeneratePress documentation.
With the Google Webfonts Helper tool, we’ll search for Roboto from the search field.
Next, we’ll select the weights and styles used on our project (in this case, it’s just ‘regular’ and 700).
We’ll scroll down to the “Download files” section and hit the button to download our fonts.
You can go ahead and unzip this file so you have it ready to go.
Unfortunately, by default, you can’t upload font files to your image library, so we’re going to need to grab this snippet of code provided by GeneratePress in order to allow us to upload the fonts.
You can drop this snippet inside your child theme’s functions.php file, or use a script manager plugin like Code Snippets.
add_filter( 'upload_mimes', function( $mimes ) {
    $mimes['woff']  = 'application/x-font-woff';
    $mimes['woff2'] = 'application/x-font-woff2';
    $mimes['ttf']   = 'application/x-font-ttf';
    $mimes['svg']   = 'image/svg+xml';
    $mimes['eot']   = 'application/vnd.ms-fontobject';

    return $mimes;
} );
Once you’ve added the script, head over to your media library and upload all the fonts from the file you downloaded.
With the media library still open, copy the URL of one of the fonts (it doesn’t matter which one).
Next, paste that URL into a temporary text file so we can edit it slightly.
With the URL of one of your fonts pasted, just delete everything after the last forward slash in the URL and copy what’s left to your clipboard.
Back in the Google Webfonts Helper, paste that partial URL into the prefix field inside step number 3.
This will update all the CSS above it to match your website’s URL.
Now, copy all that CSS, and head back to your website.
You can put this CSS inside the Customizer > Additional CSS area or in the stylesheet of your child theme if you’re using one.
Save those changes, and in the customizer go to Typography.
Under the font manager, make sure that you have the “Use Google Fonts API” toggle turned off.
If you’ve loaded all your fonts correctly, your website should look the same, but now it’s loading the fonts from your server instead of Google.
On this test site with just 1 font family and two weights, we were able to shave off 100ms from the load time goes from 257ms to 157.
A lot of websites might be using 2 font families and 3 or 4 weights — and those kinds of savings really add up!
Wrapping Up
None of these tips are going to take a failing website and suddenly make it pass — but with the combination of GeneratePress and GenerateBlocks, that’s rarely an issue.
Getting in the habit of doing these things can really make a significant impact on the performance of your websites making it a lot easier to land in the high 90’s rather than just squeaking by.
If you want to learn more about how I optimize my websites for performance, check out these interviews I did with Brian Jackson from Perfmatters — my absolute favorite performance optimization plugin:
Kyle Van Deusen
After spending 15 years as a graphic designer and earning a business degree, I launched my agency, OGAL Web Design, in 2017. A year later, after finding the amazing community around WordPress, I co-found The Admin Bar, which has grown to become the #1 community for WordPress professionals. I'm a husband and proud father of three, and a resident of the Commonwealth of Virginia.


