Create a Sticky Sidebar with GenerateBlocks

In this video I do a quick walkthrough on how to create a sticky sidebar using GenerateBlocks. While it does take a couple lines of CSS (provided below), it’s a simple process …

Published:

Filed Under:

Plugins

Kyle Van Deusen

The Admin Bar

Born in California and raised in Texas, Kyle is a husband and proud father of three. After spending 15 years as a graphic designer and earning a business degree, he launched OGAL Web Design in 2017, The Admin Bar community with Matt Sebert in 2018, and Docket WP with Andre Gagnon in 2020.

sticky sidebar with generate blocks – 1
This content contains affiliate links. View our affiliate disclaimer.

In this video I do a quick walkthrough on how to create a sticky sidebar using GenerateBlocks. While it does take a couple lines of CSS (provided below), it's a simple process and once the CSS is added you can reuse the same selectors on other parts of your website.

Here's the code you will need from the video:

.sticky-container > .gb-inside-container {
	height: 100%;
}

.sticky-element {
	position: sticky;
	position: -webkit-sticky;
	top: 48px;
}

Step by Step Written Instructions

1. Open your page in the block editor

2. Click to add a new block
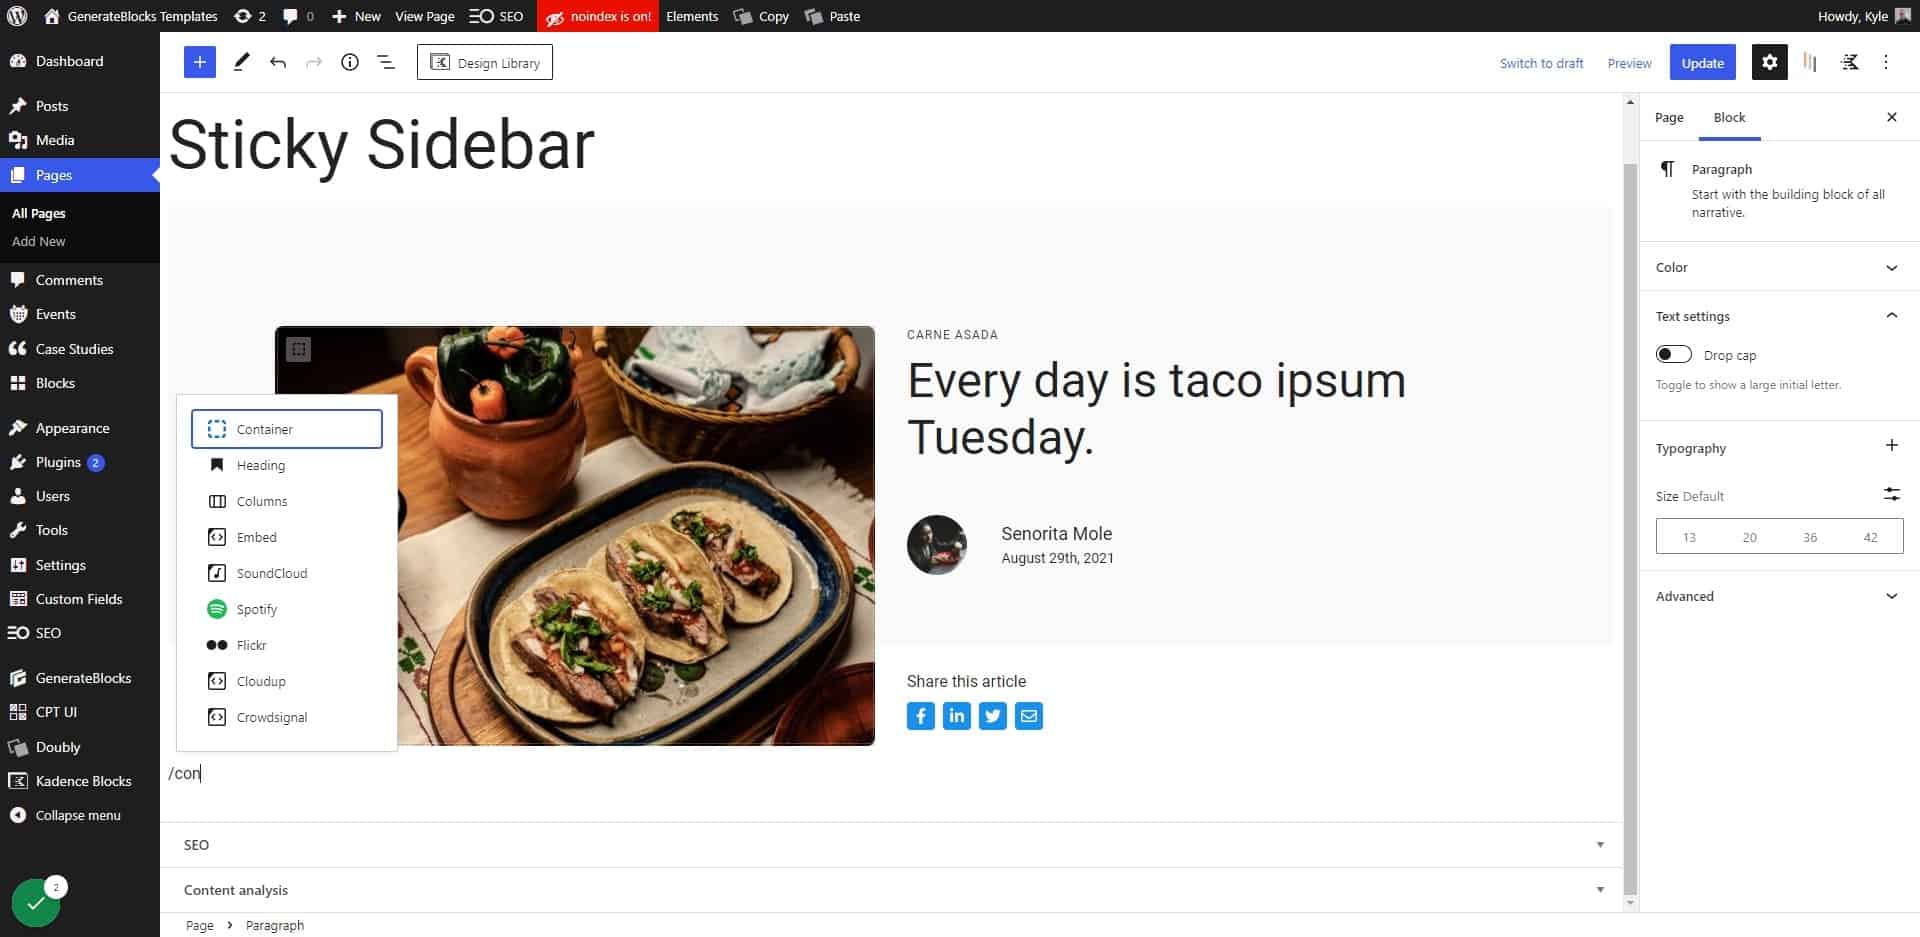
Click to add a new block

3. Click on Container
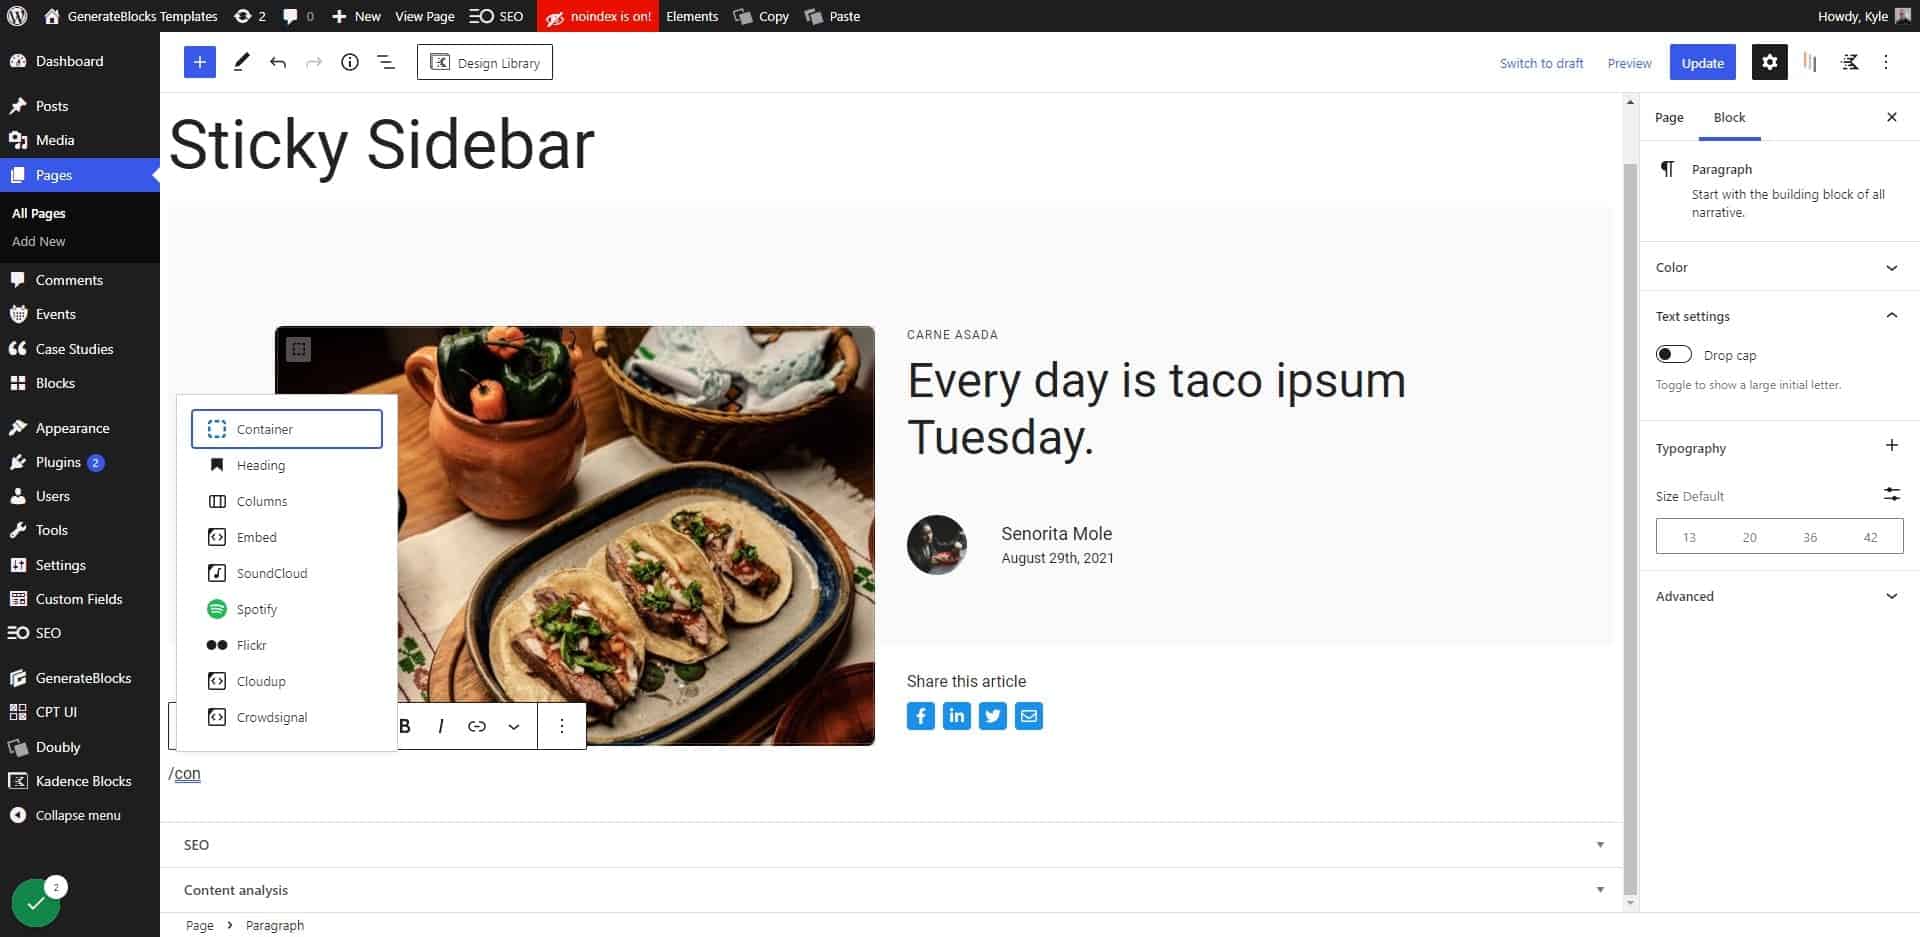
Click on Container

4. Click on Spacing
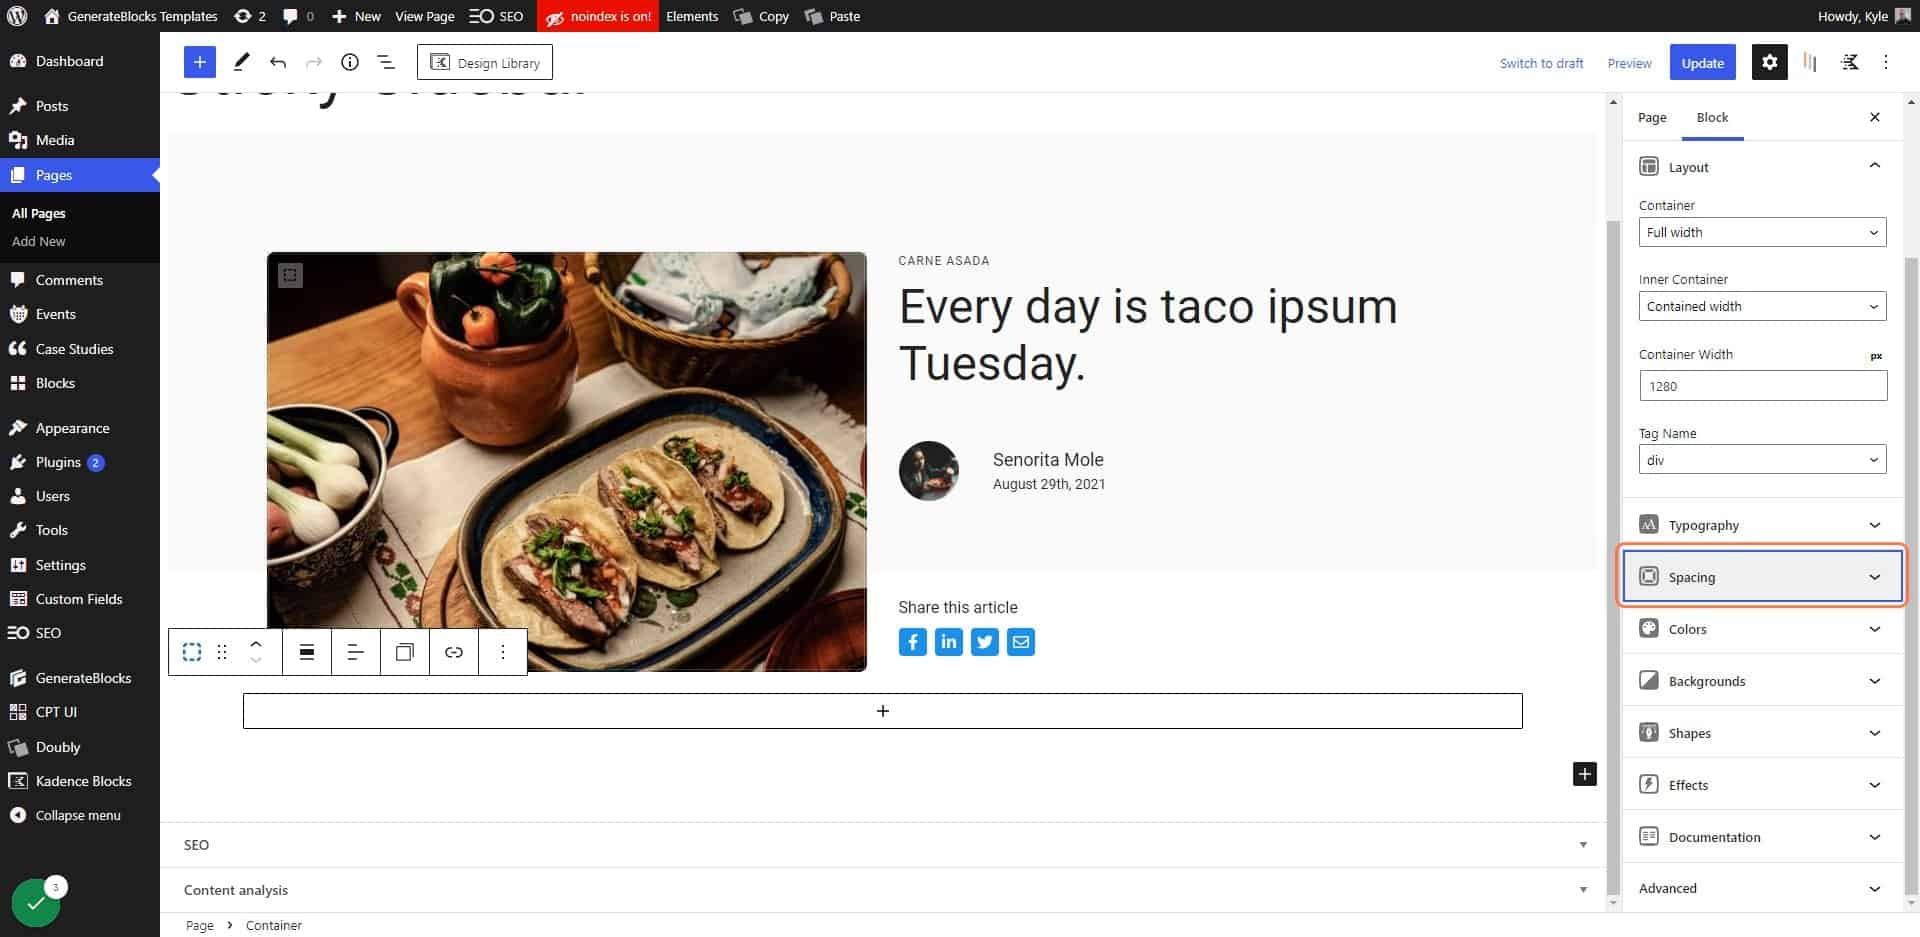
Click on Spacing

5. Add padding to your section
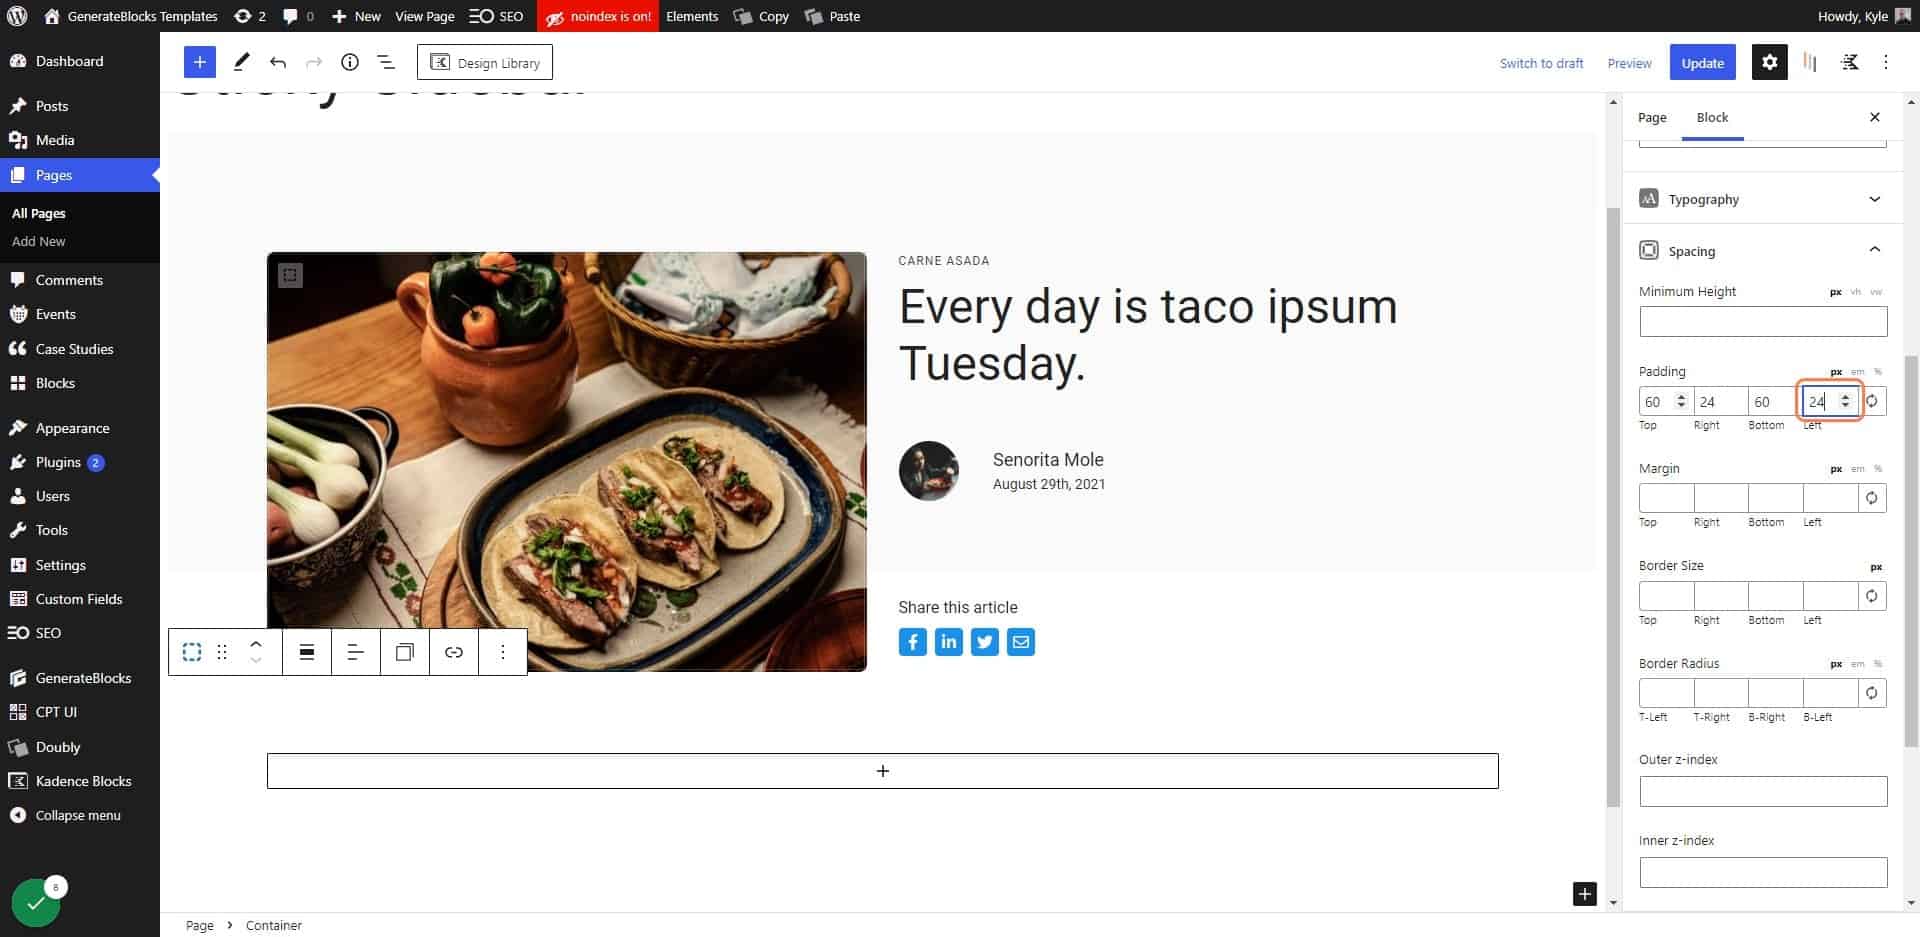
Add padding to your section

6. Click on Add block
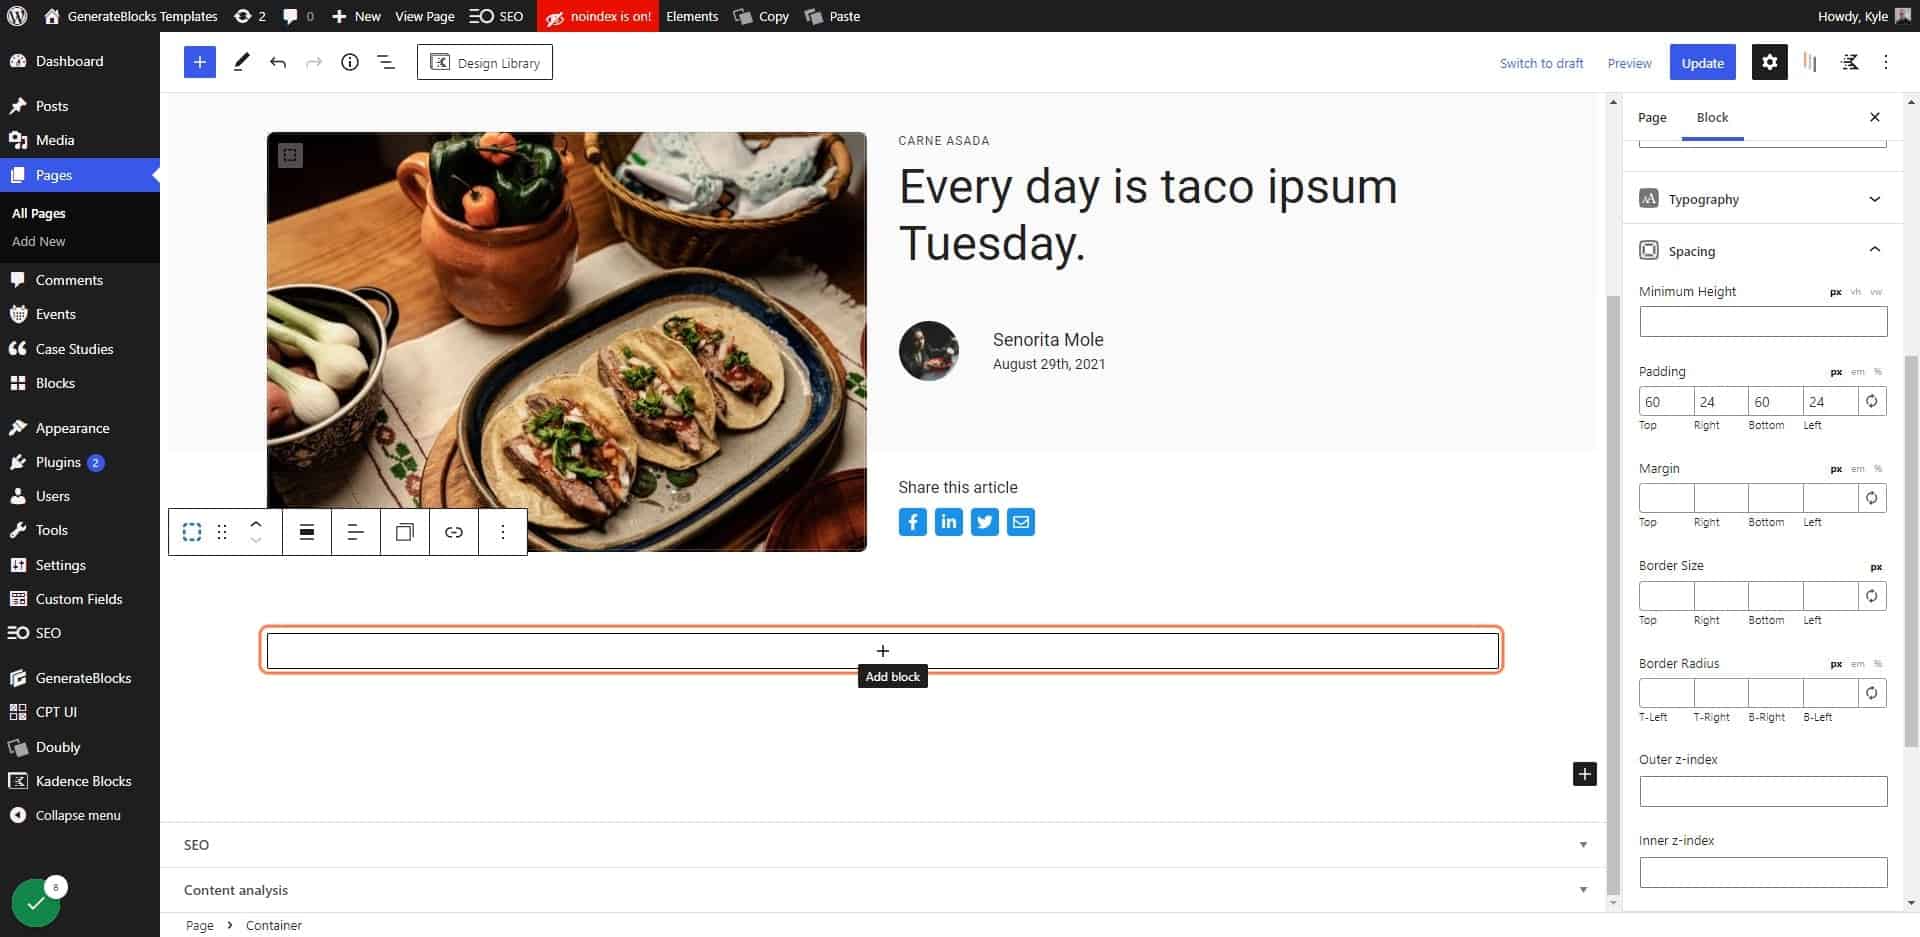
Click on Add block

7. Add a Grid block
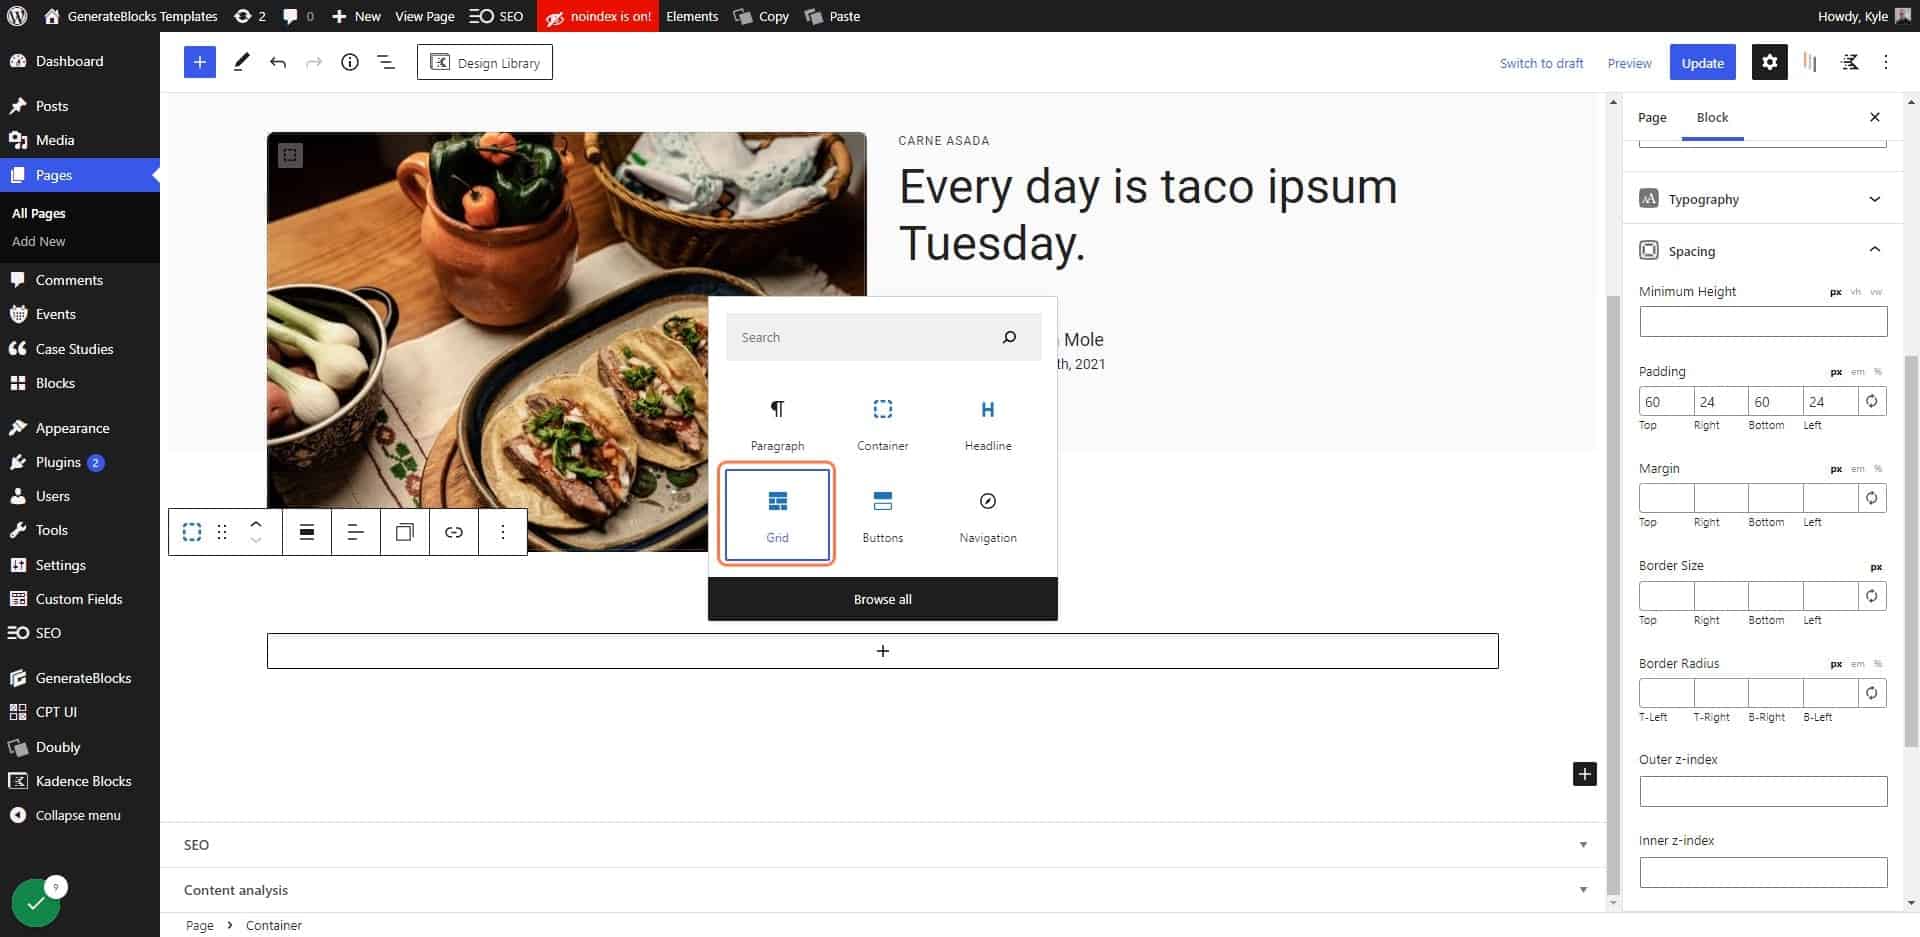
Add a Grid block

8. Choose a 2-column grid
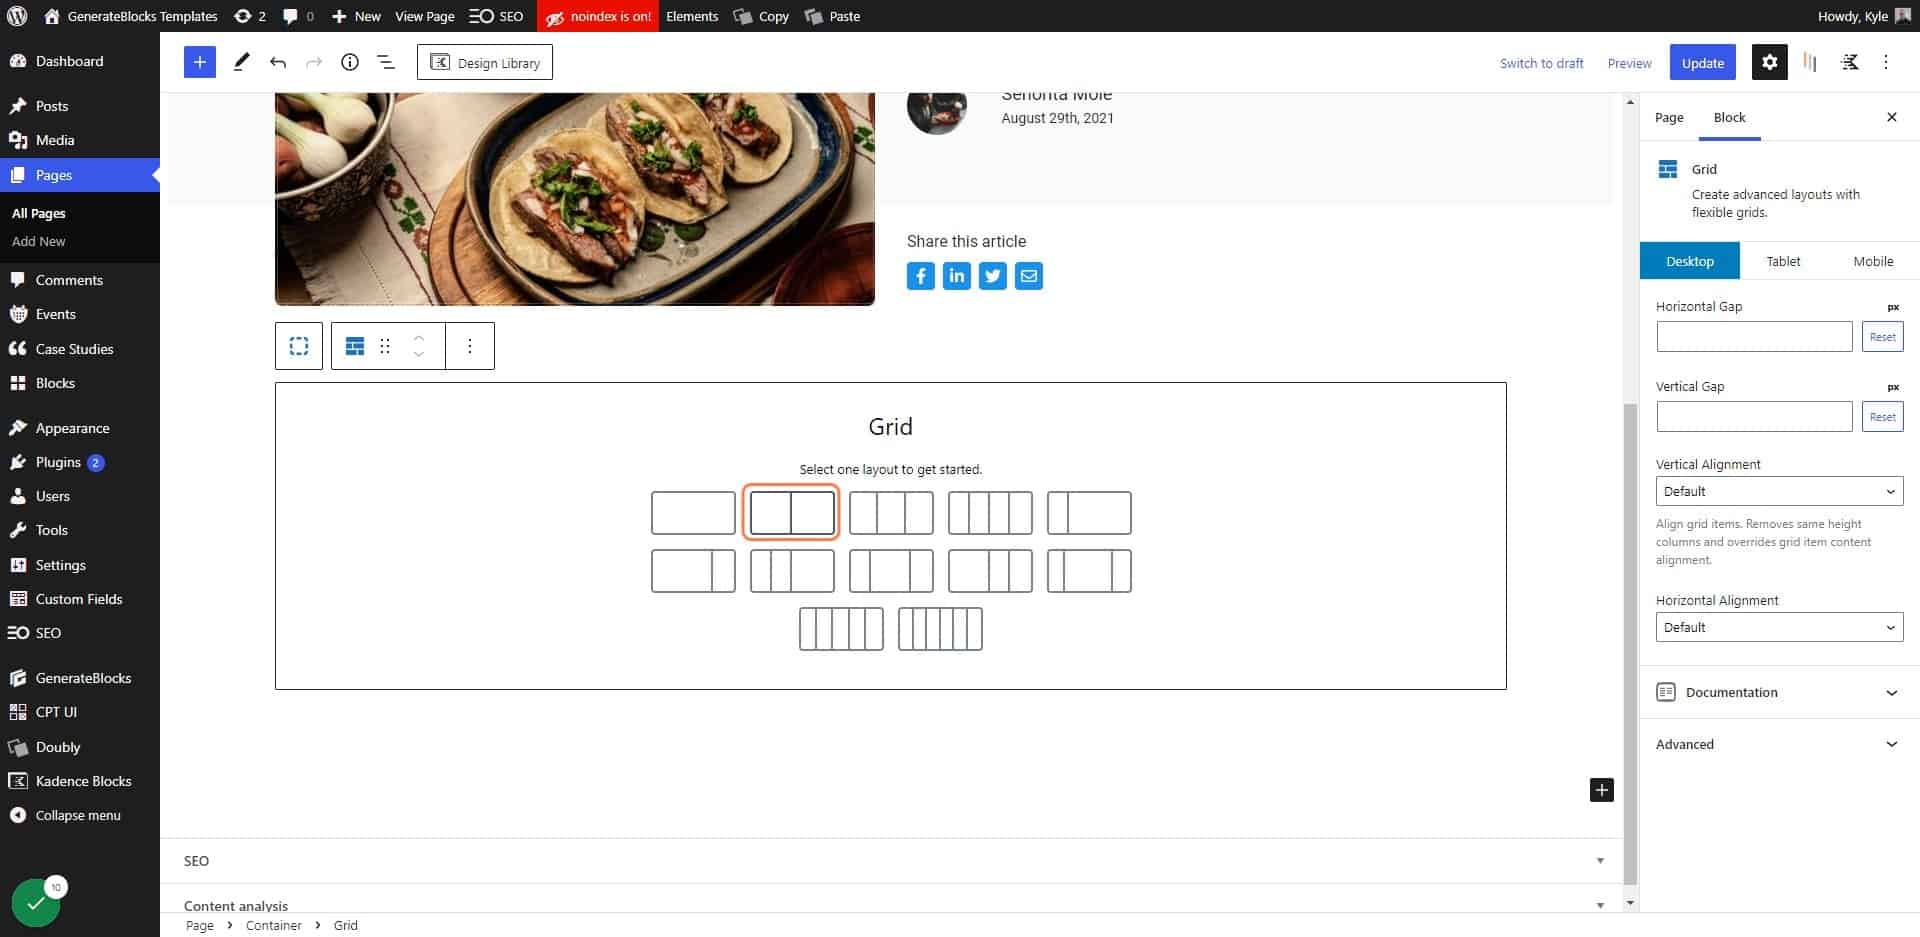
Choose a 2-column grid

9. Select the first container in your grid
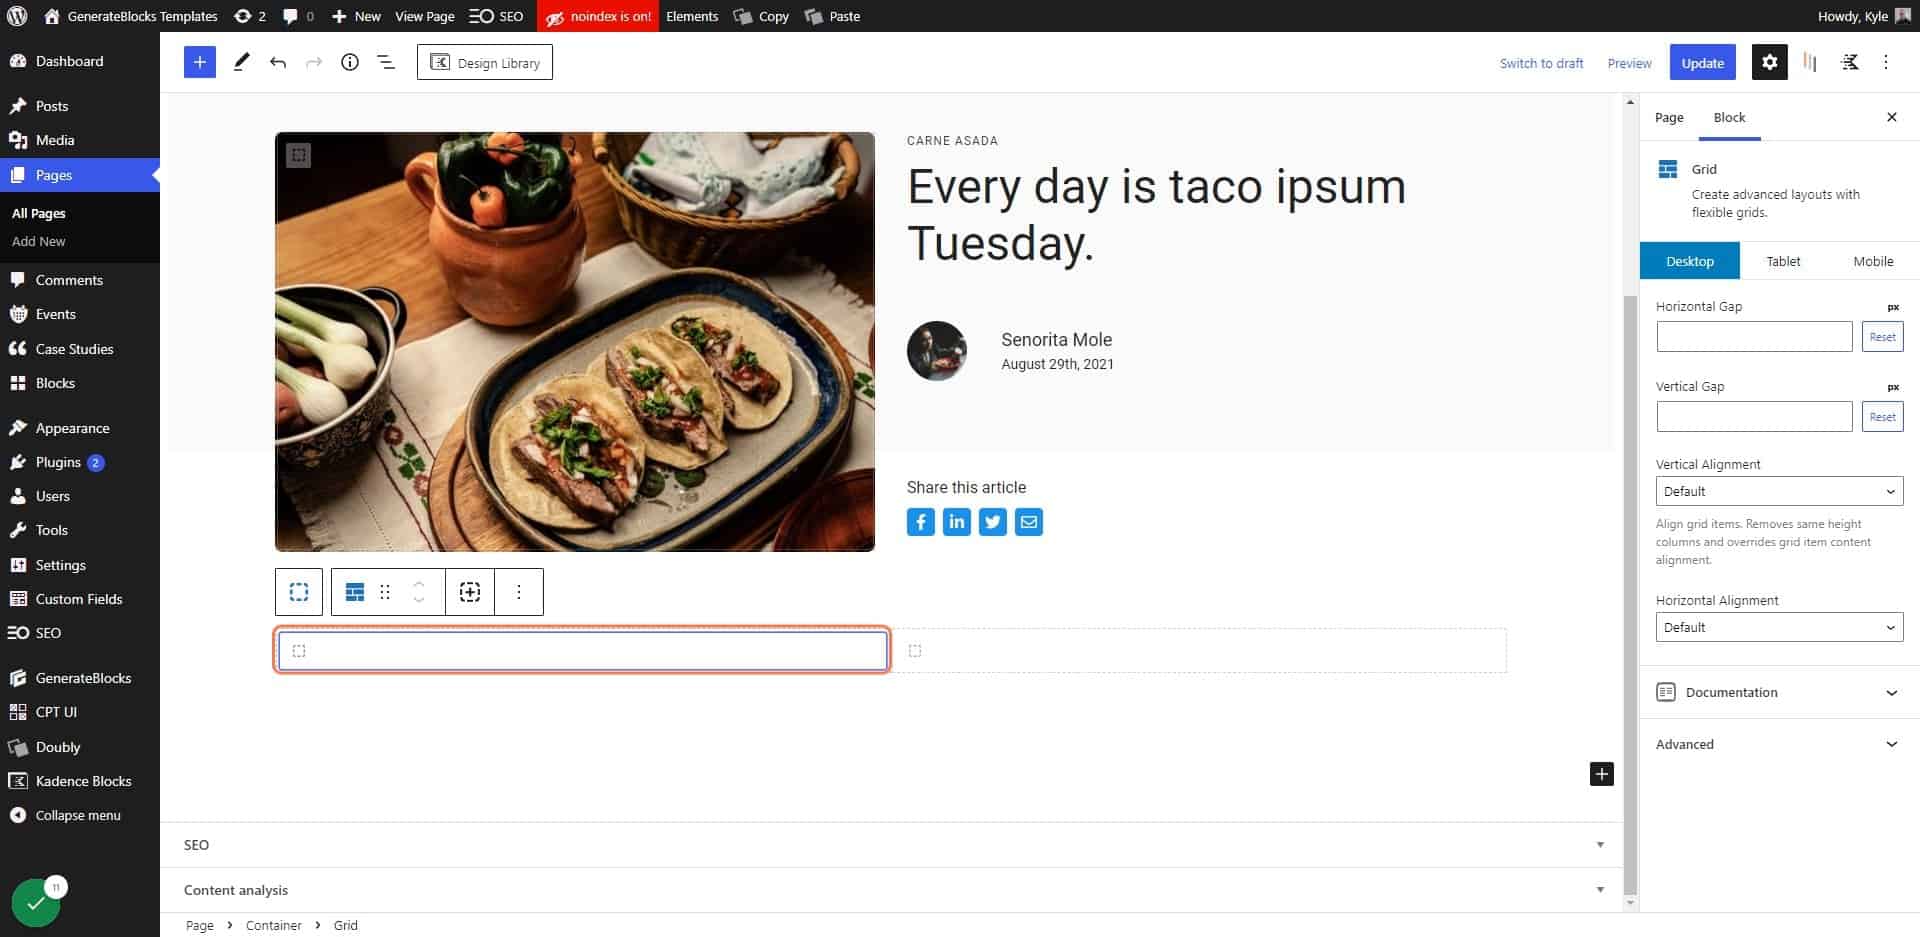
Select the first container in your grid

10. Change the width to 66%
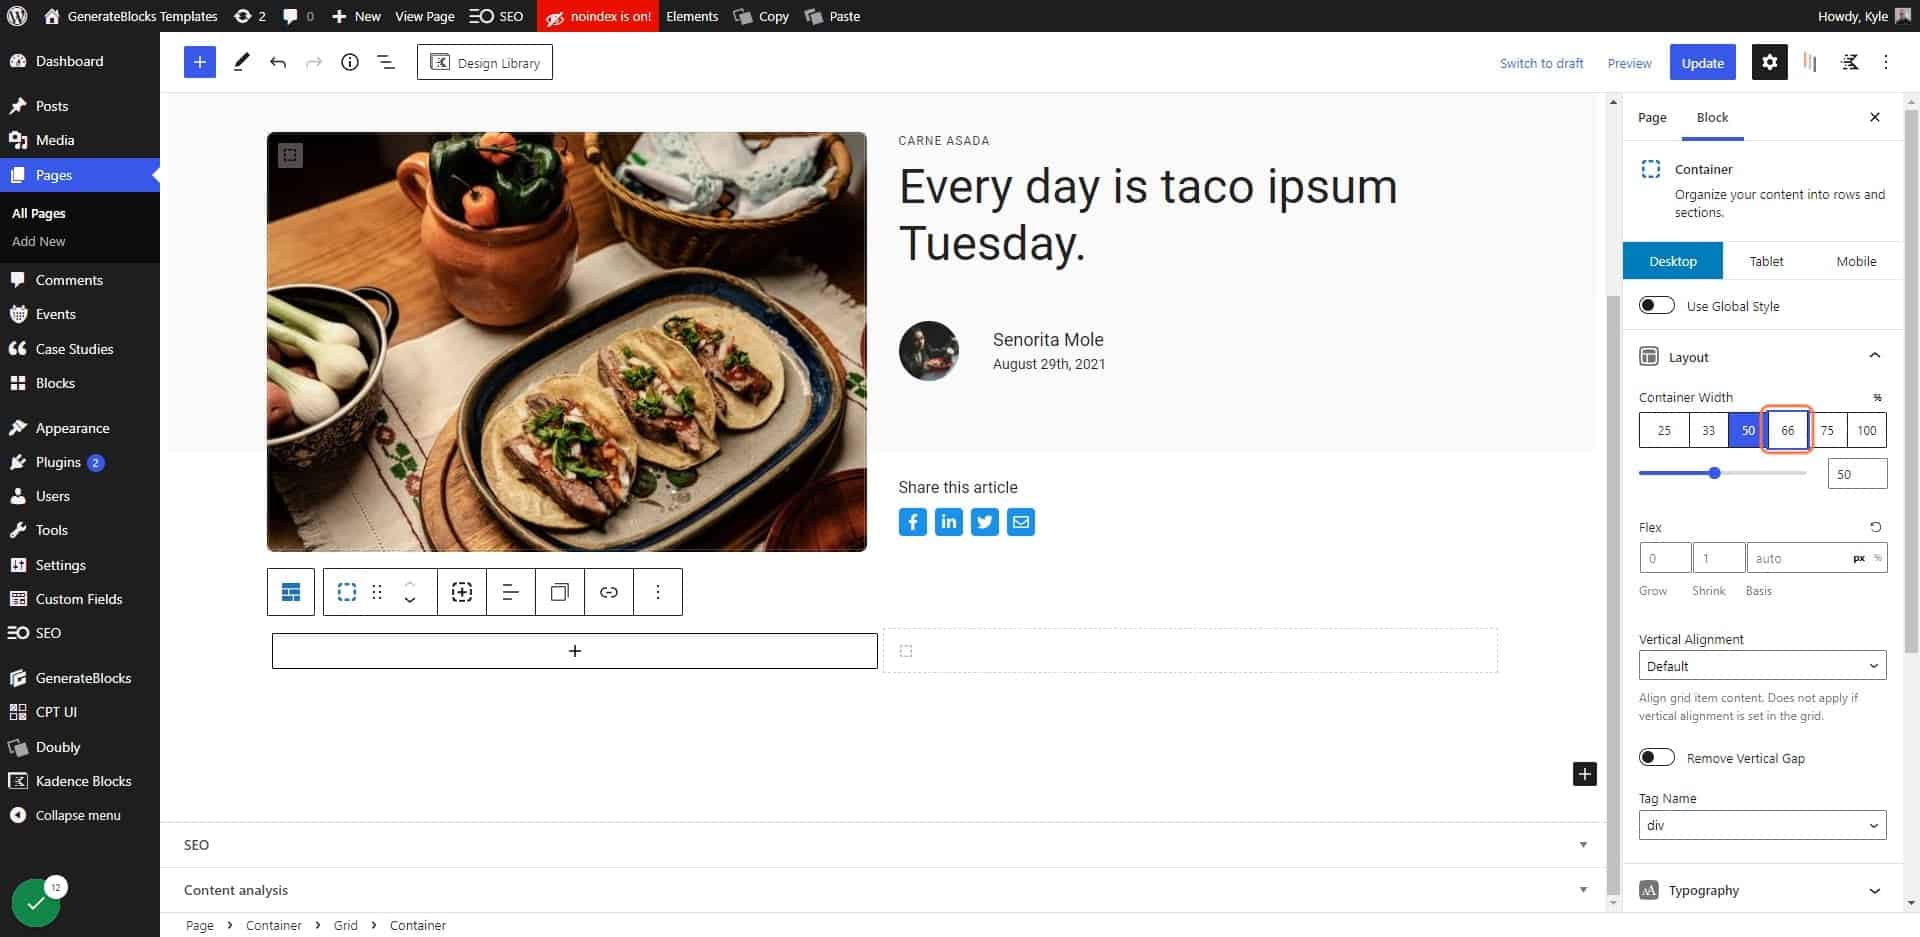
Change the width to 66%

11. Select the 2nd container in your grid
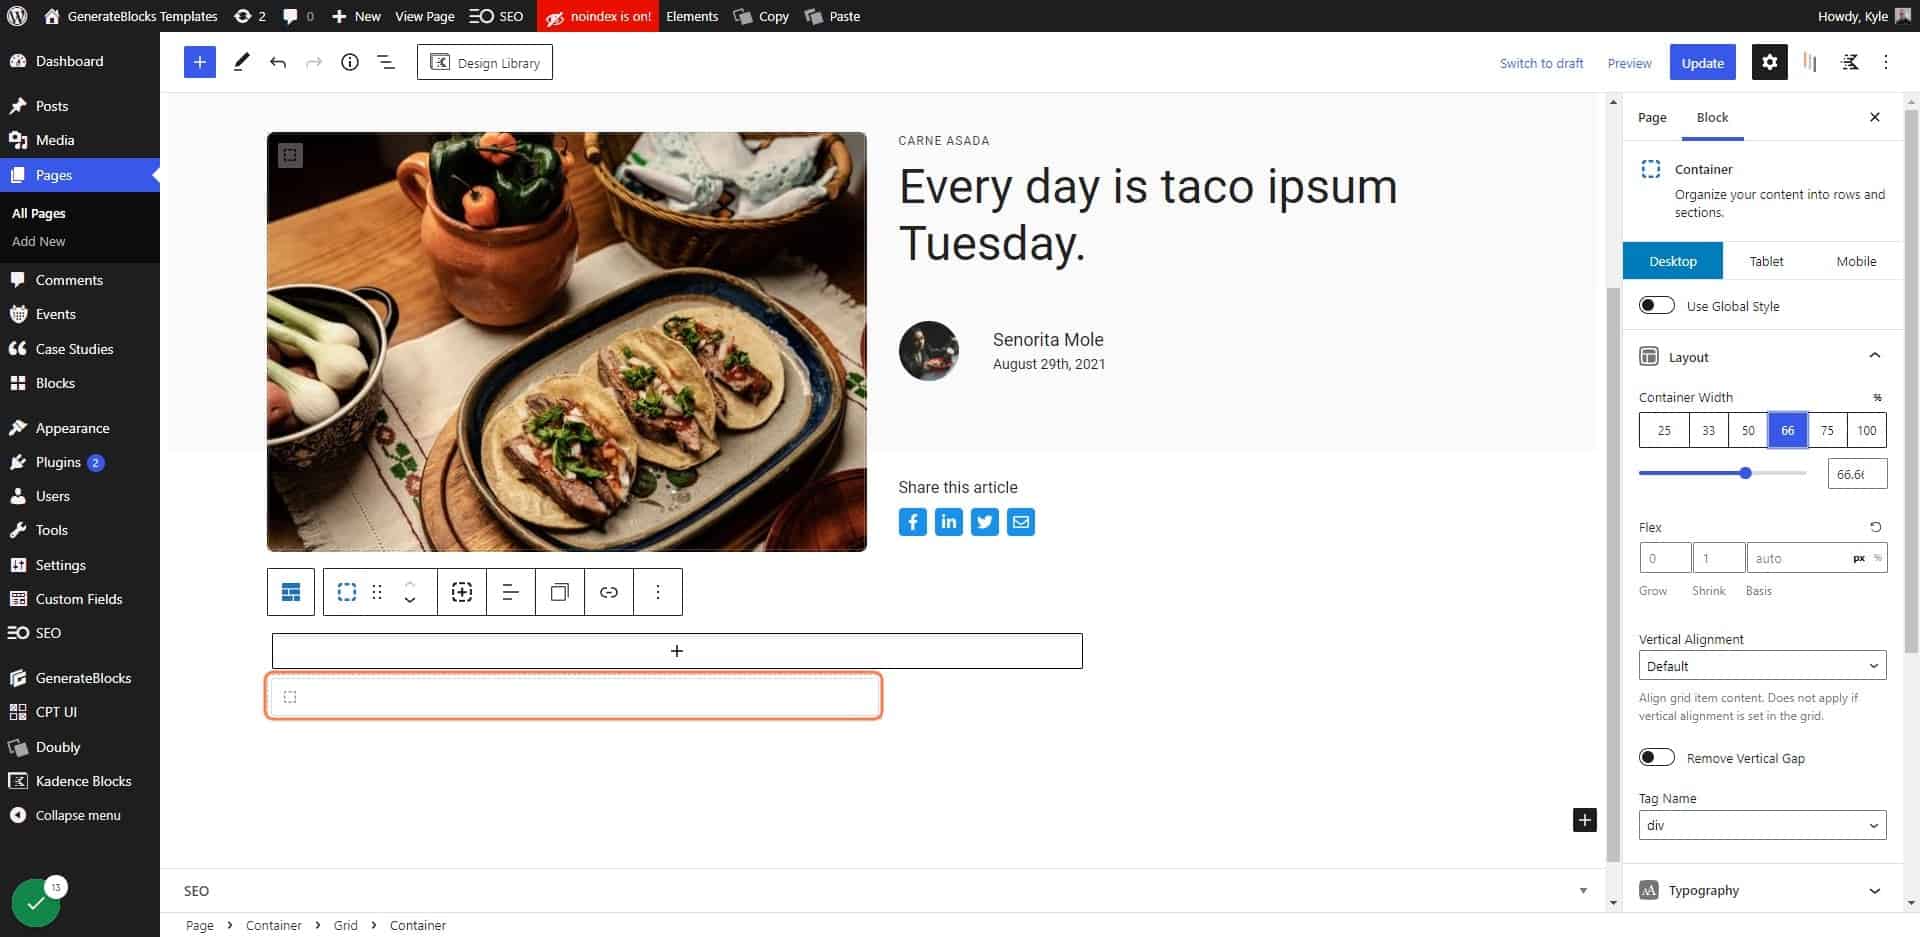
Select the 2nd container in your grid

12. Change the width to 33%
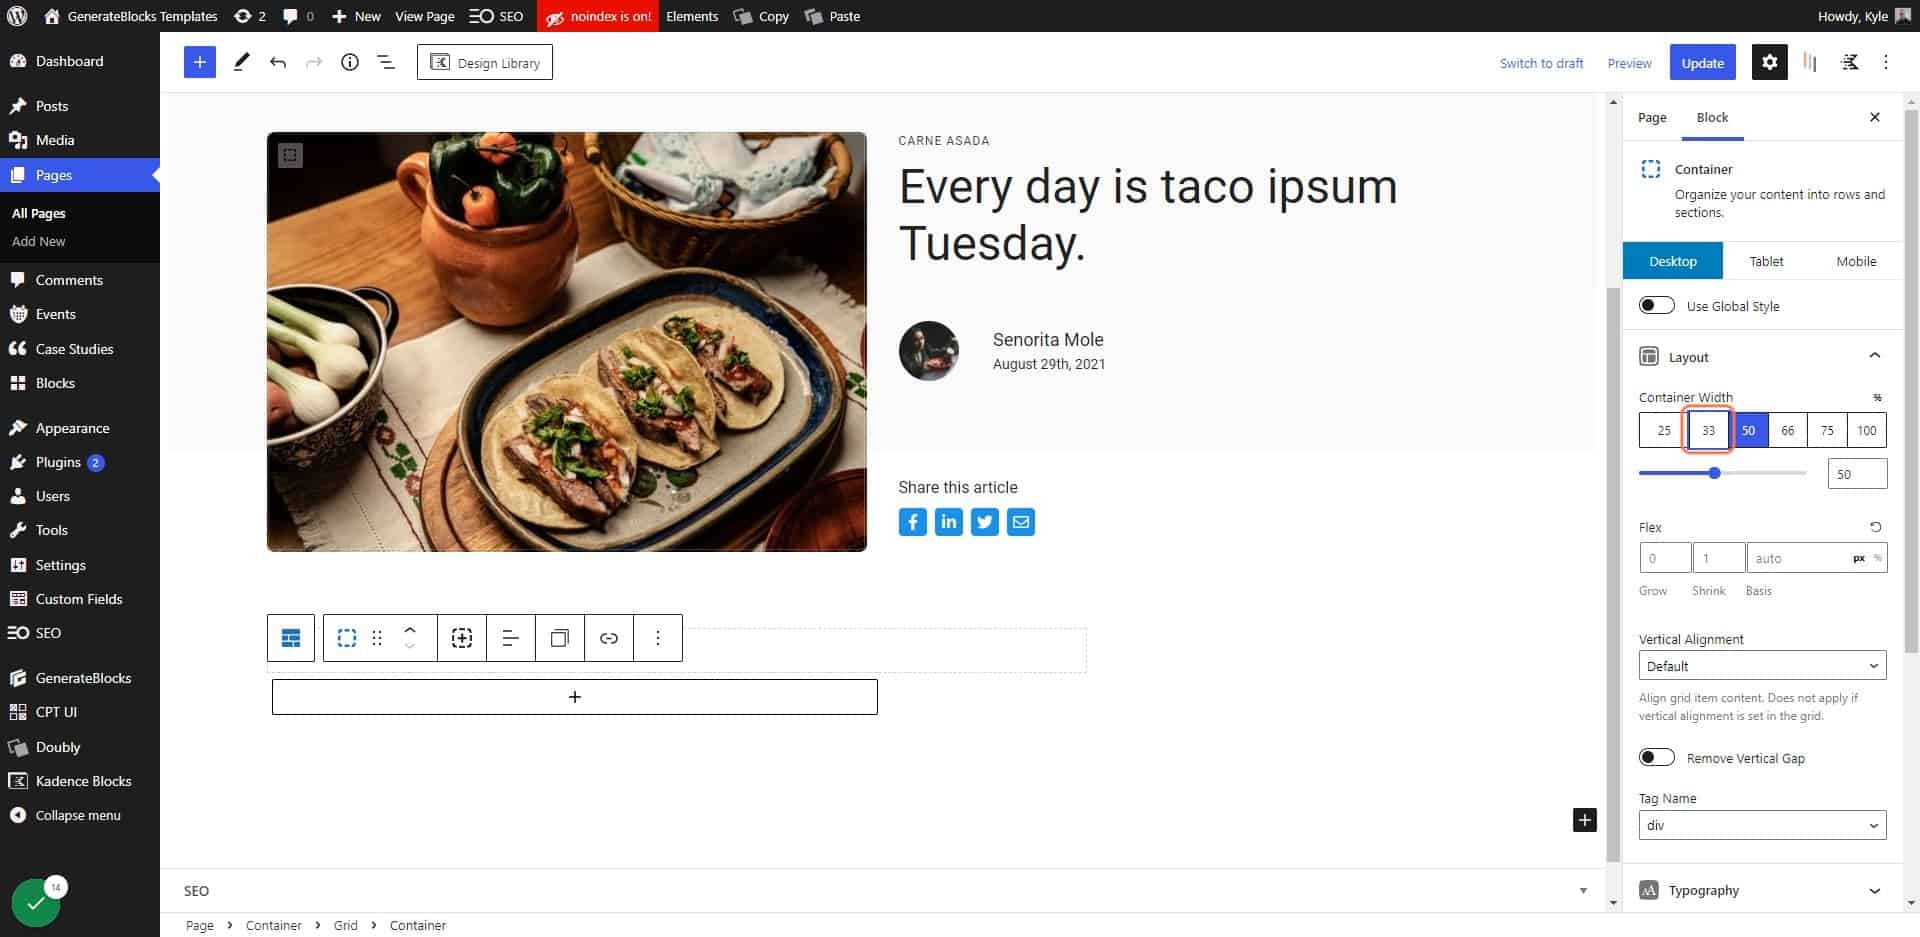
Change the width to 33%

13. Select the grid block
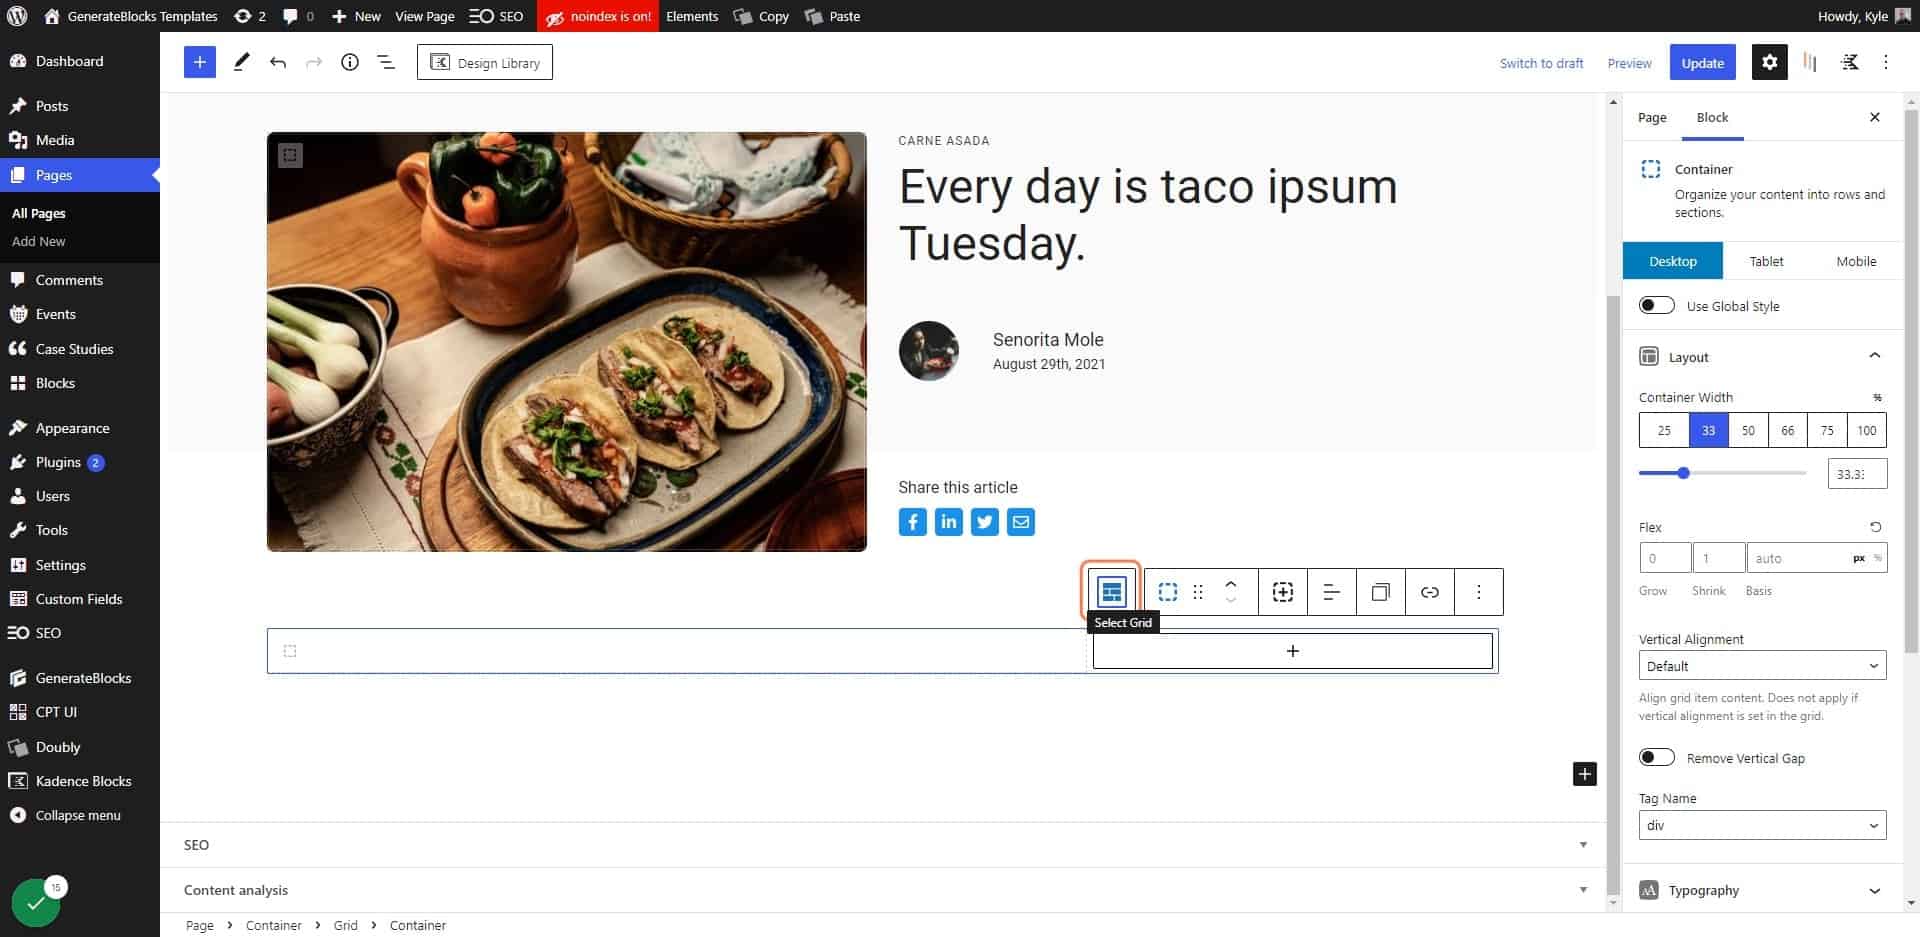
Select the grid block

14. Add 60px of Horizontal Gap
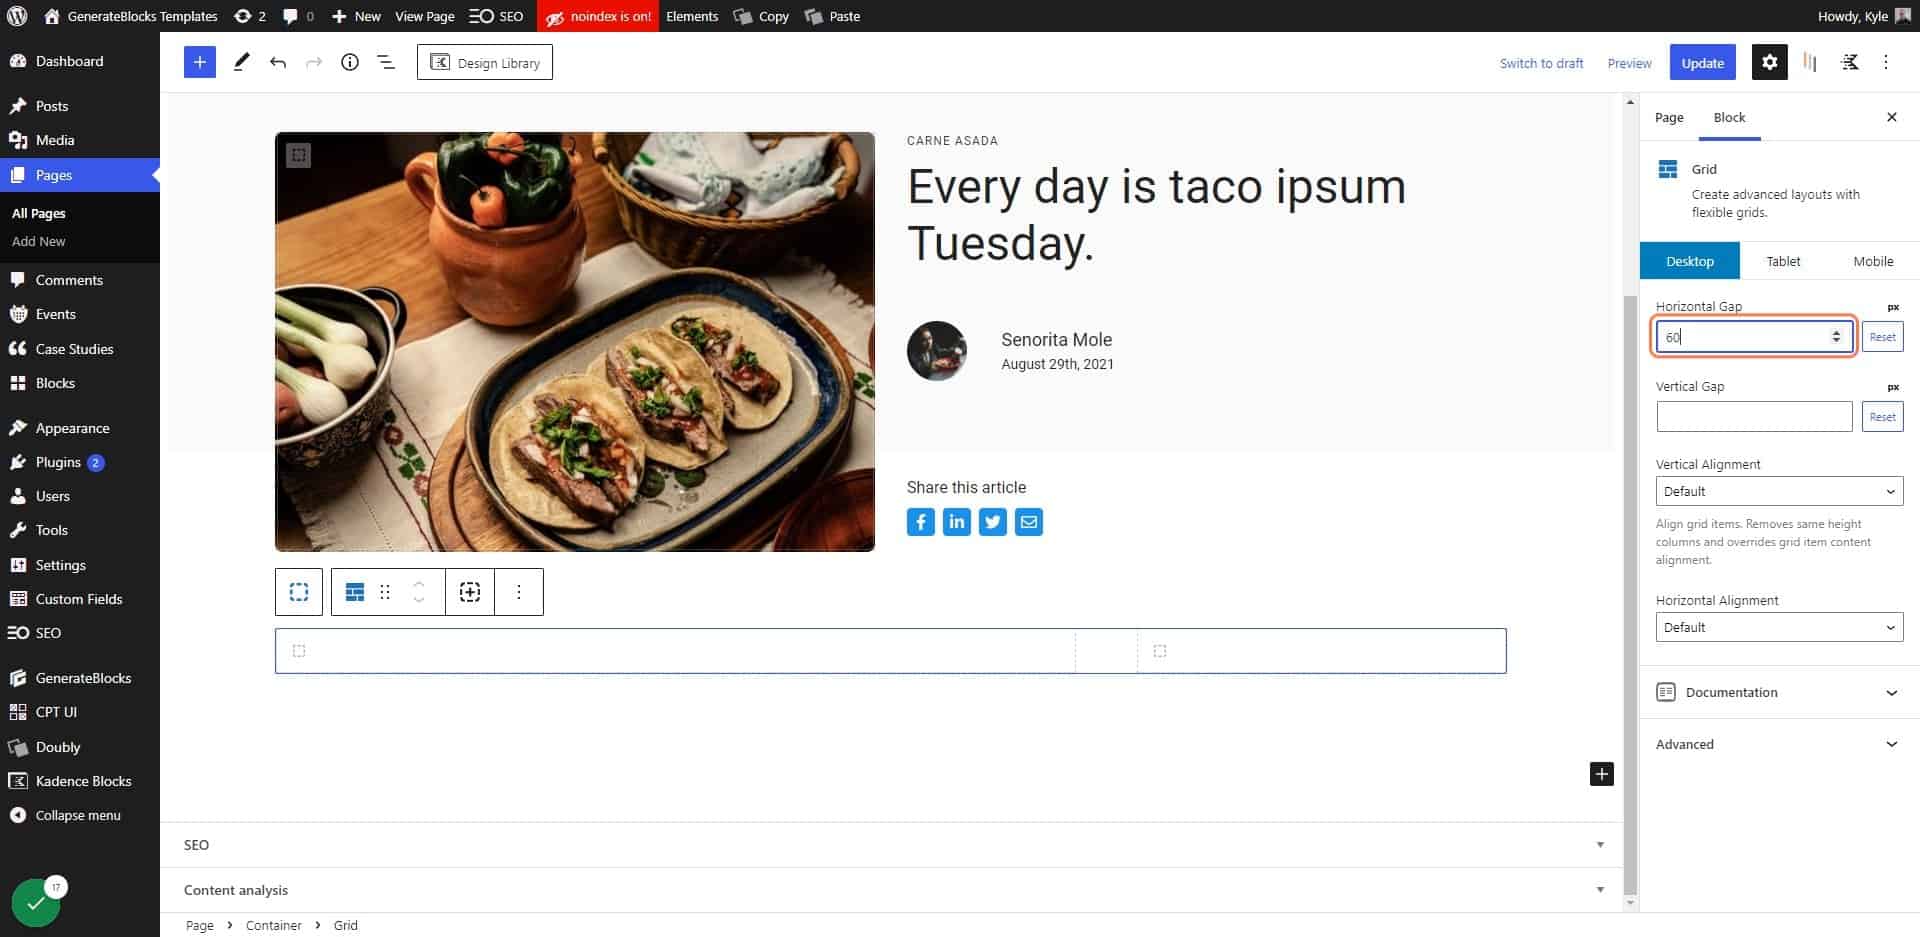
Add 60px of Horizontal Gap

15. Fill your left container with content

You'll want to have enough content in here that it allows the user to scroll through this section. If there is no scrolling required to get through this section, then nothing will “stick”.
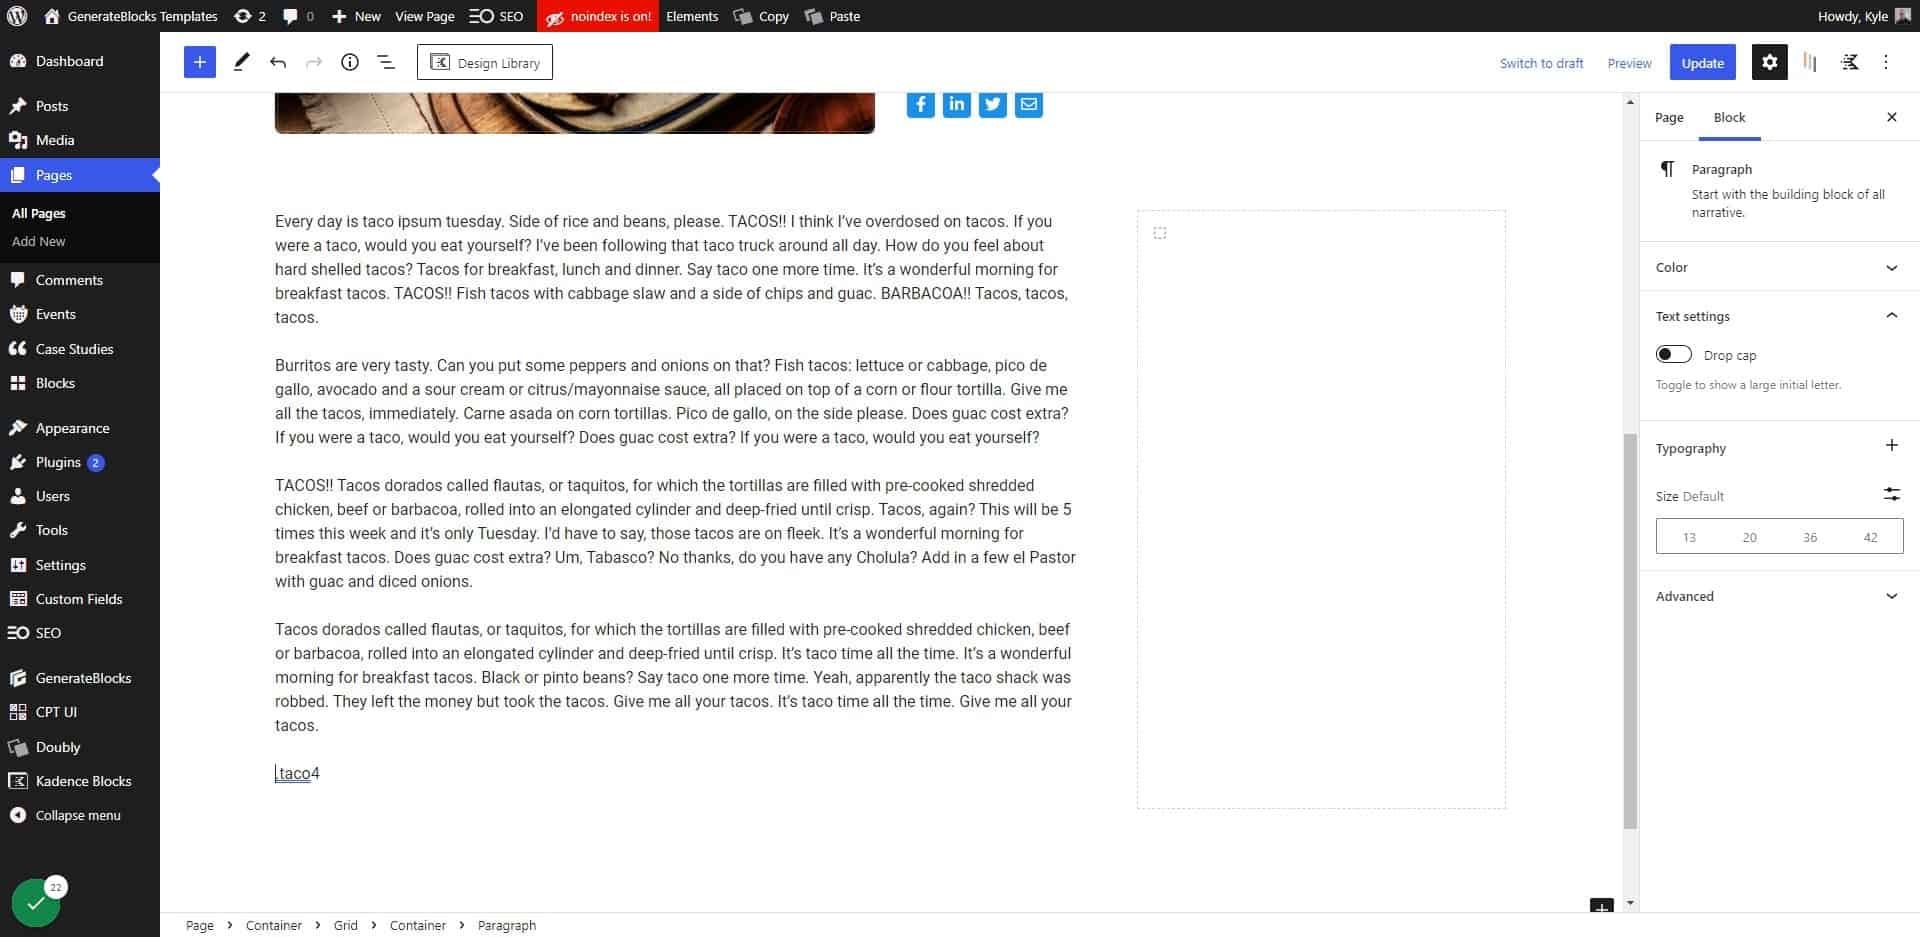
Fill your left container with content

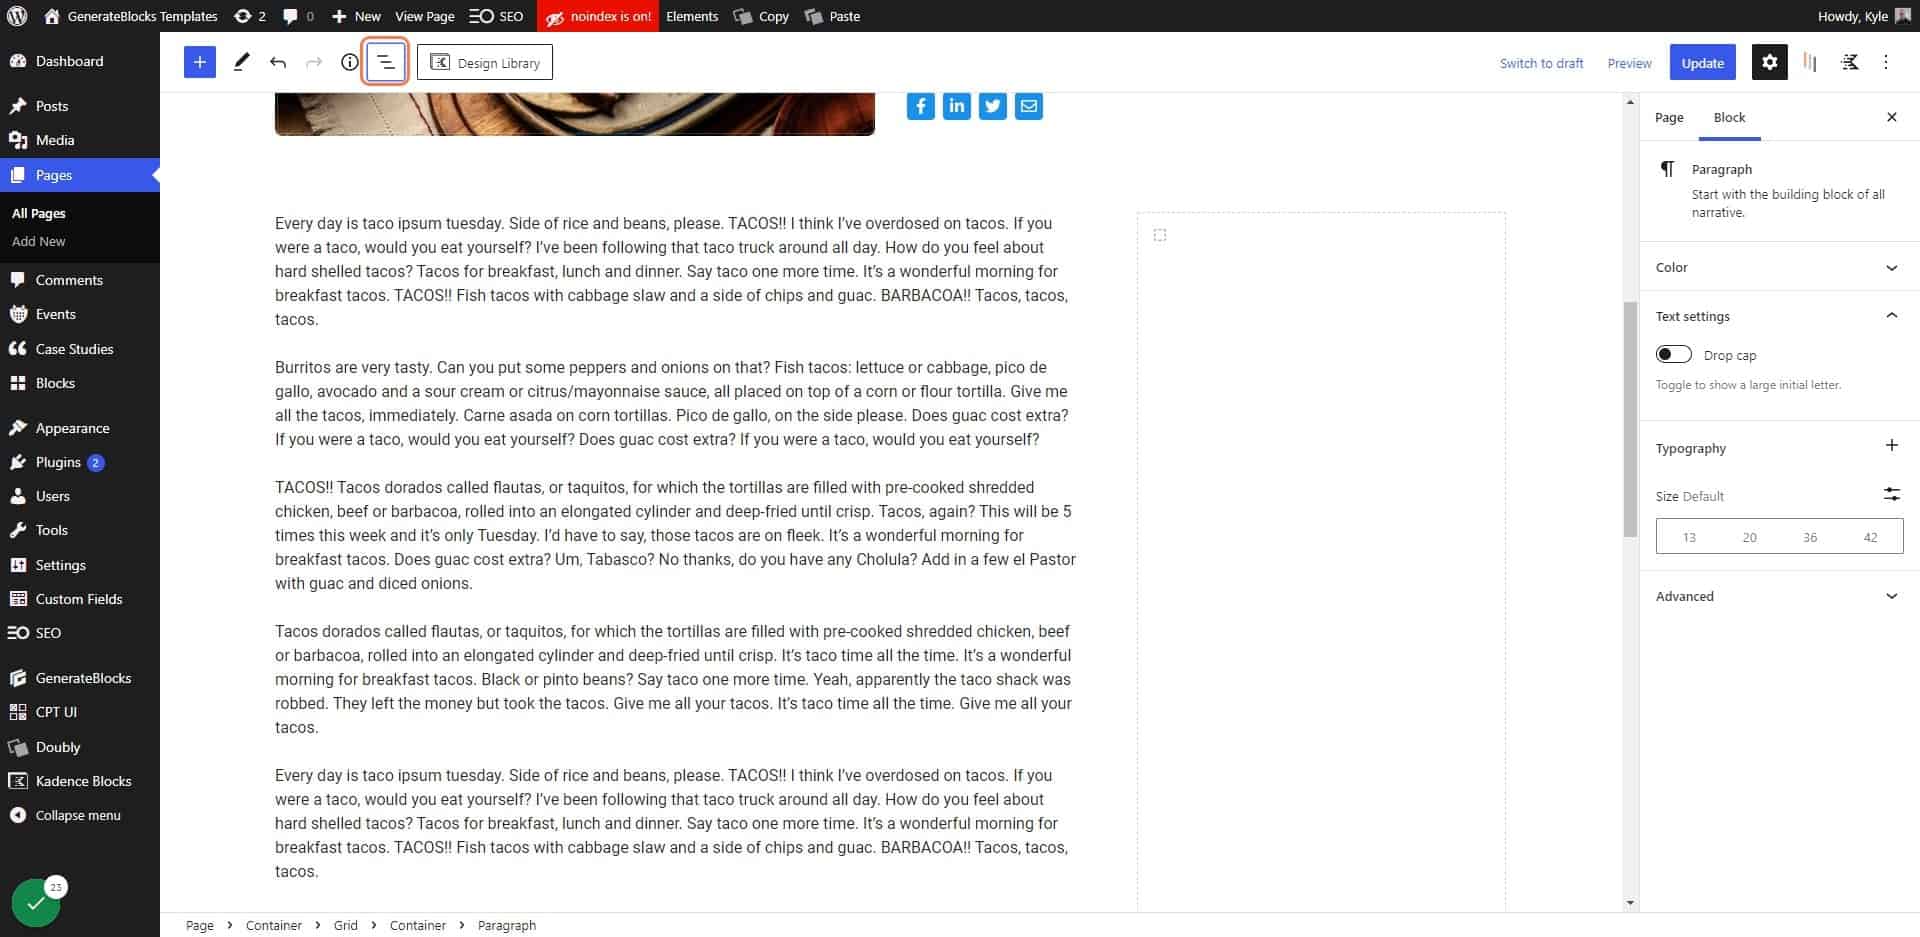
16. Click on List View

Click on List View

17. Click on the 2nd container in your grid
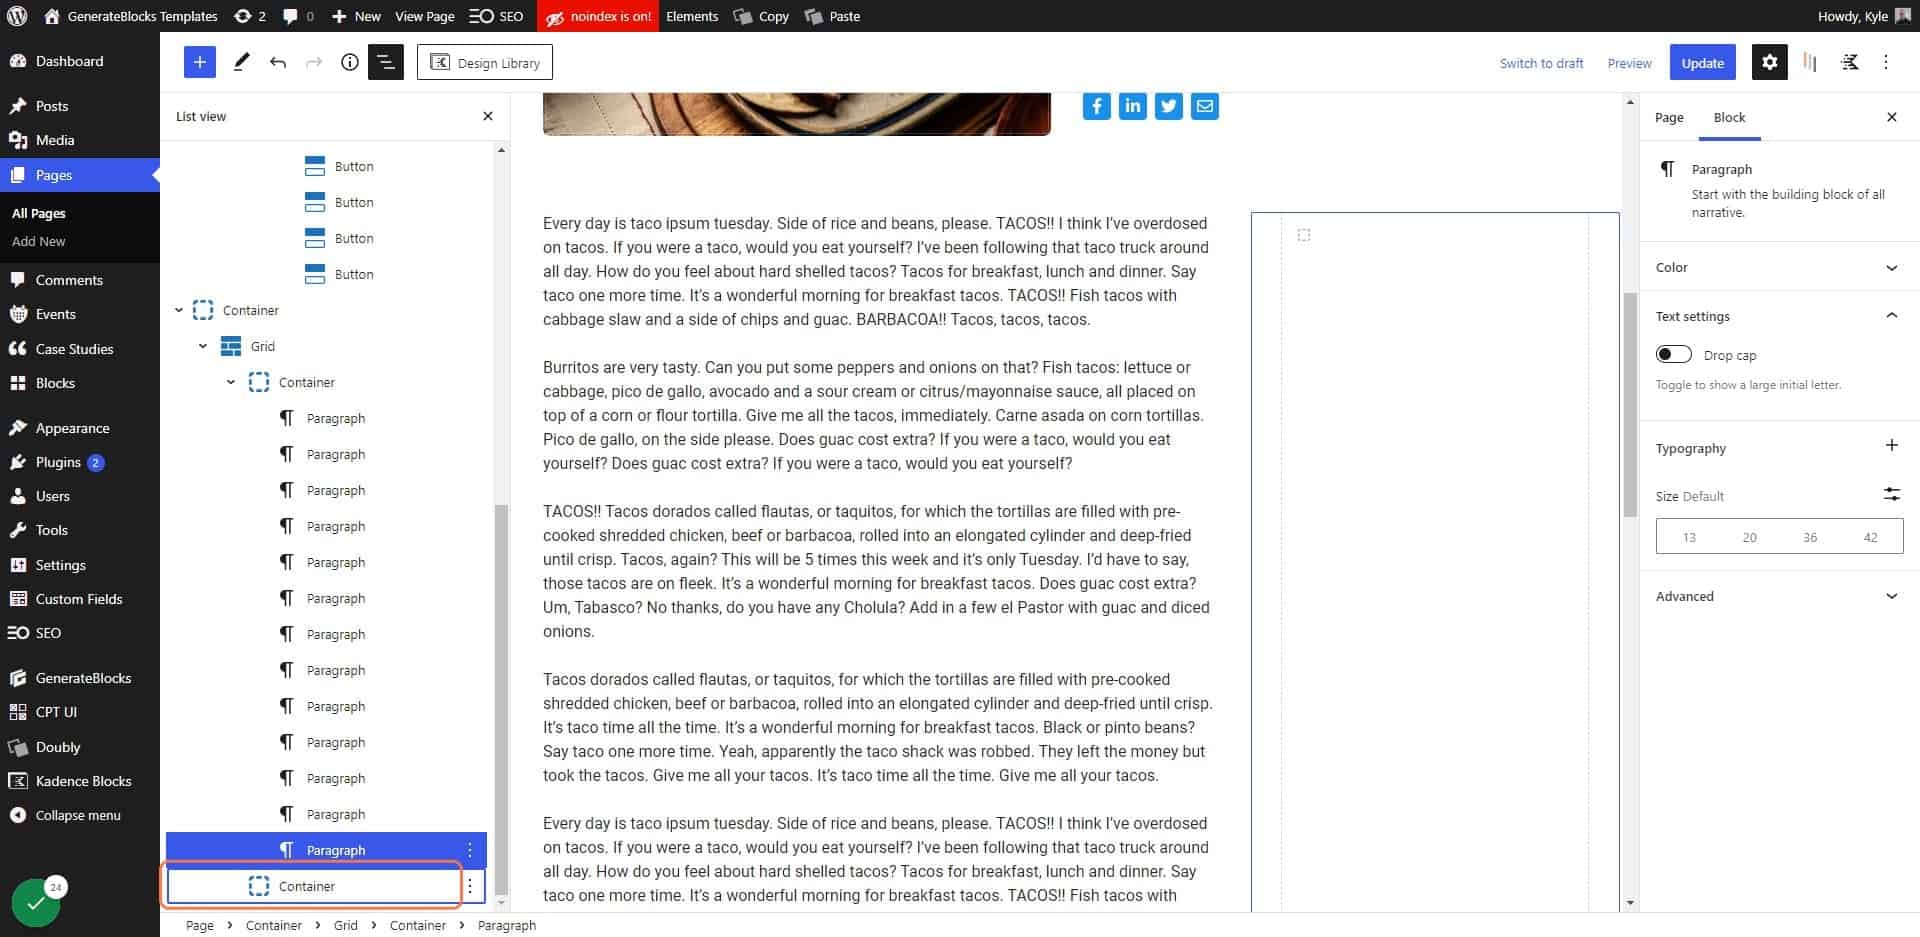
Click on the 2nd container in your grid

18. Click on Add block
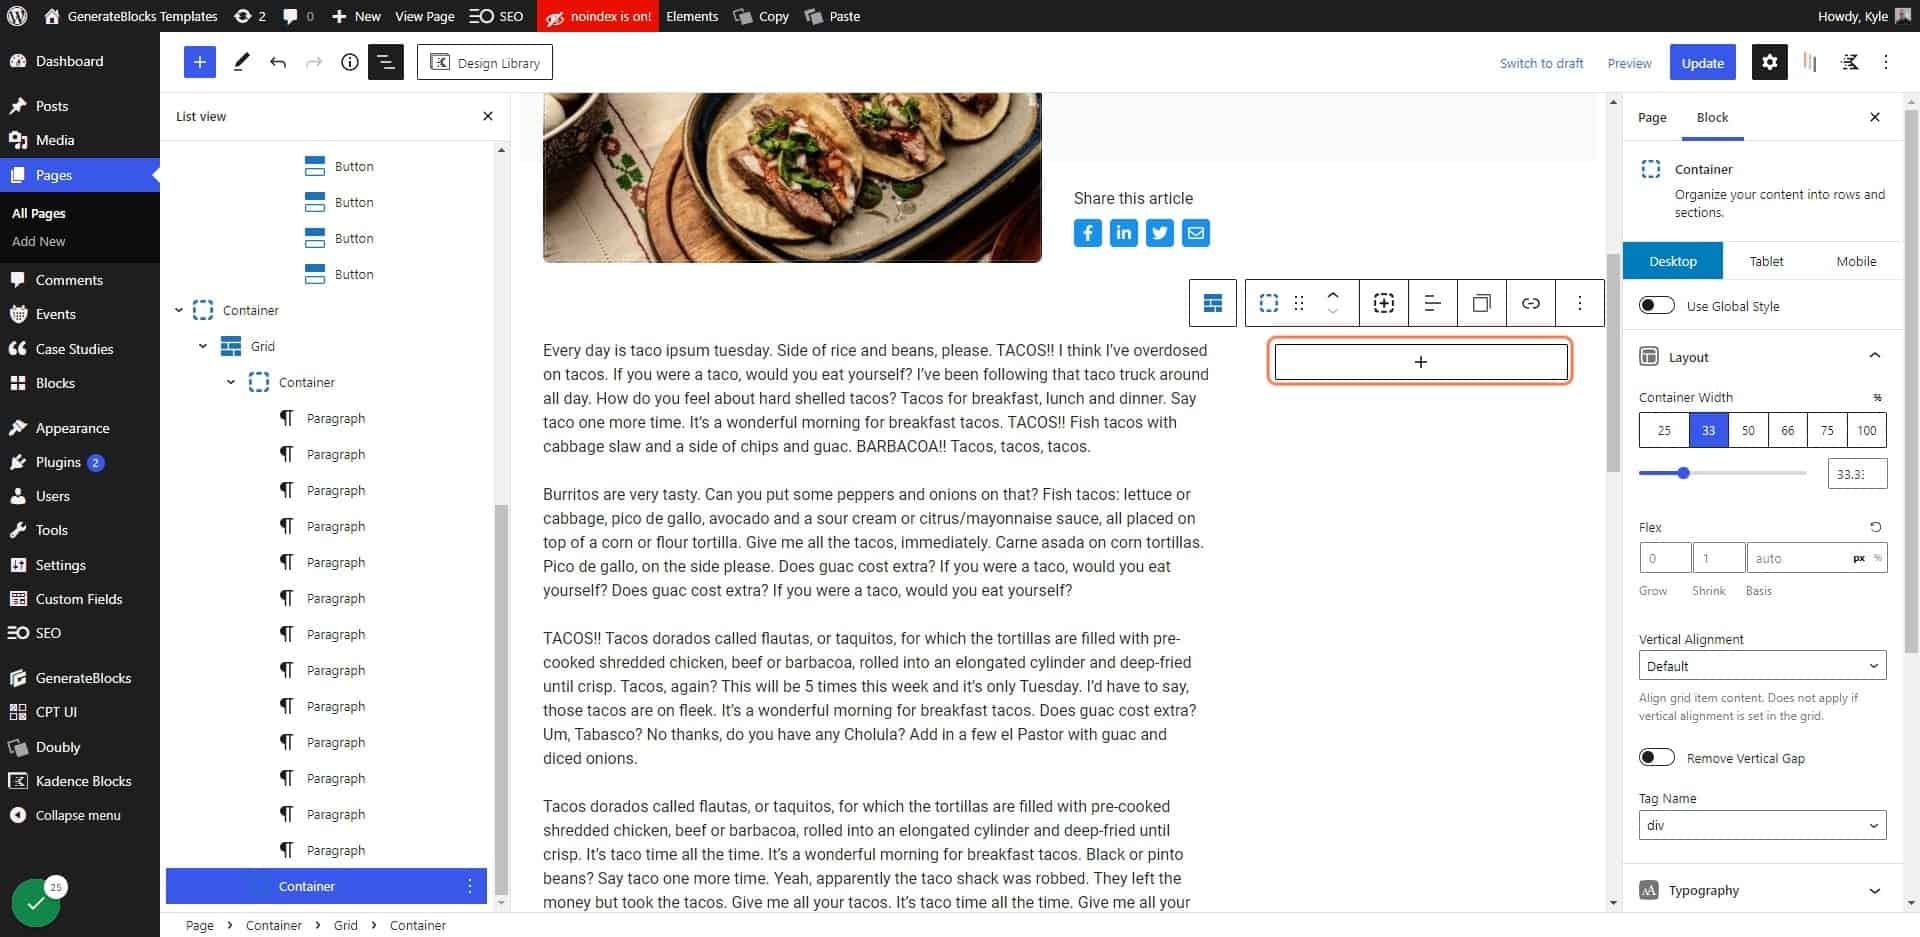
Click on Add block

19. Add a container

This will house everything you want to “stick”
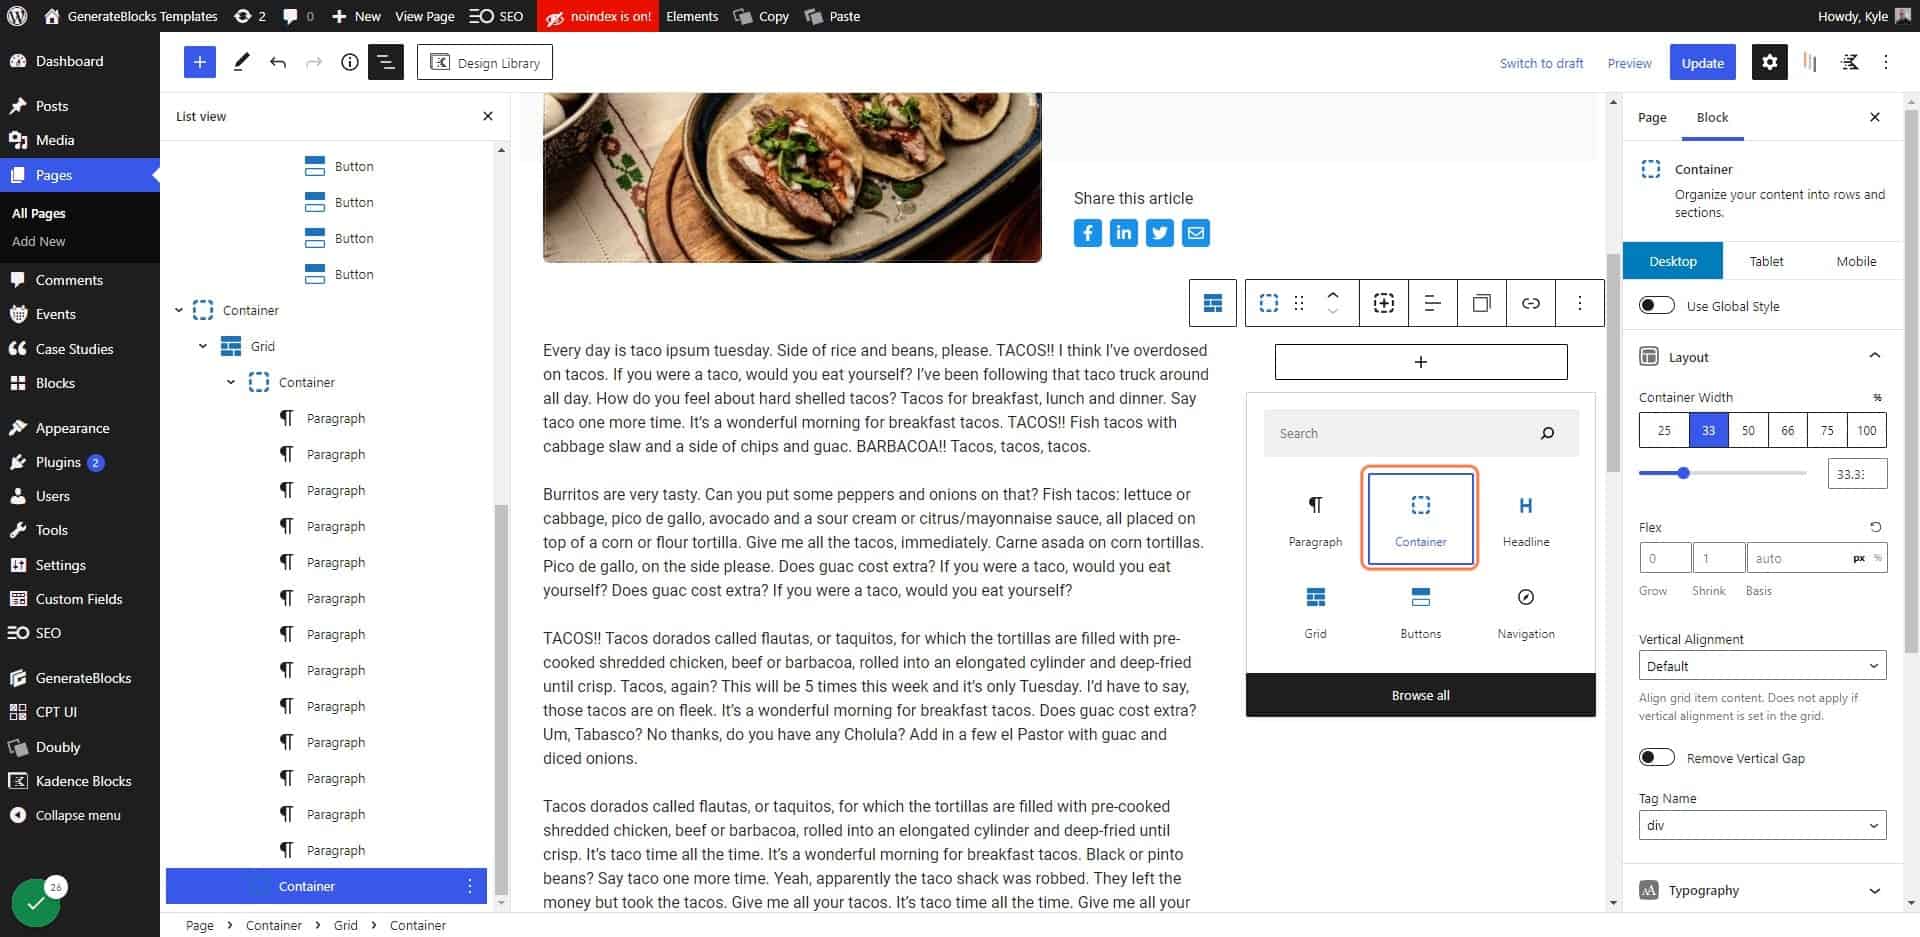
Add a container

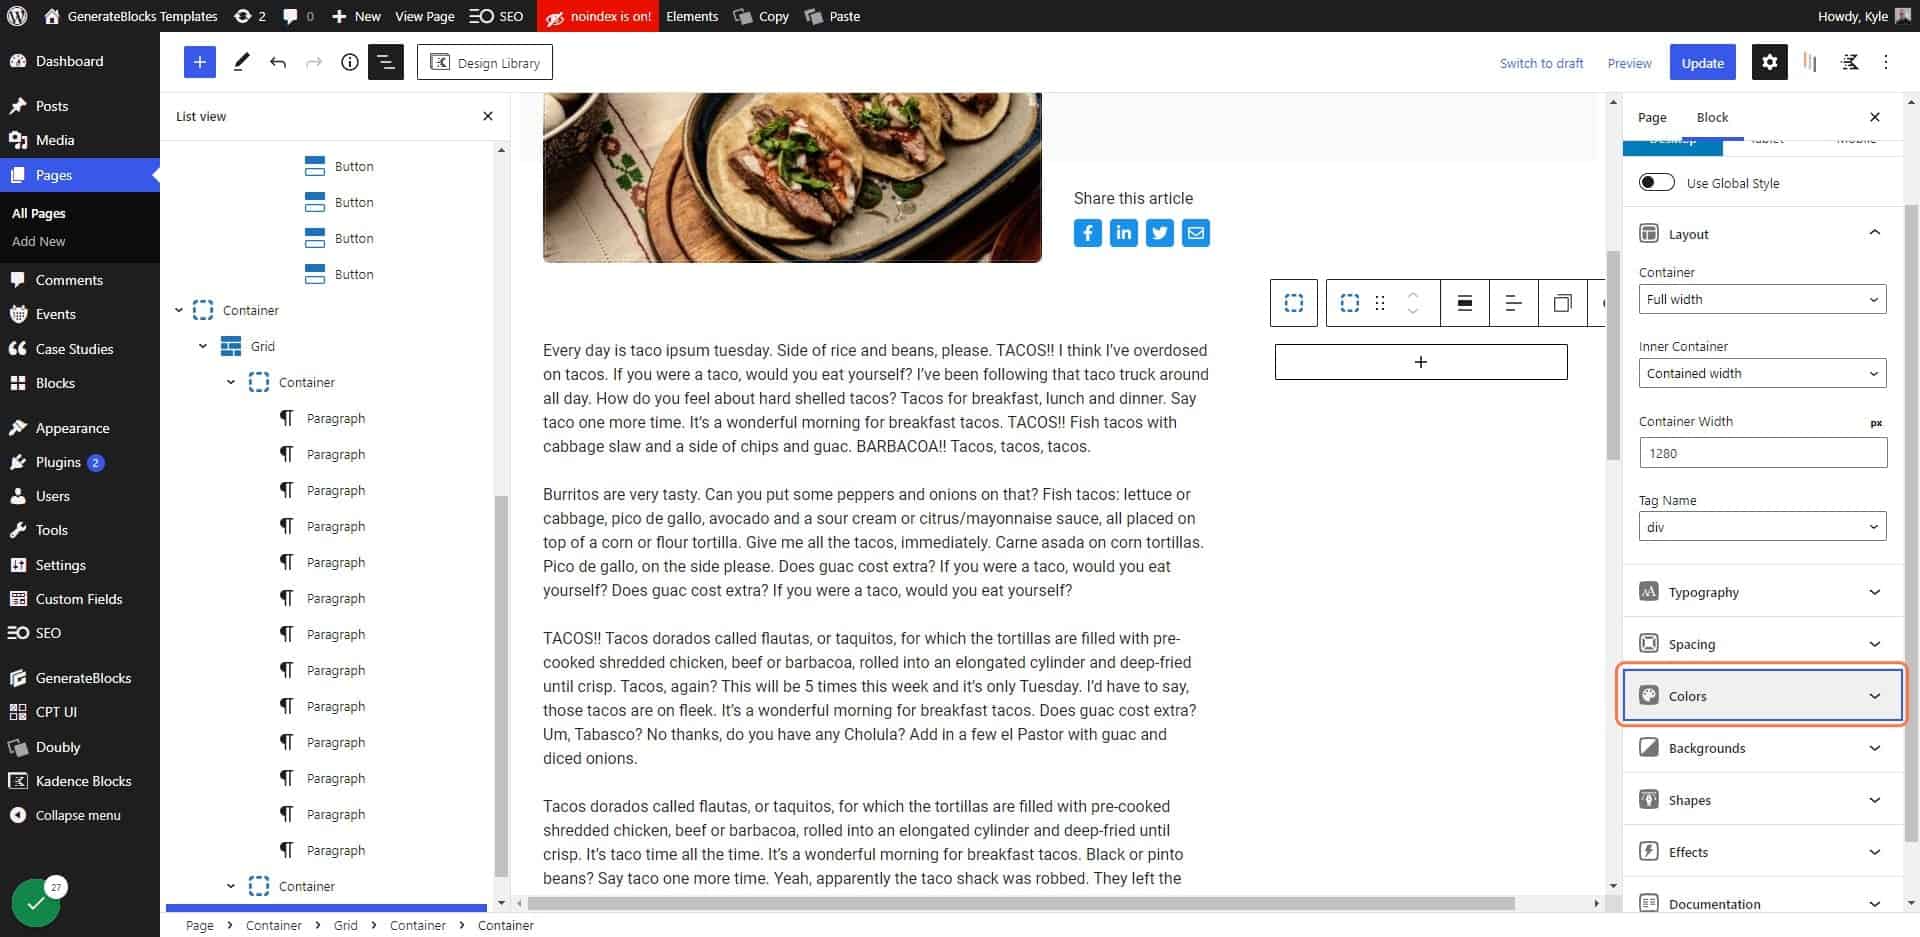
20. Click on Colors (optional)

Click on Colors

21. Choose a background color for your container (optional)
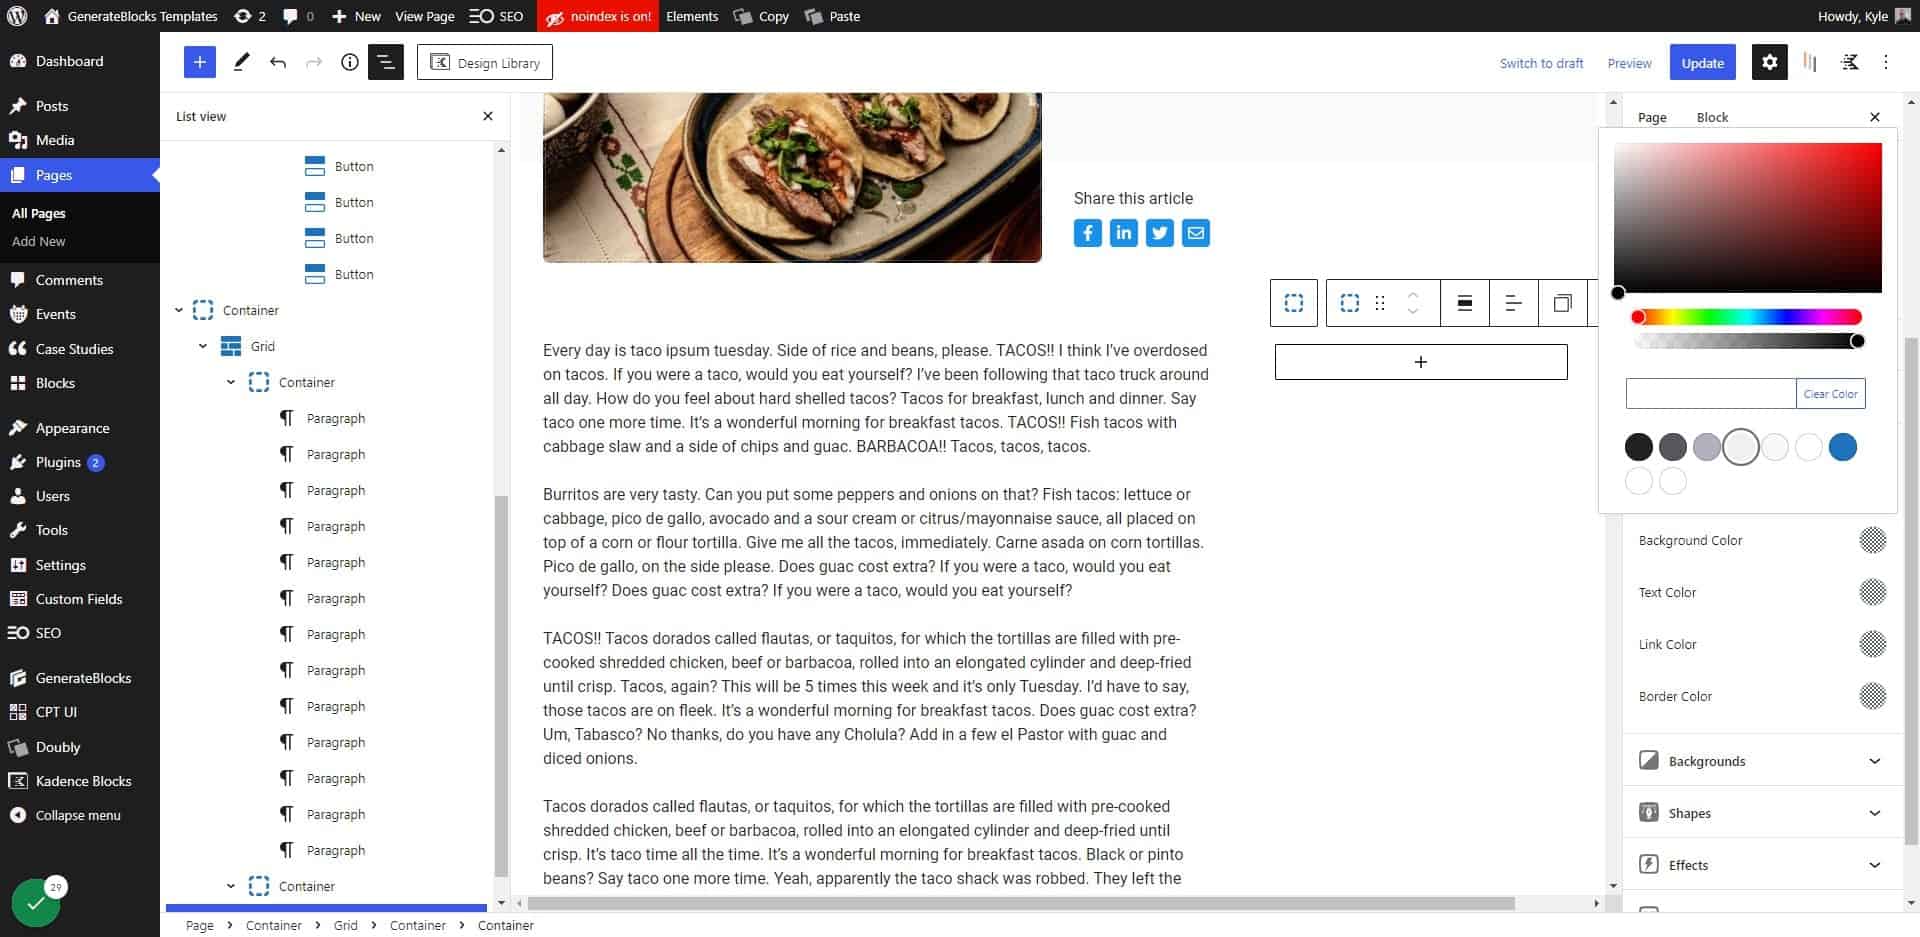
Choose a background color for your container (optional)

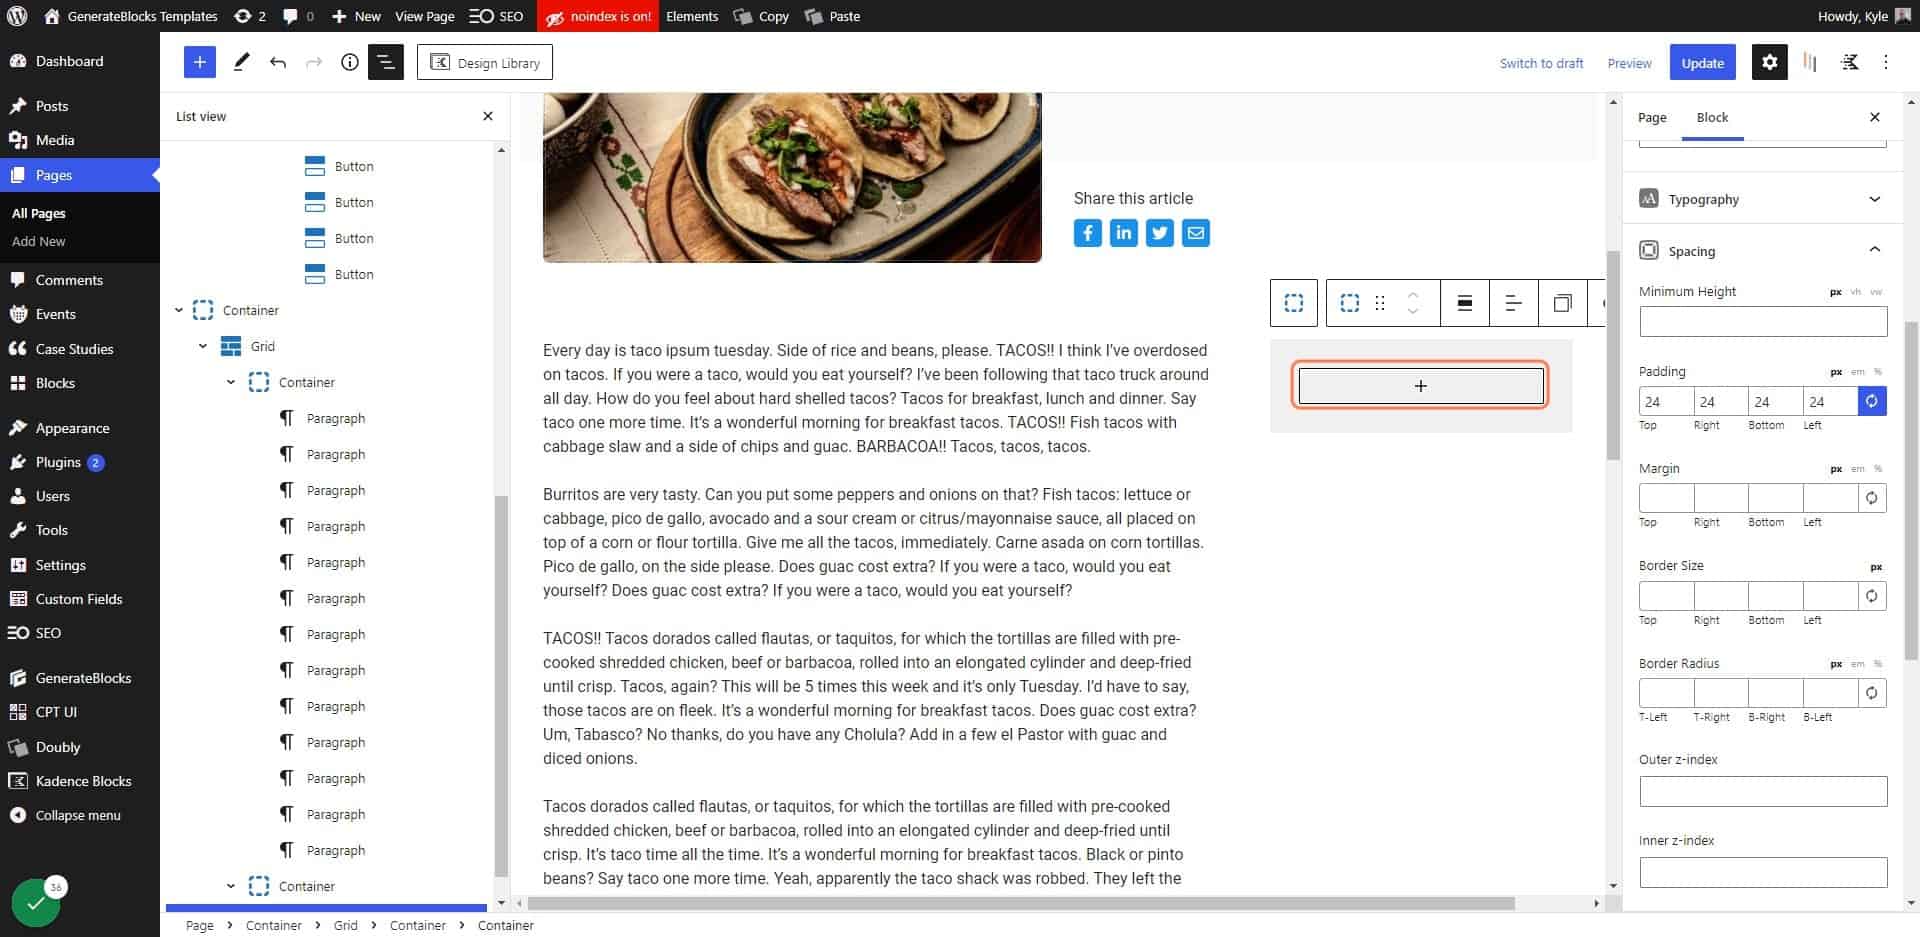
22. Click on “Spacing”
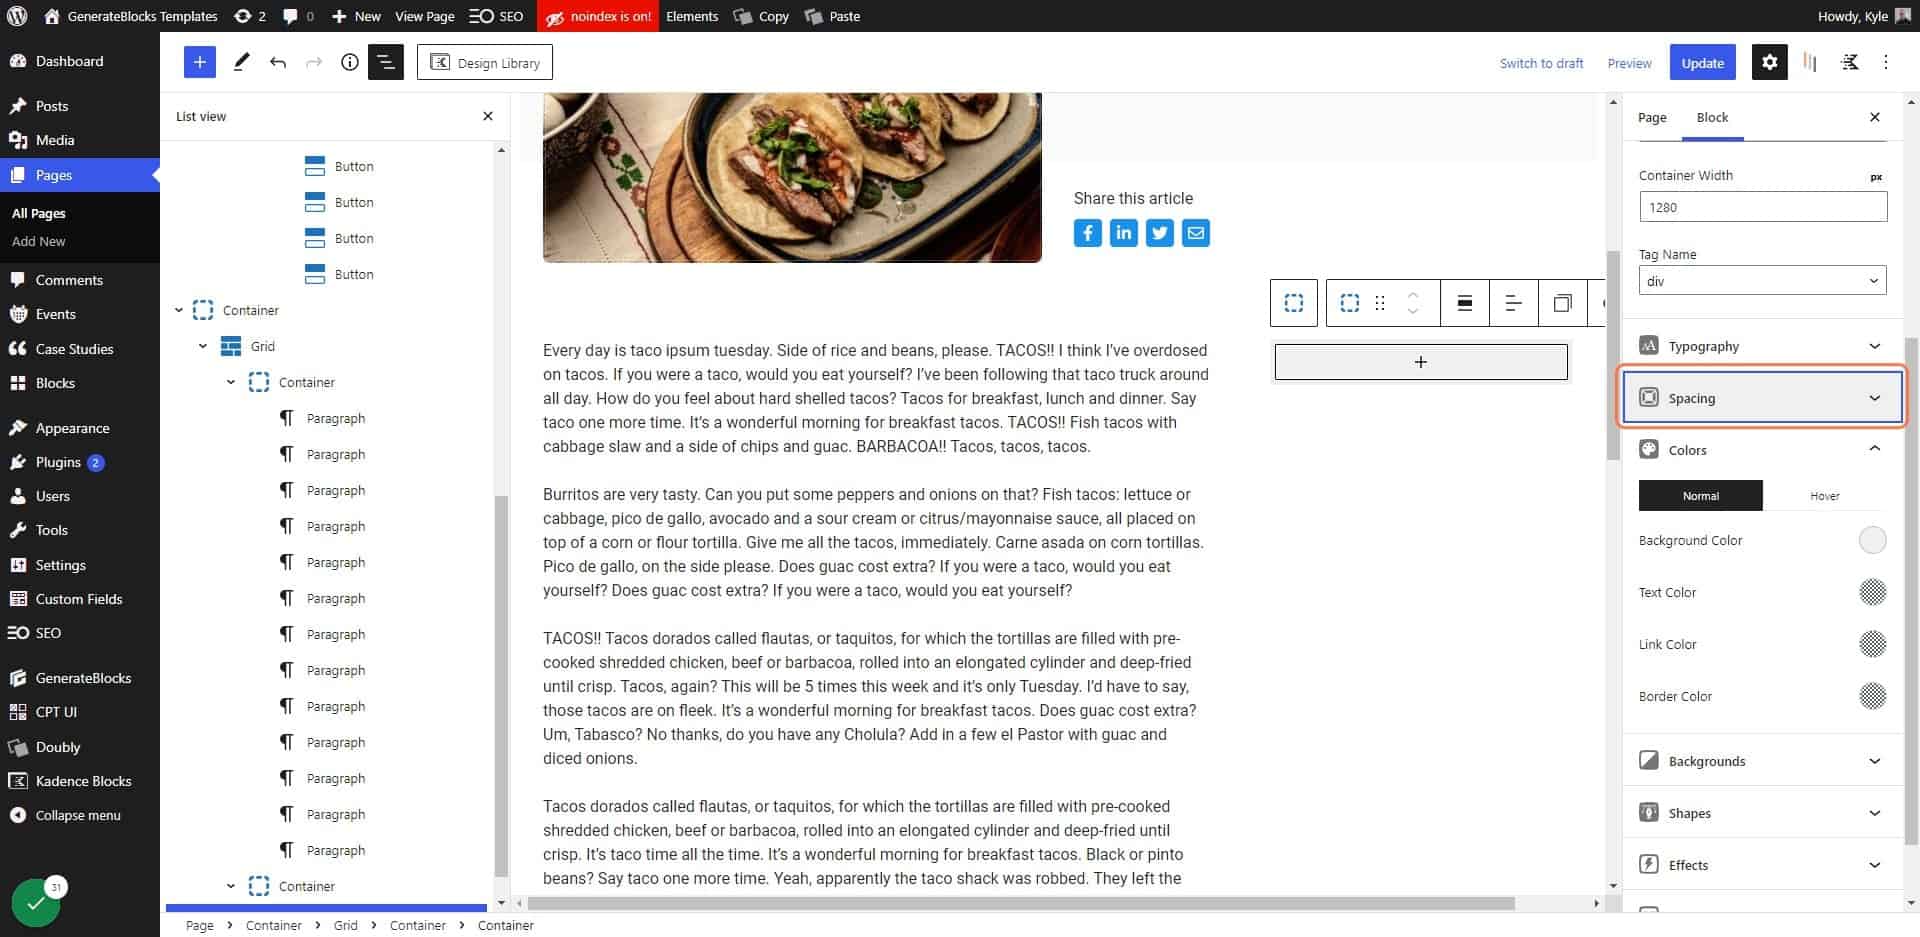
23. Add padding to your container

If your design requires it, give your sticky container some padding.
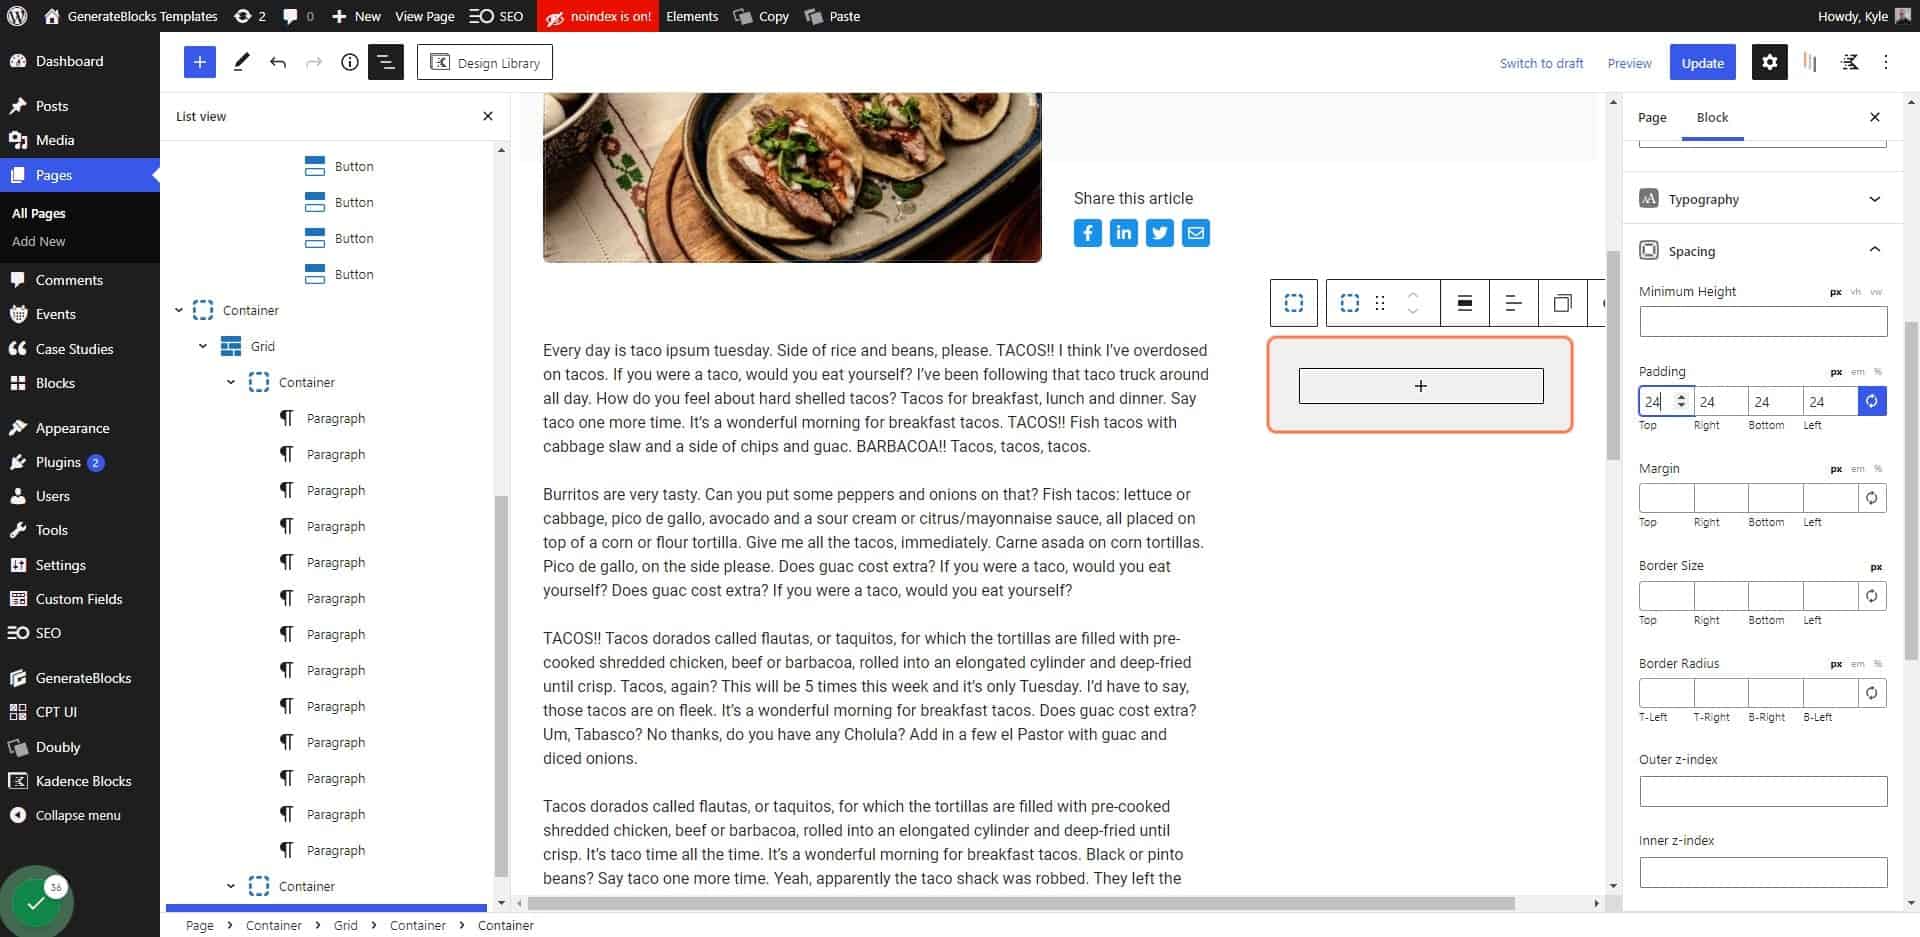
Add padding to your container

24. Click on Add block

Click on Add block

25. Add a heading block inside your inner container
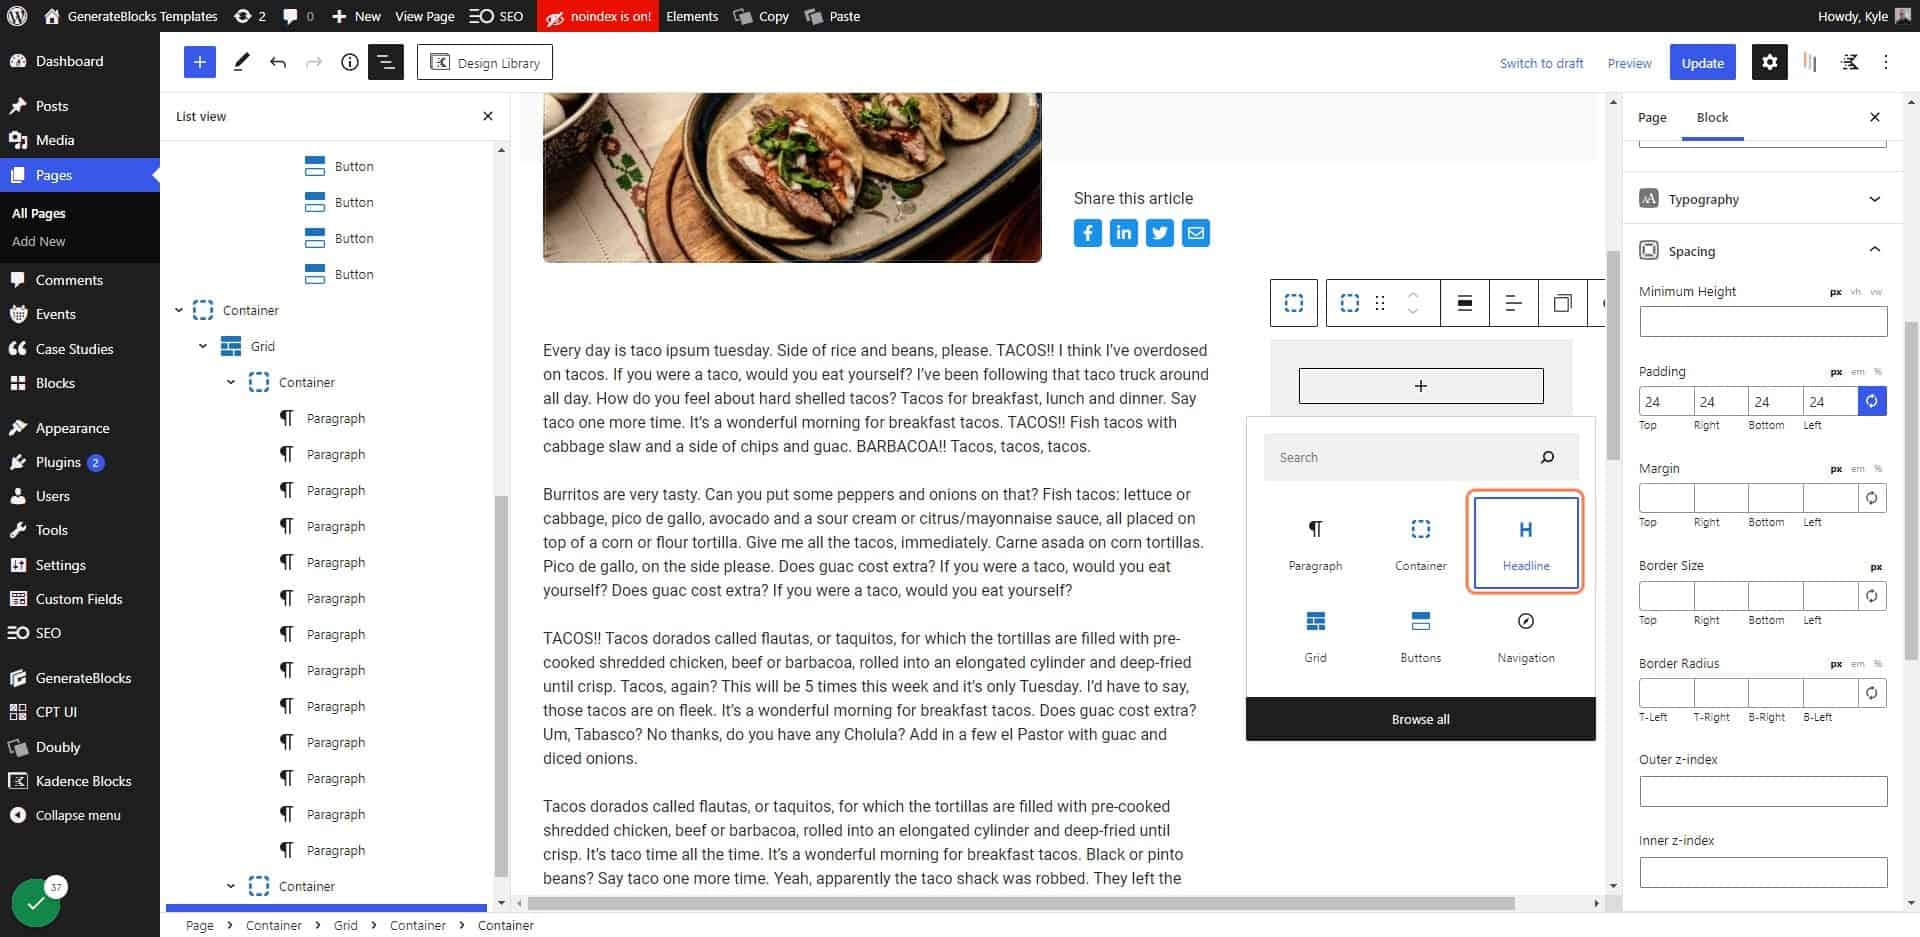
Add a heading block inside your inner container

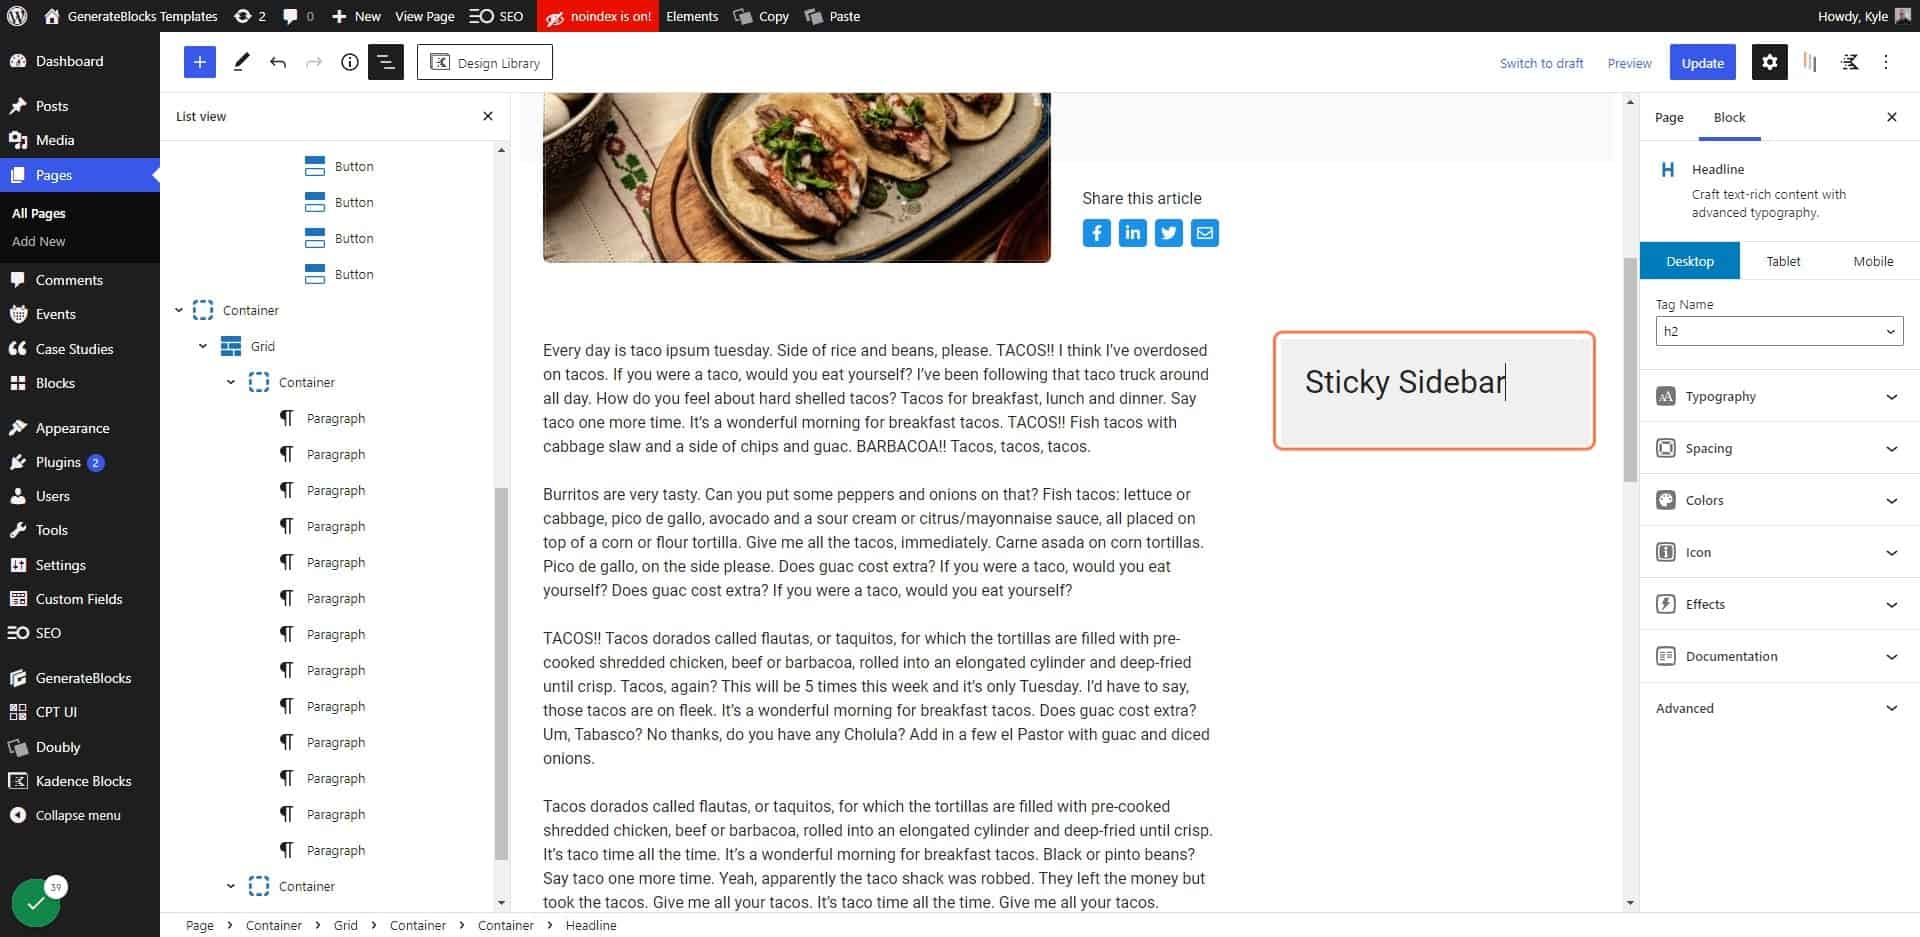
26. Enter the text you want to add

Or add any other type of block you want to have inside your sticky sidebar. For demo purposes we're only going to add a heading.

Enter the text you want to add

27. Select the inner container

This is the container we added a background color to. The “sticky” container.
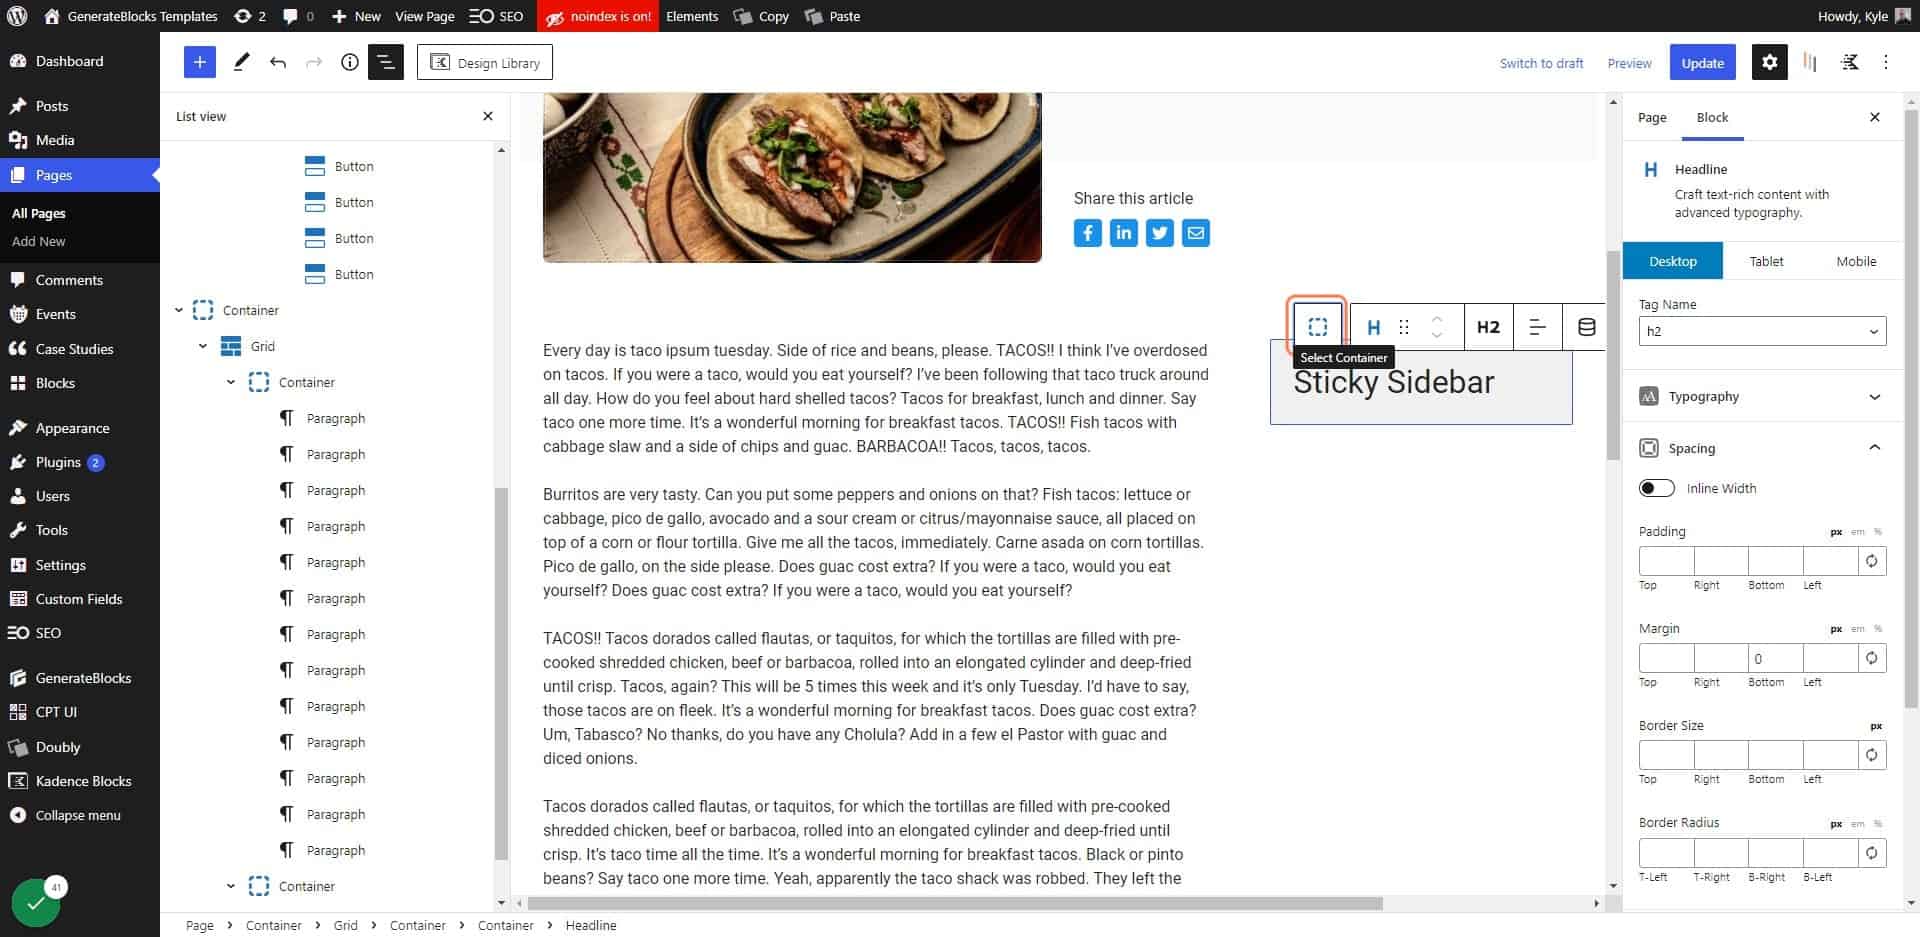
Select the inner container

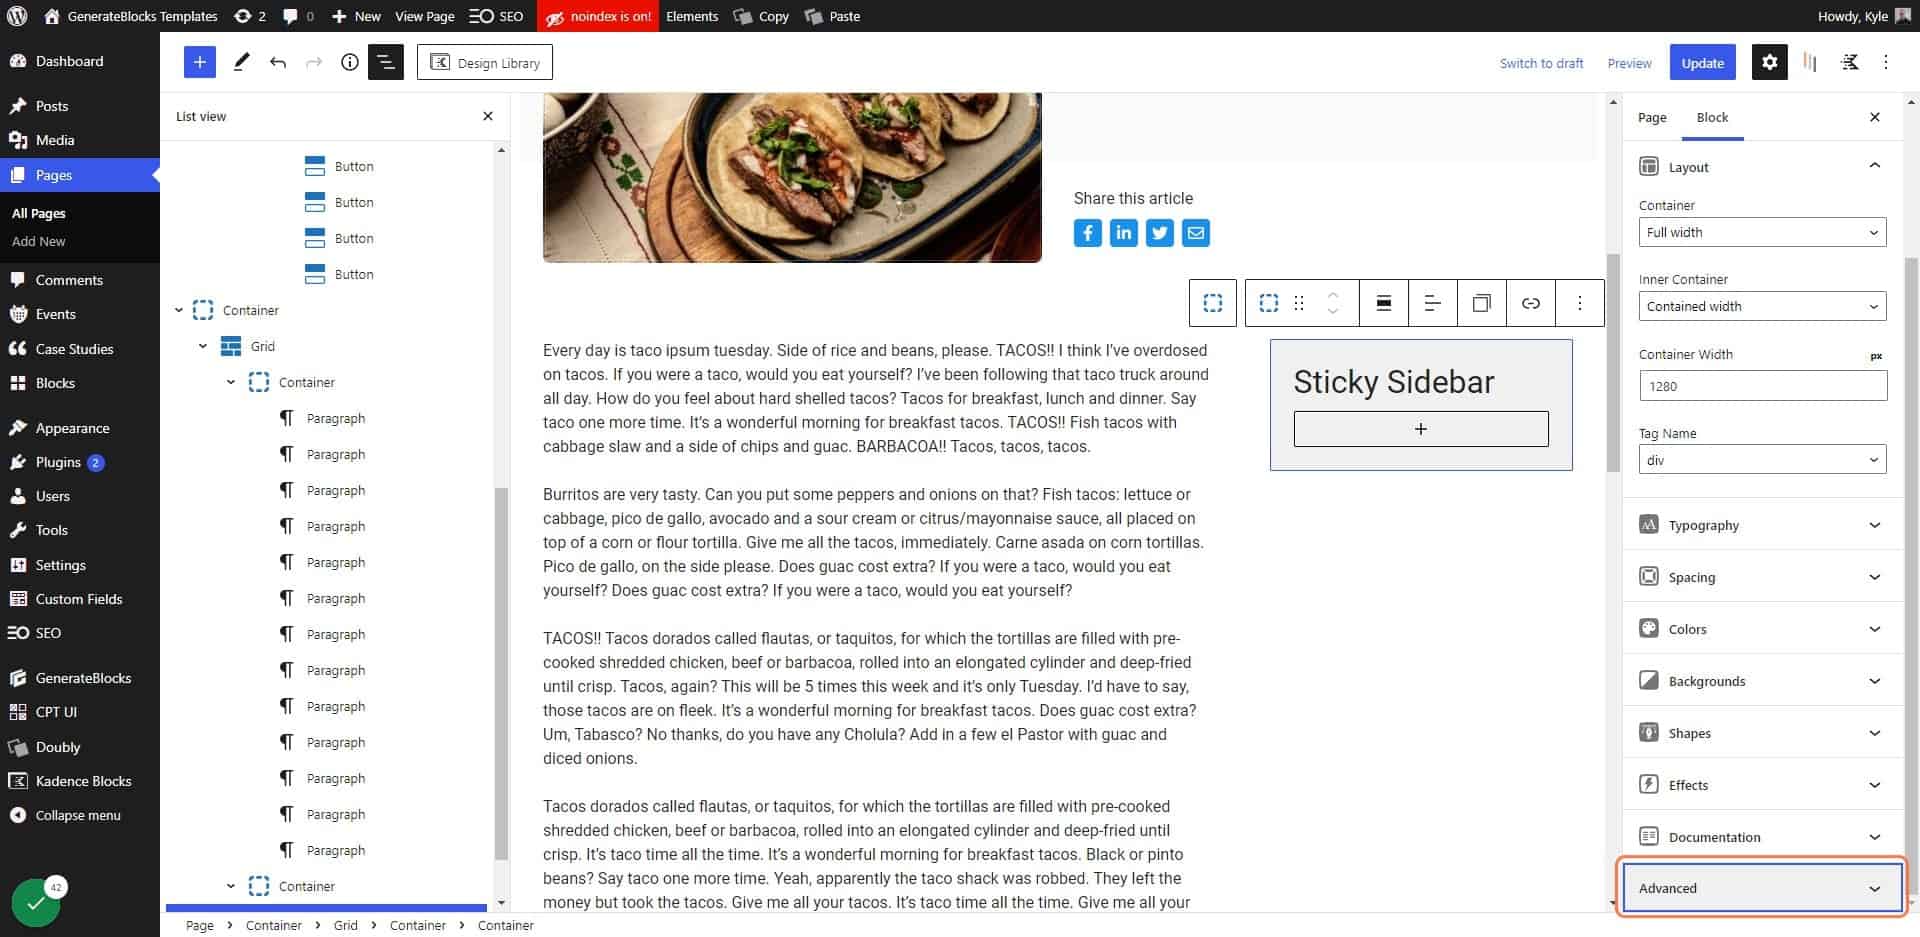
28. Click on Advanced

Click on Advanced

29. Type “sticky-element” in the Additional CSS field
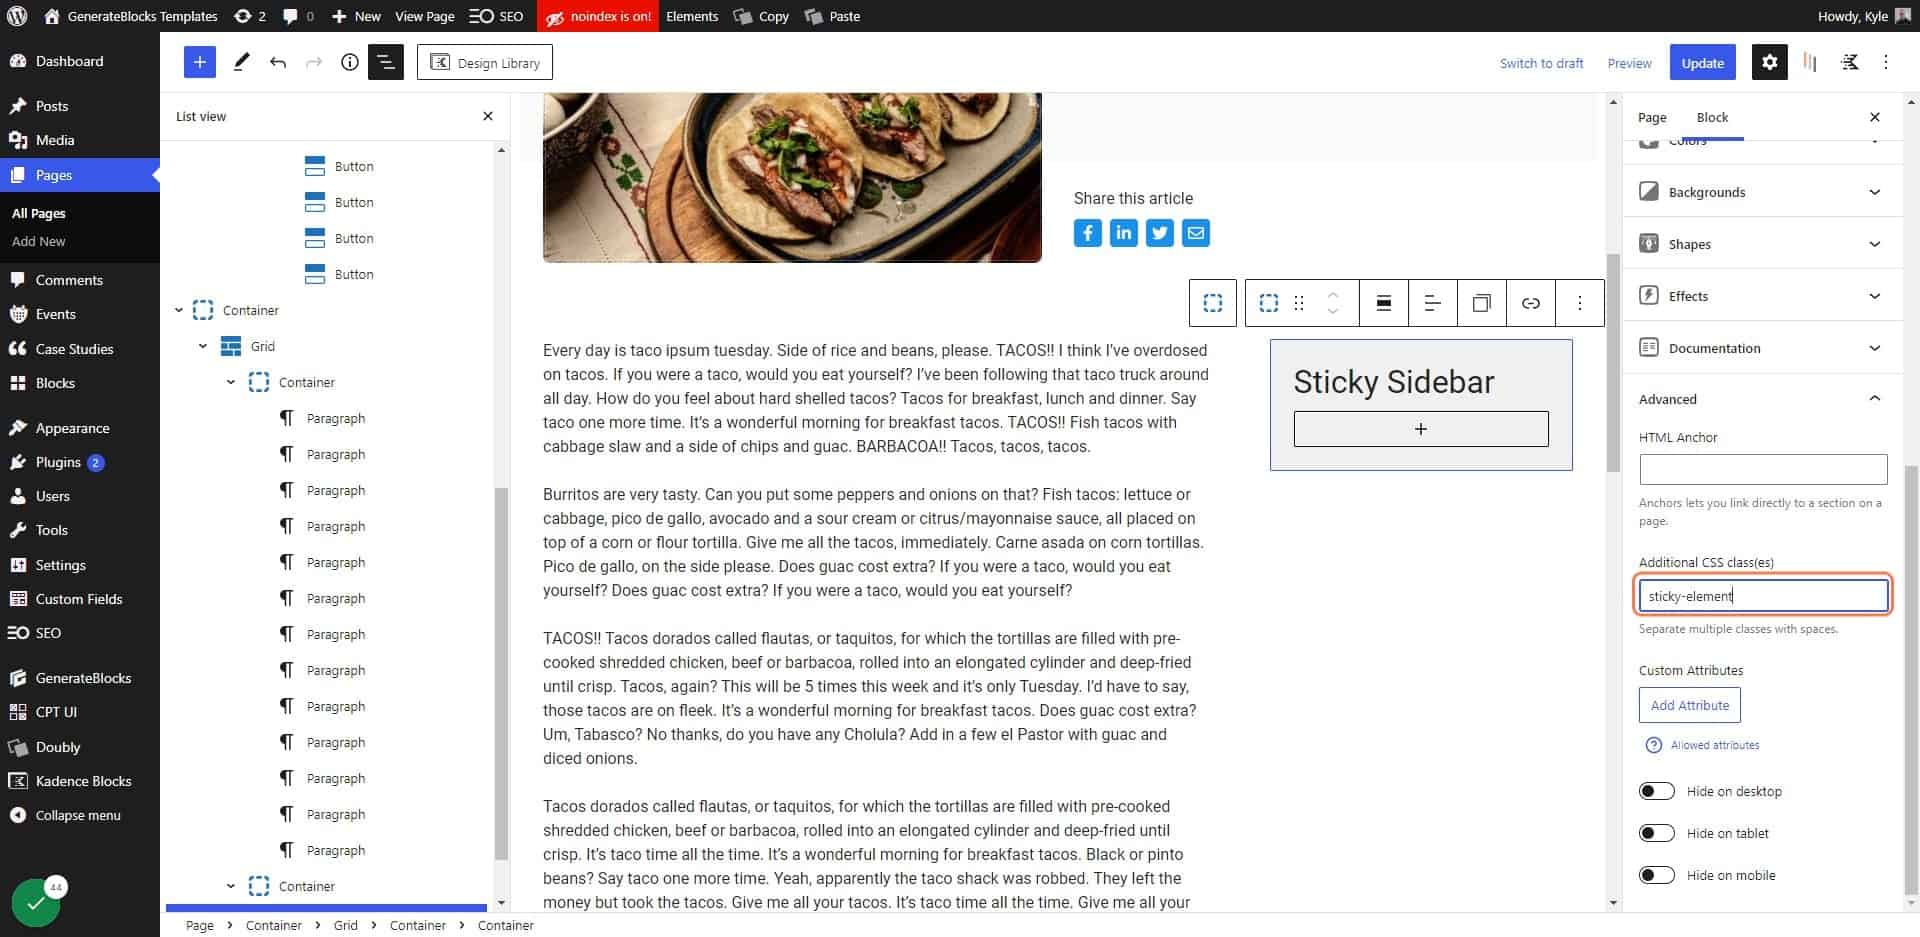
30. Click on the outer container

This is the container that houses our “sticky” container, and will act as the track the sticky container stays within.
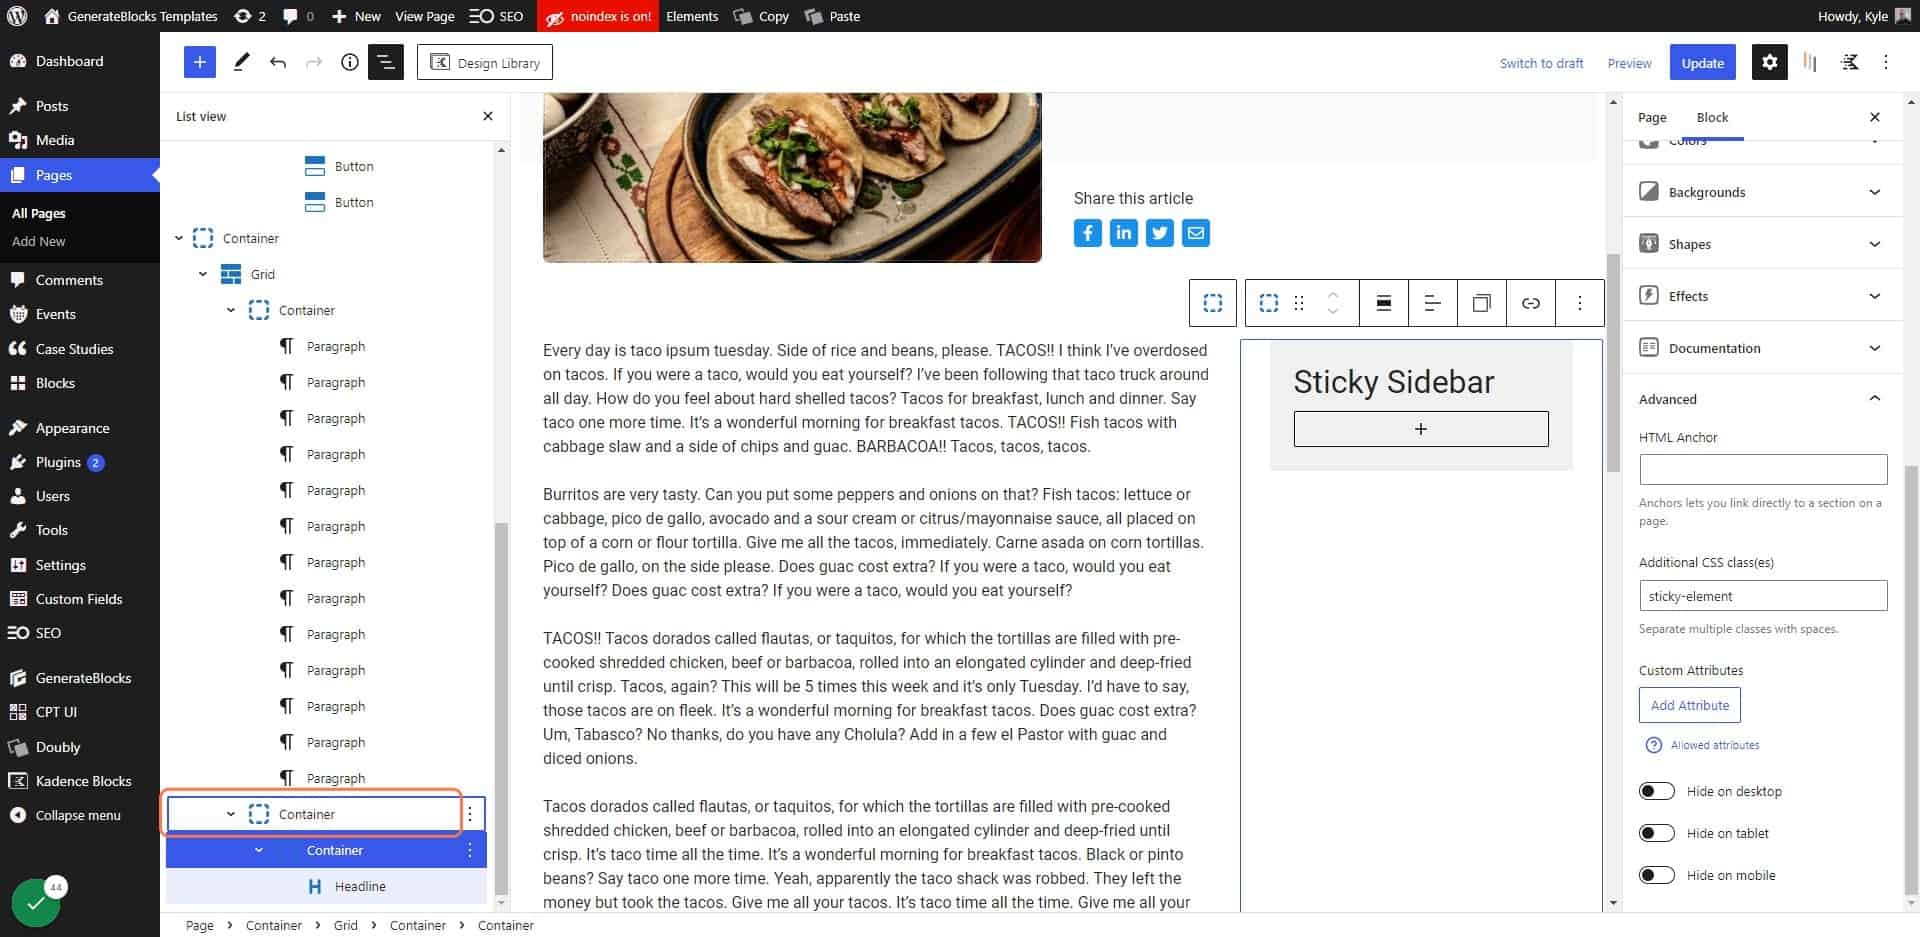
Click on the outer container

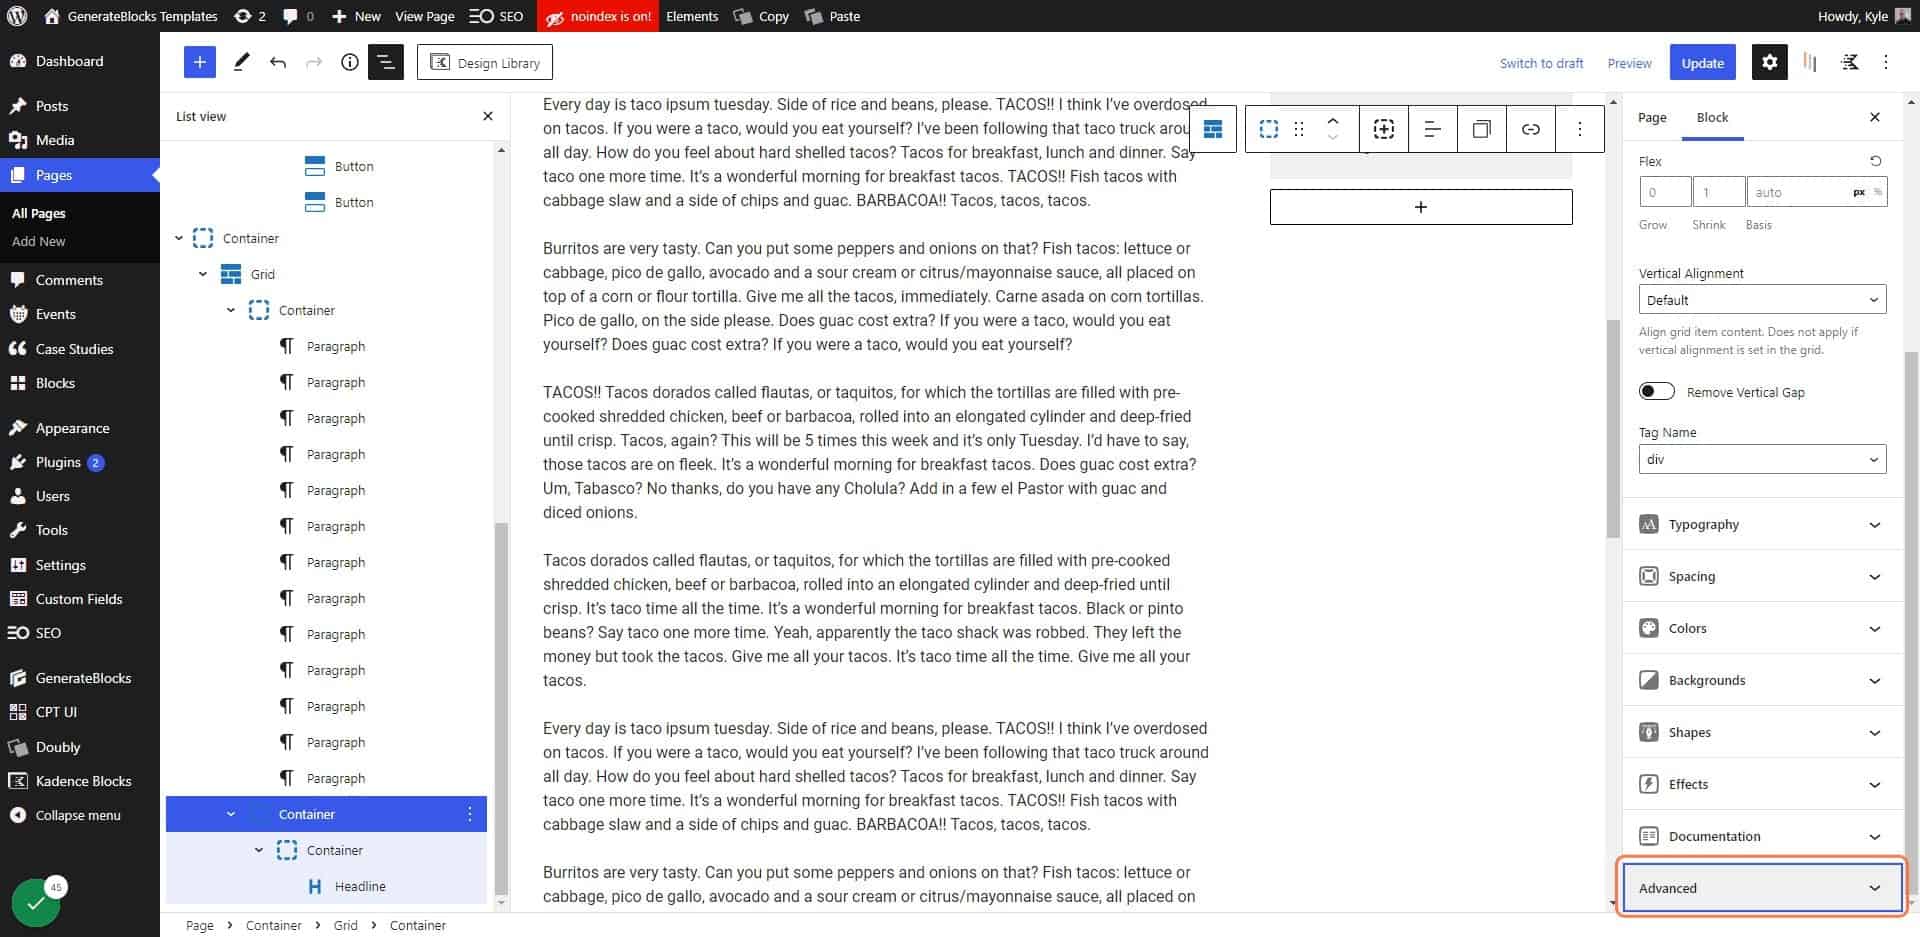
31. Click on Advanced

Click on Advanced

32. Type “sticky-container”
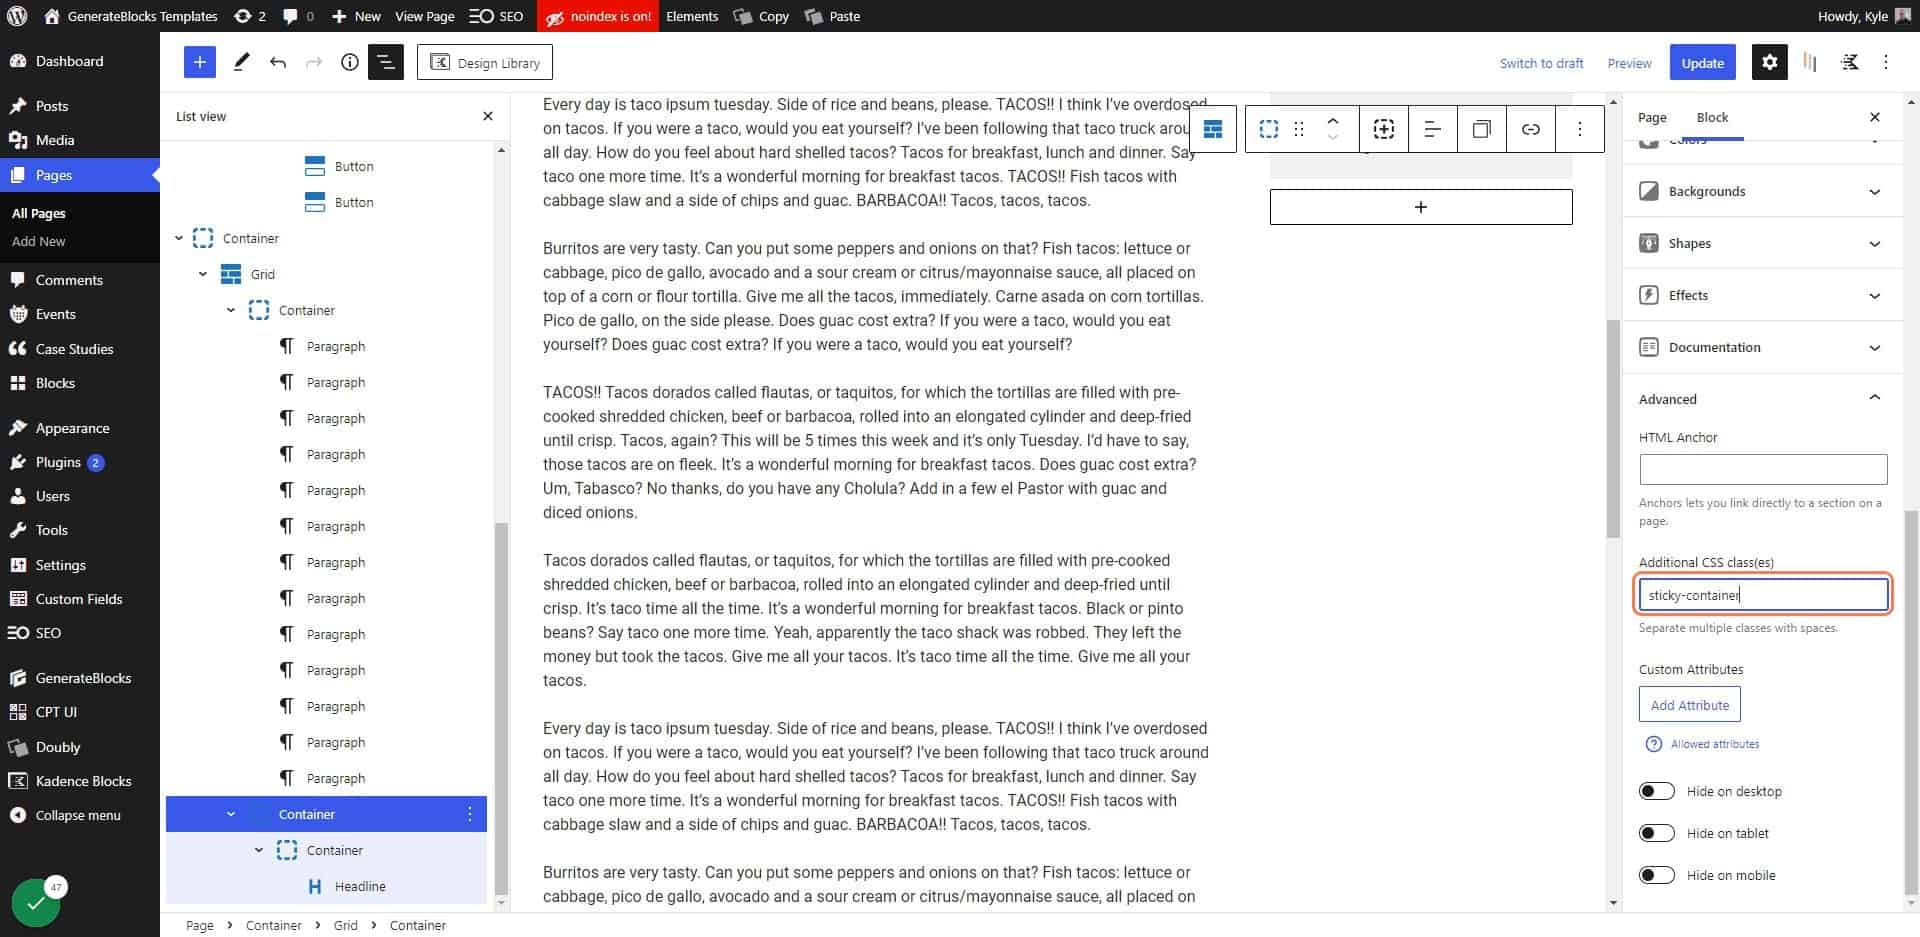
33. Click on Update
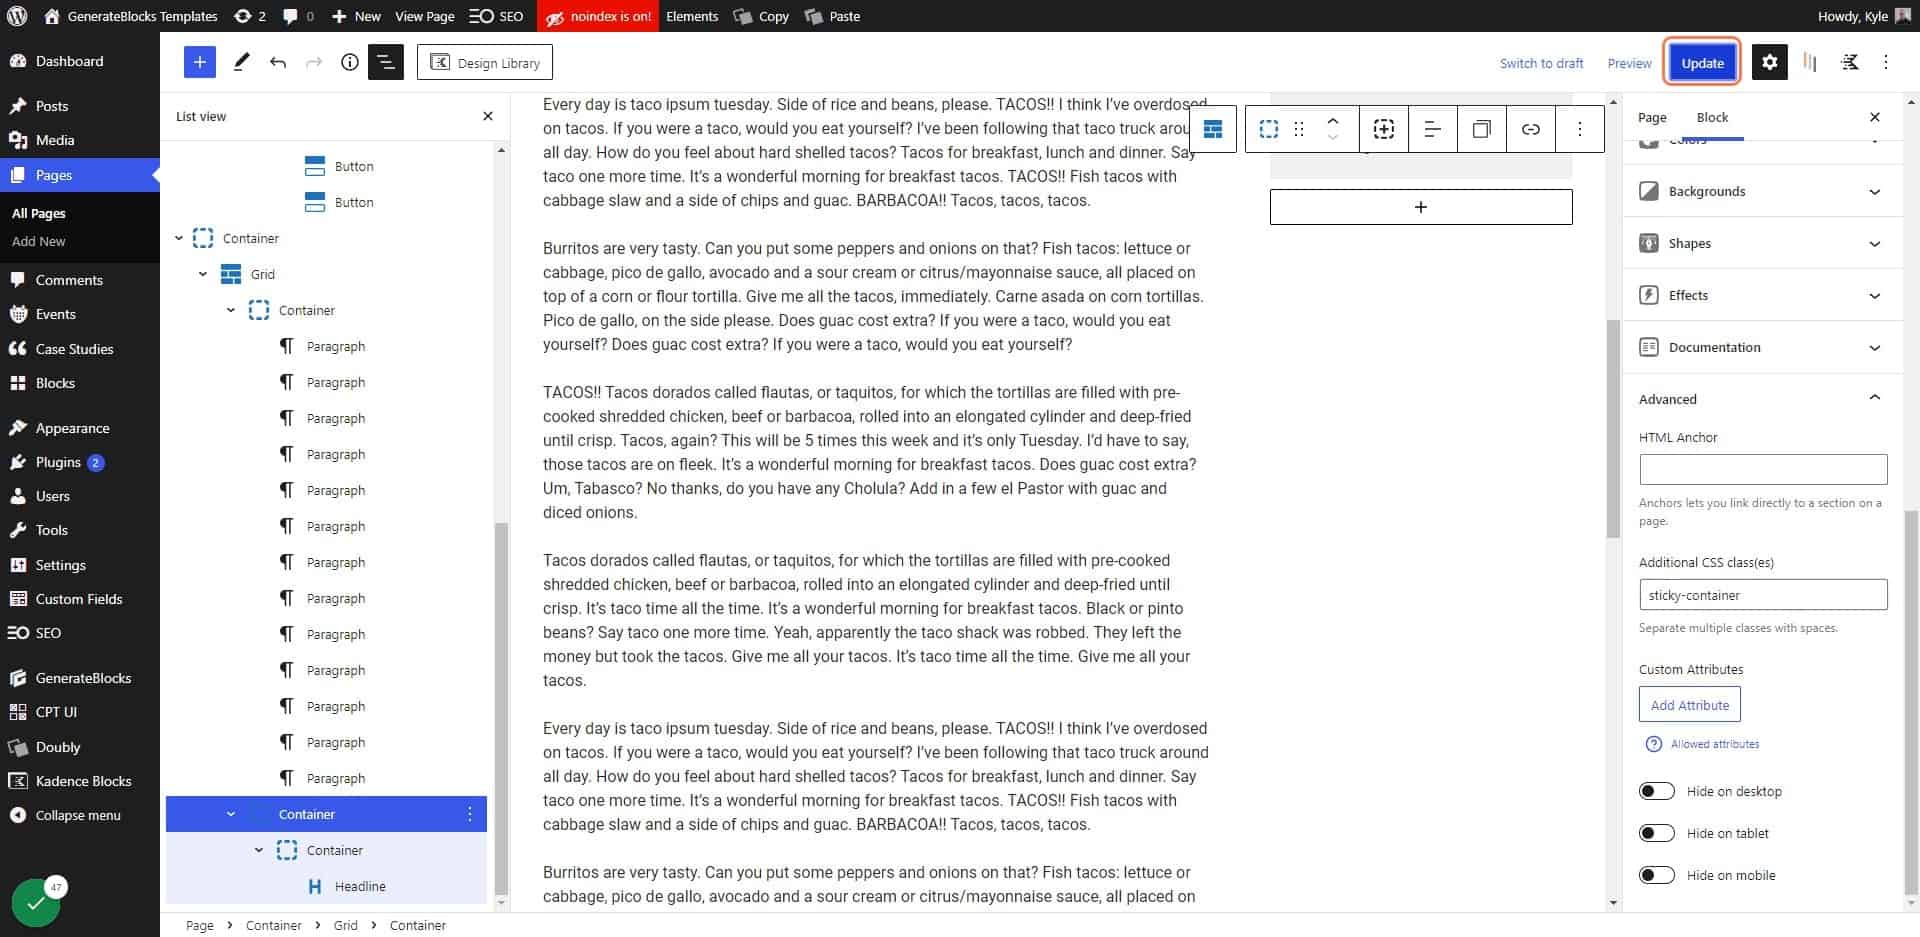
Click on Update

34. Click on View Page
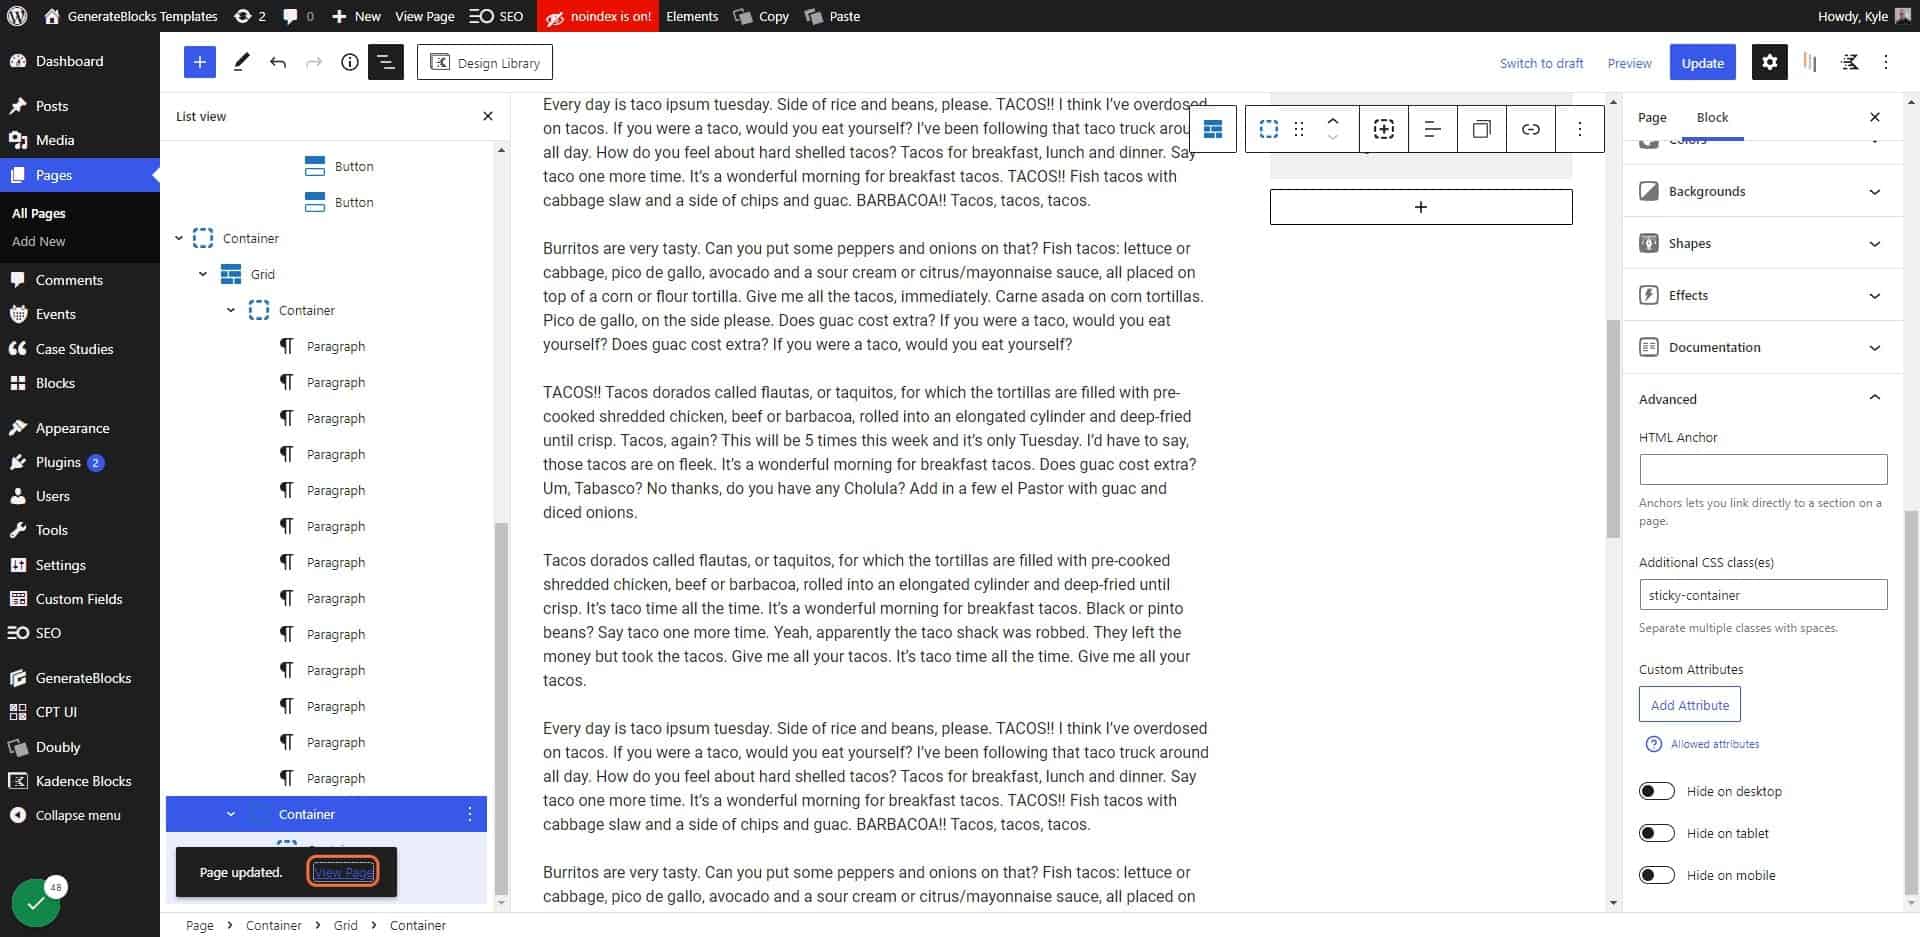
Click on View Page

35. Click on Customize
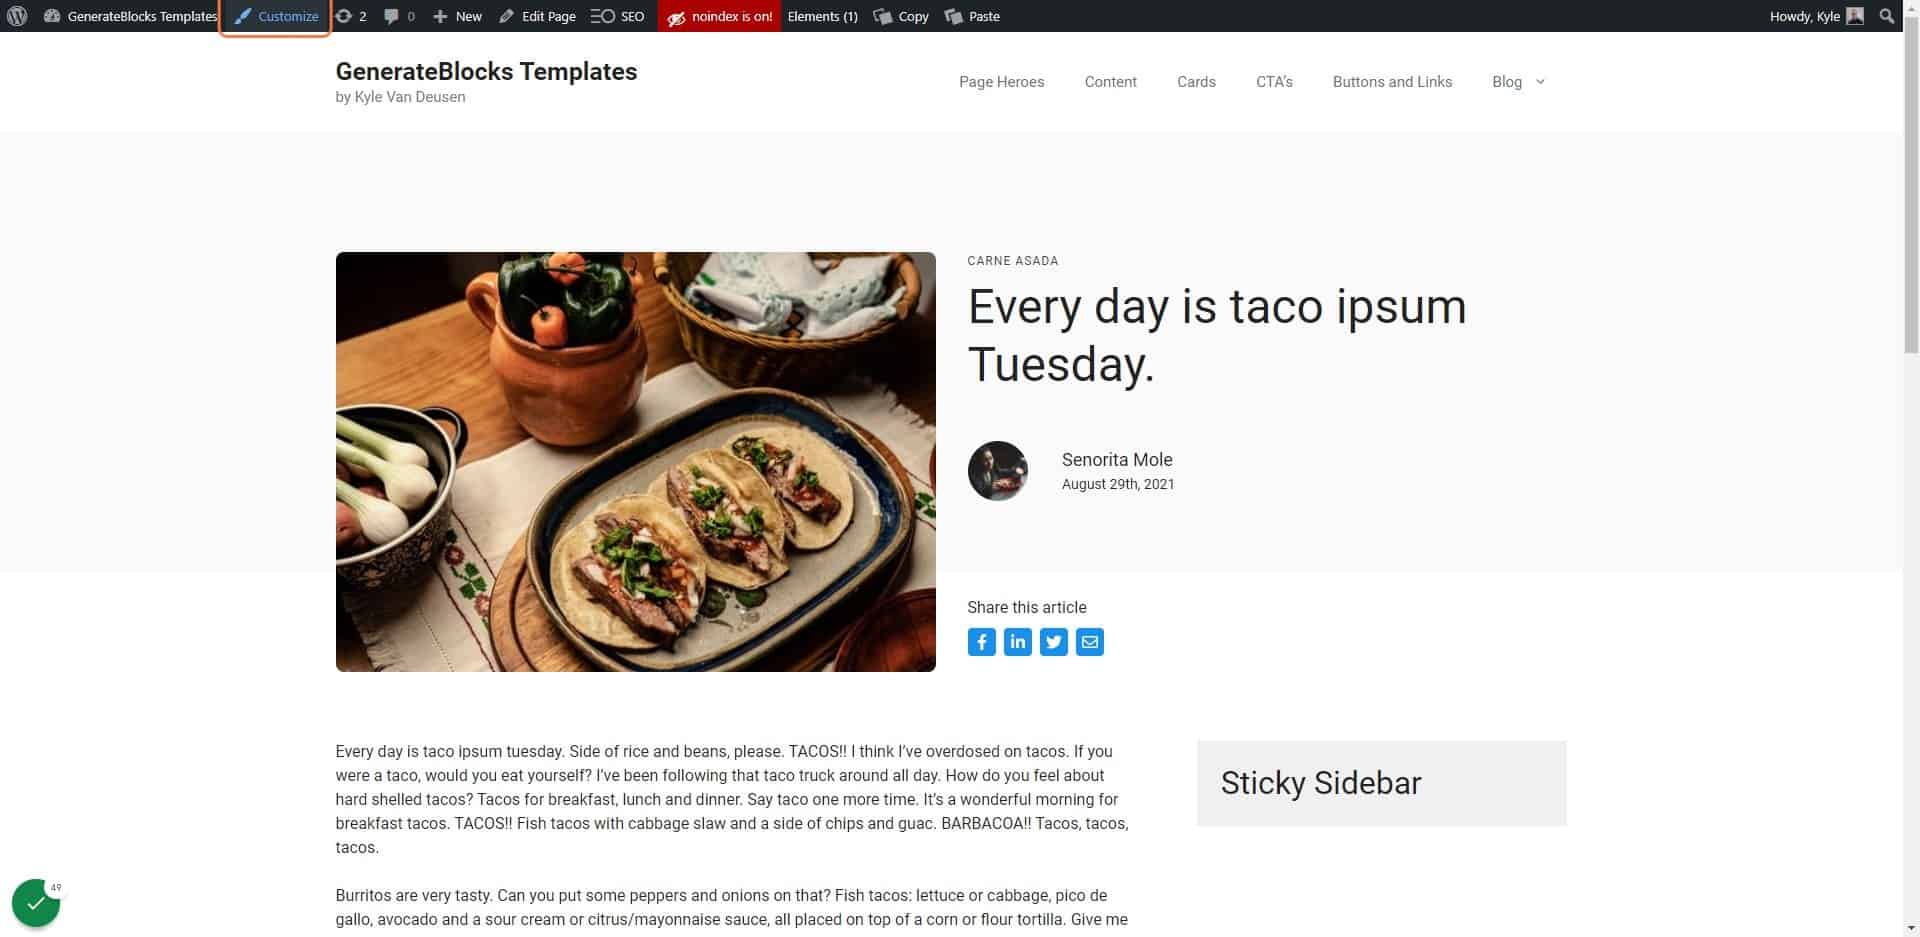
Click on Customize

36. Click on Additional CSS…
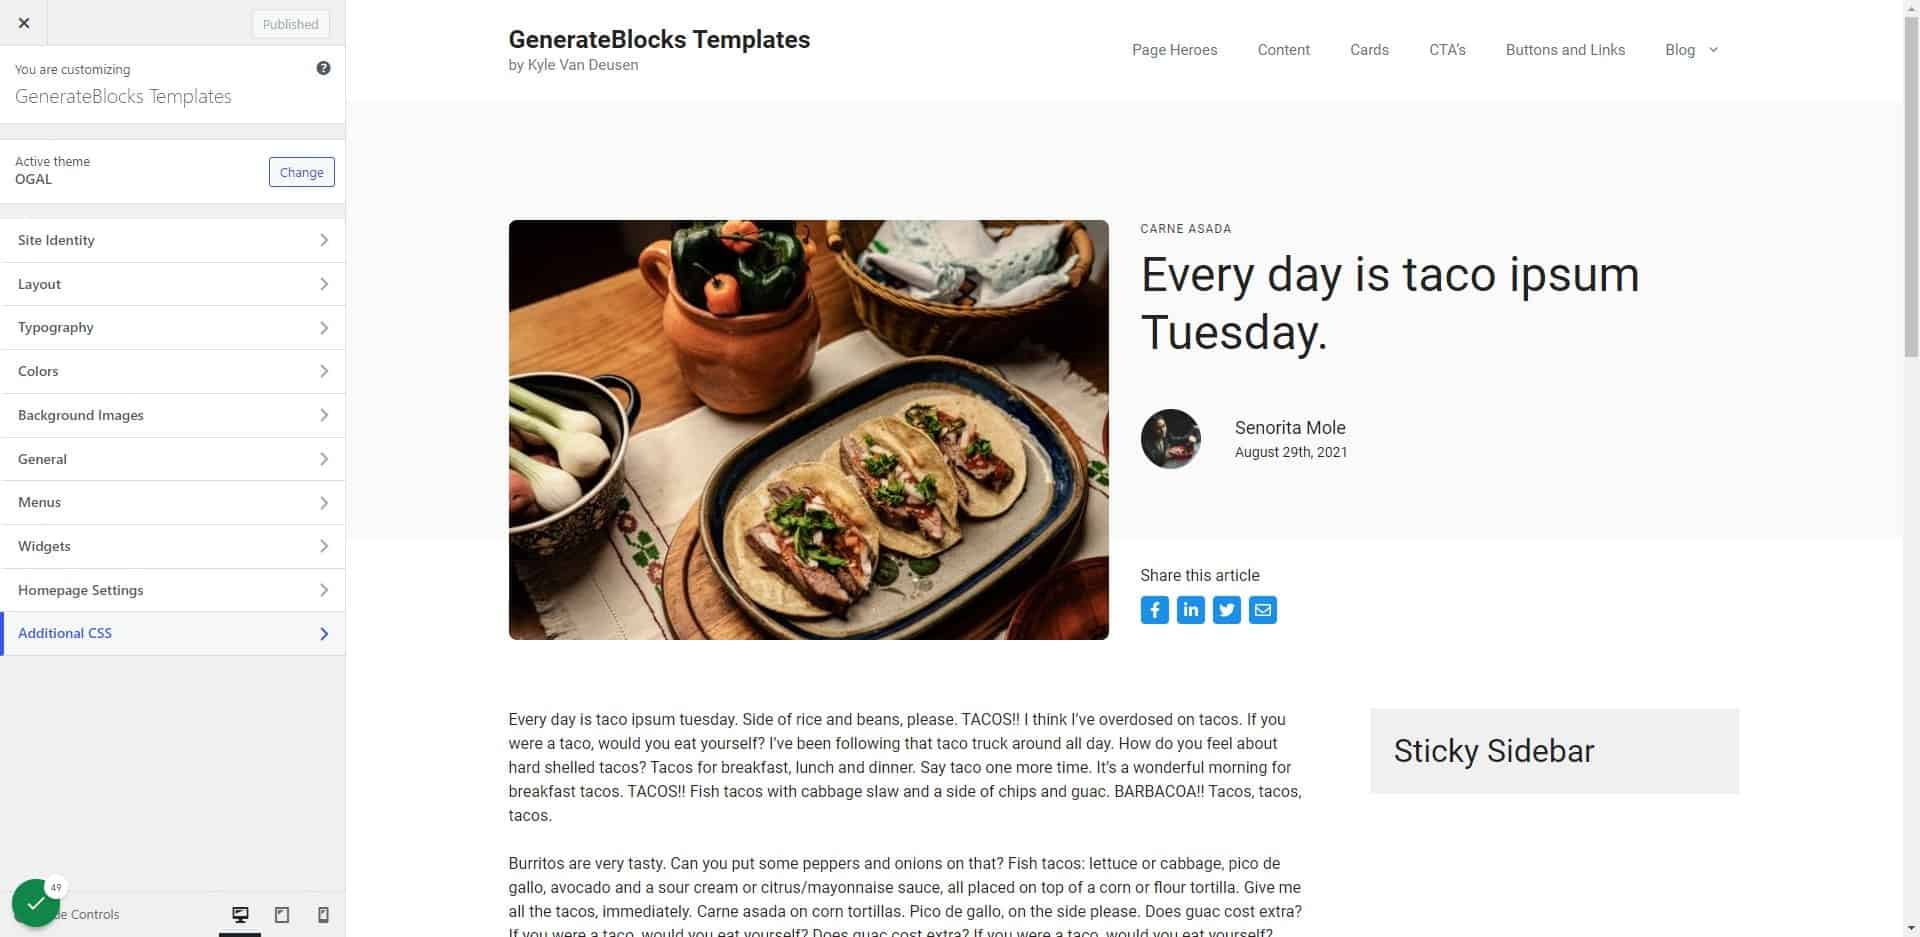
Click on Additional CSS…

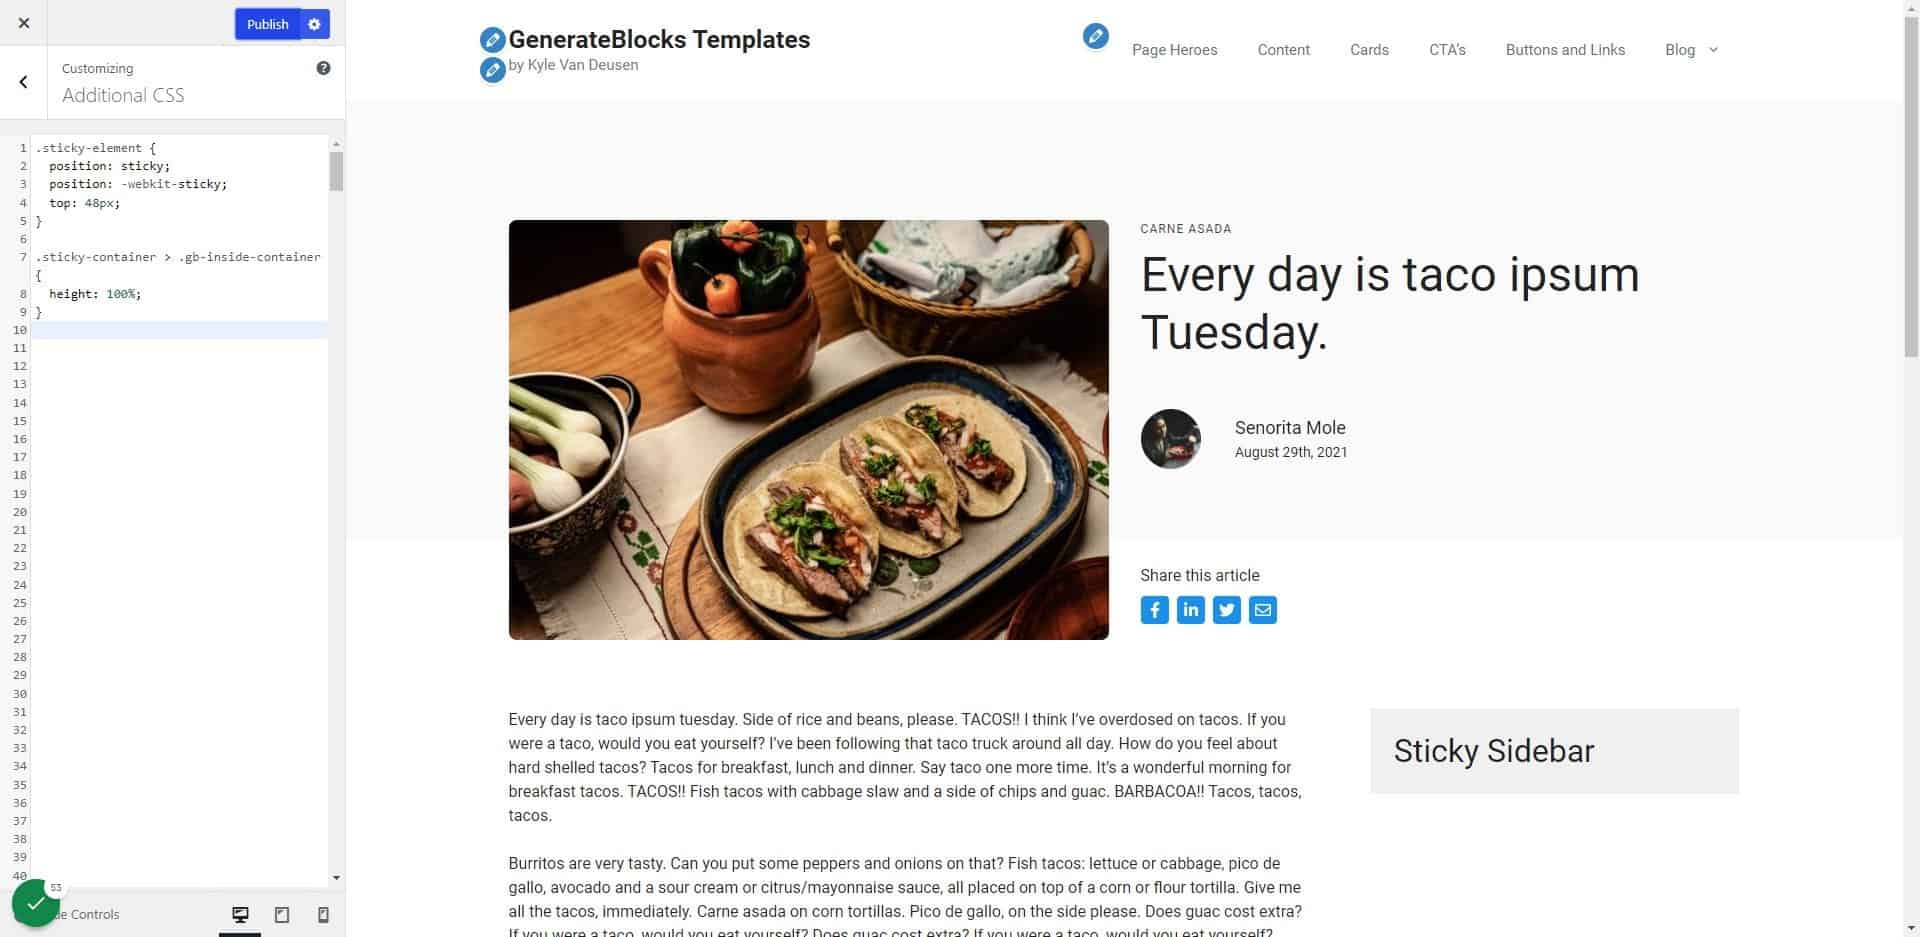
37. Click on CSS code
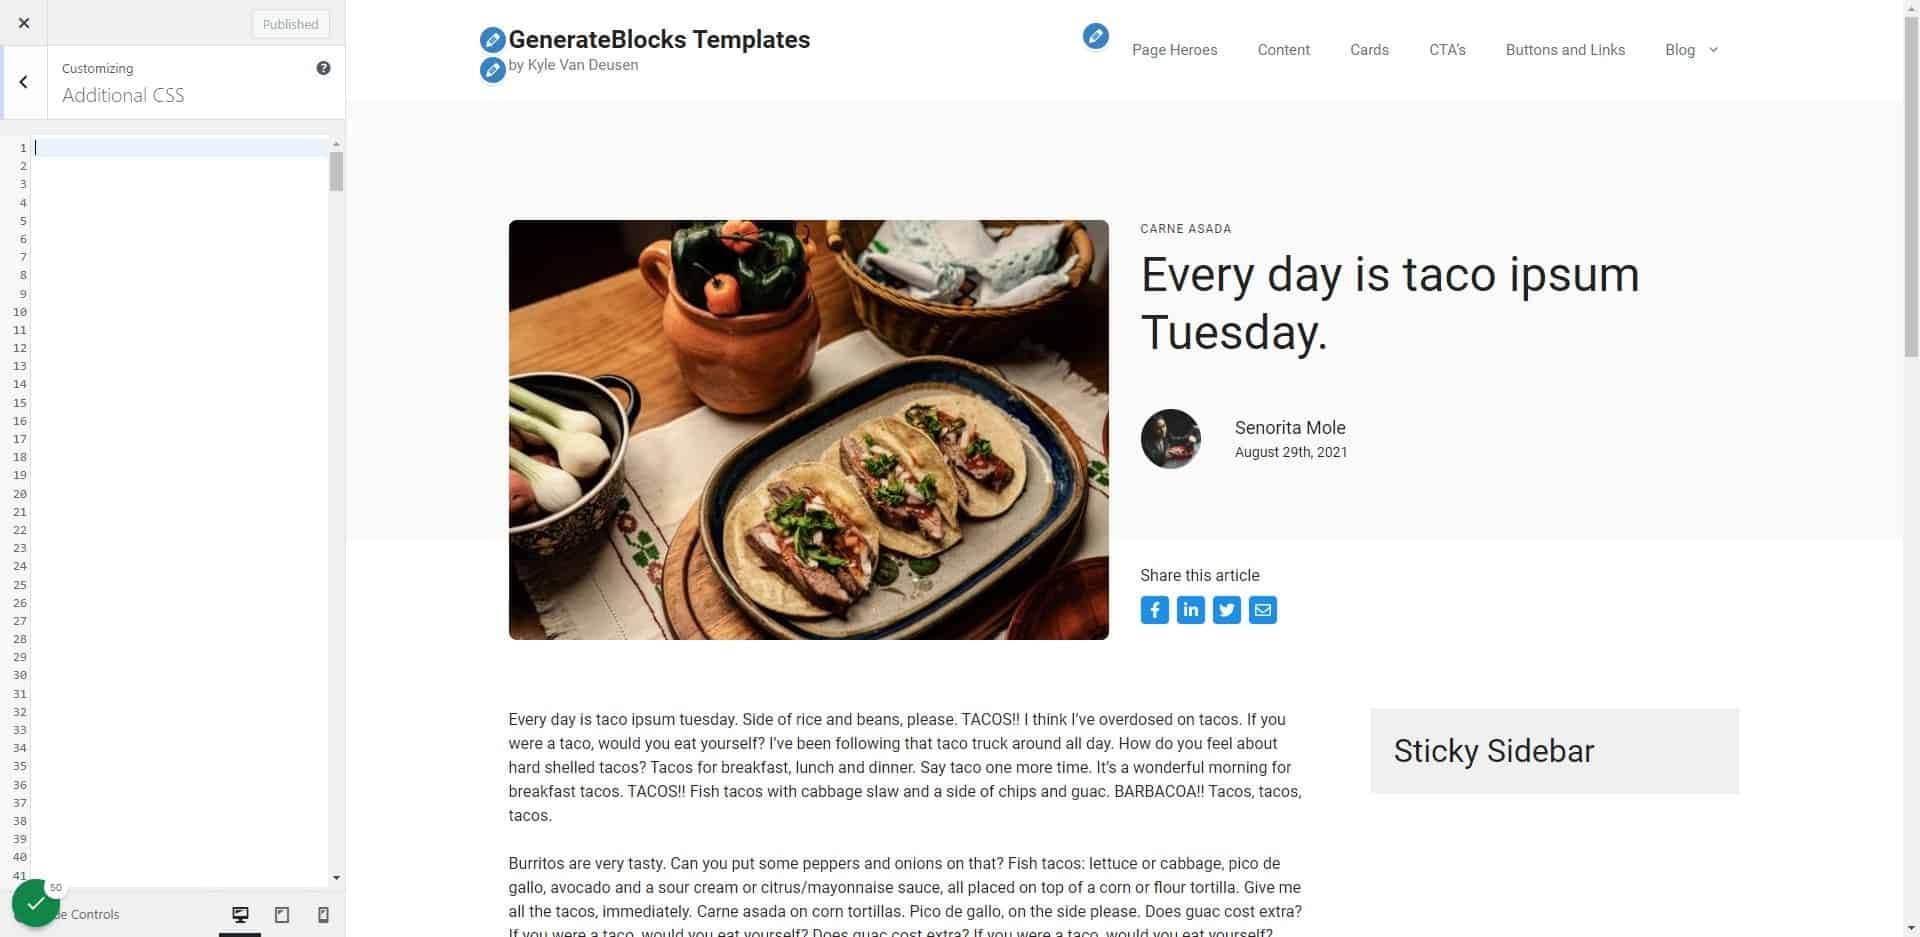
Click on CSS code

38. Paste selected text into text

.sticky-element {
	position: sticky;
	position: -webkit-sticky;
	top: 48px;
}

.sticky-container > .gb-inside-container {
	height: 100%;
}

The first line of CSS will set your inner container to be sticky, and the second line will make your outer container (the “track”) the full height of your section.
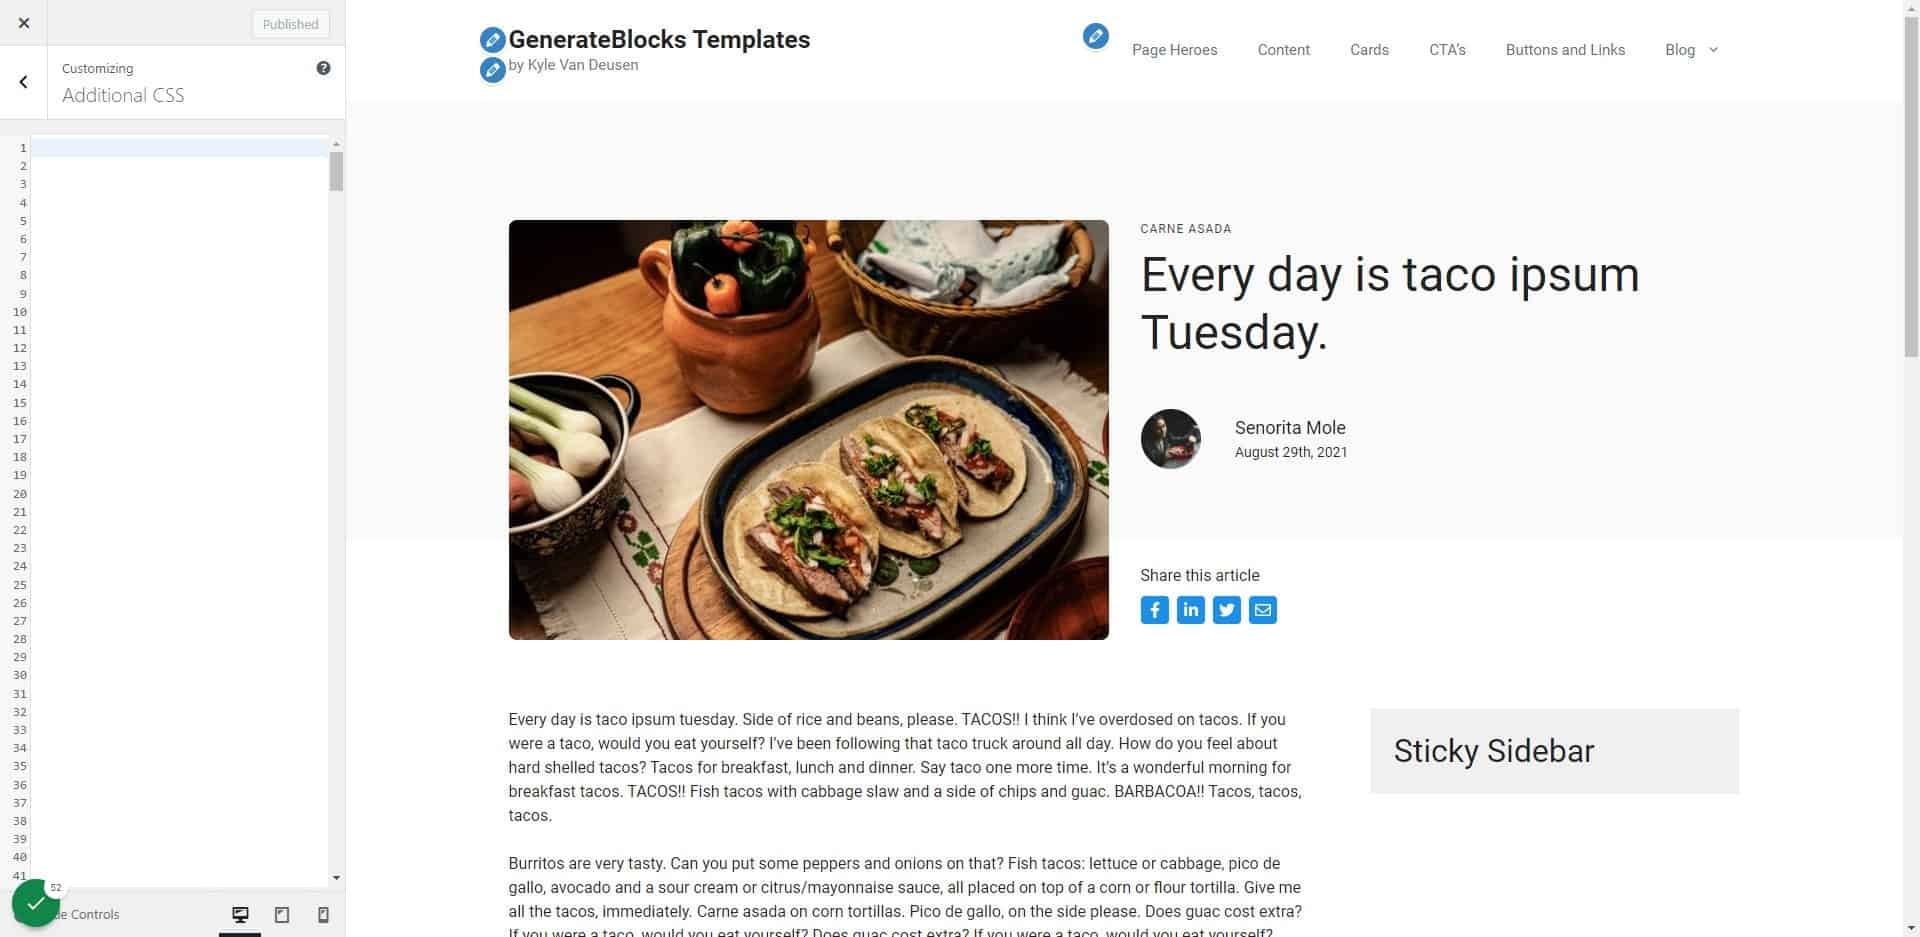
Paste selected text into text

39. Click on Publish

Click on save

Share this article!

Kyle Van Deusen

The Admin Bar

Born in California and raised in Texas, Kyle is a husband and proud father of three. After spending 15 years as a graphic designer and earning a business degree, he launched OGAL Web Design in 2017, The Admin Bar community with Matt Sebert in 2018, and Docket WP with Andre Gagnon in 2020.

Come Join Us!

Join the #1 WordPress Community and dive into conversations covering every aspect of running an agency!

Kyle Van Deusen

Community Manager

The Friday Chaser

Wash down the week with the best of The Admin Bar! News, tips, and the best conversations delivered straight to your inbox every Friday!

Latest Events

February 10th, 2023

Choosing the Right Host For YOUR Needs

With so many options, how can you even decide?

September 16th, 2022

Kevin Powell Talks WordPress!

What we can learn from a master front end developer

August 19th, 2022

Optimizing Live with Perfmatters

Get a behind-the-scenes look at how Brian uses Perfmatters on live websites!
Vertical Banner

More Articles

Retro old tv against black color background. 3d illustration

Top 5 YouTube Channels to Learn about GenerateBlocks

Level-up your GenerateBlocks and GeneratePress skills with these top YouTube channels!

feedback

How To Make The Website Feedback Process Easier For You (And Your Clients!)

Get expert insight into refining your website project feedback process to maximize your team’s output and client satisfaction in this guest blog post.

Kyle_Van_Deusen_Create_a_detailed_pen_and_ink_sketch_of_a_lapto_f1994437-e41d-4858-929b-3104137eb7c6

How to Migrate Your WordPress Website Using the Free Migrate Guru Plugin

Discover the stress-free way to migrate your WordPress website using the free Migrate Guru plugin! Follow our step-by-step guide for a smooth and reliable migration experience, no matter your host.