Create a Hover Card with GenerateBlocks

In this tutorial, I’m going to provide you with the step by step instructions and the CSS needed to create a simple hover card using GenerateBlocks. Step-by-Step Instructions to Create a Hover …

Kyle Van Deusen

Published:

Filed Under:

Plugins

Kyle Van Deusen

Kyle Van Deusen

The Admin Bar

After spending 15 years as a graphic designer and earning a business degree, I launched my agency, OGAL Web Design, in 2017. A year later, after finding the amazing community around WordPress, I co-found The Admin Bar, which has grown to become the #1 community for WordPress professionals. I'm a husband and proud father of three, and a resident of the Commonwealth of Virginia.

hover card with generateblocks
This content contains affiliate links. View our affiliate disclaimer.

In this tutorial, I’m going to provide you with the step by step instructions and the CSS needed to create a simple hover card using GenerateBlocks.

screen recording 2 20 2022 at 5.00 am
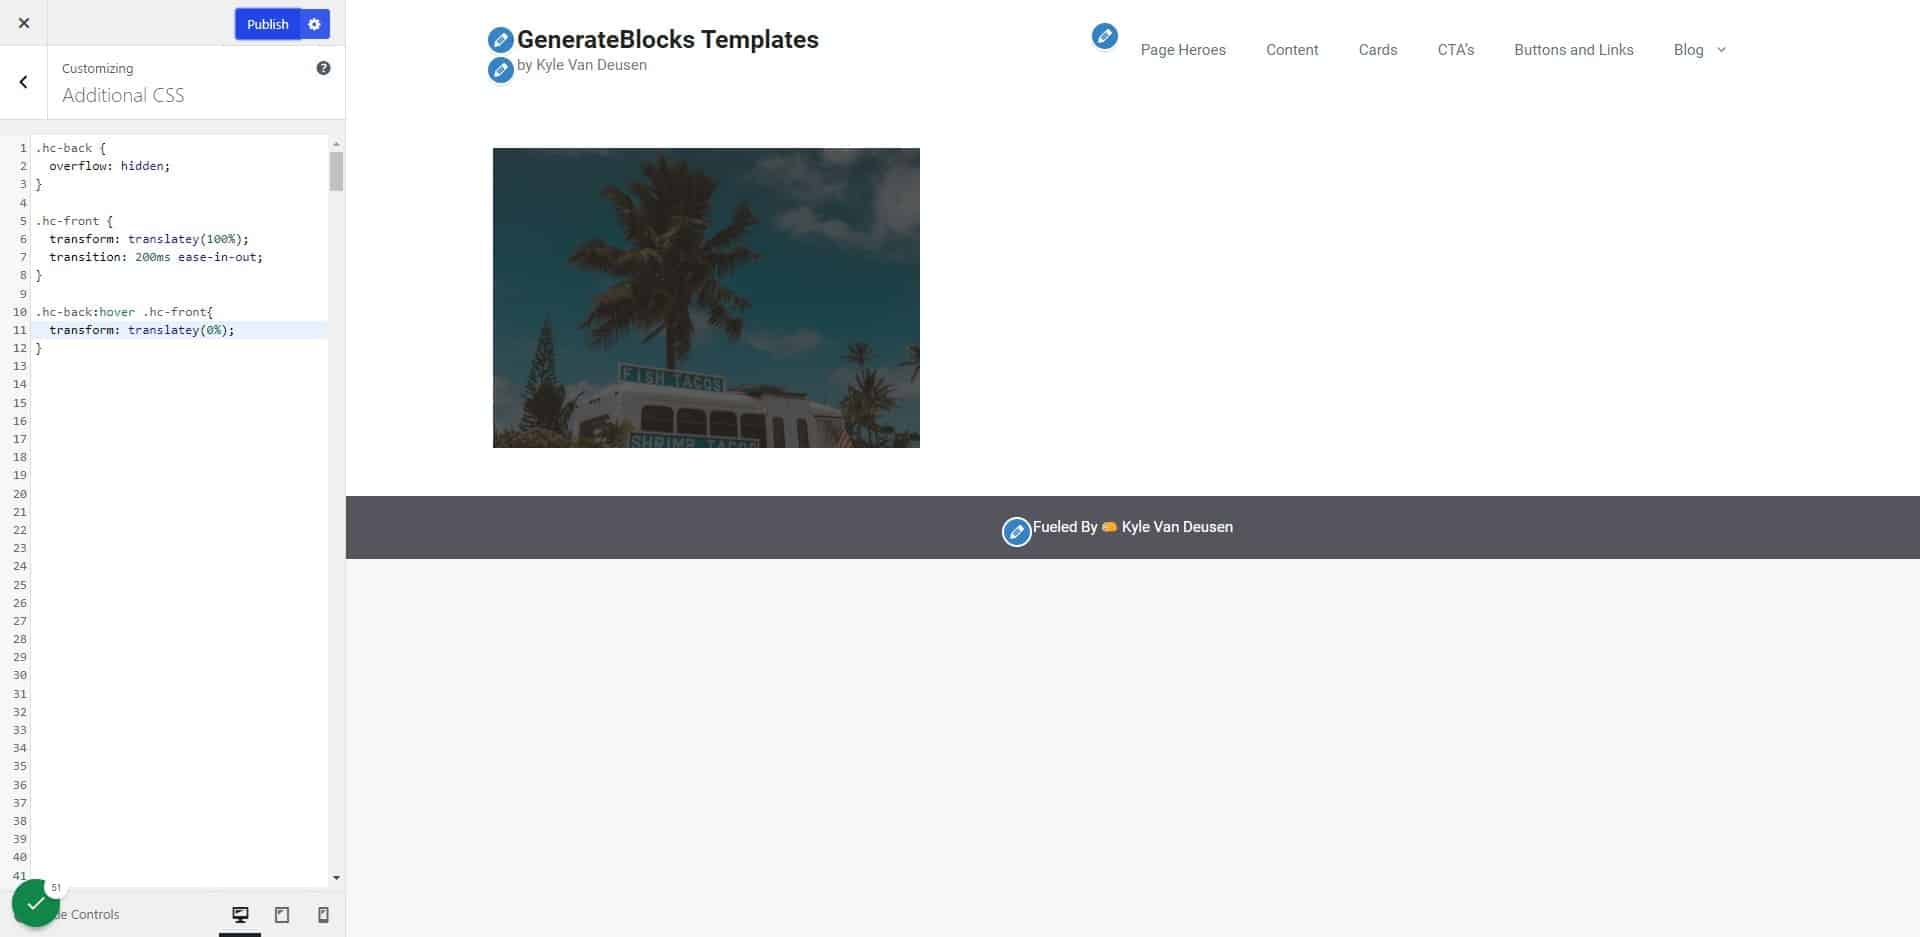
Example of completed hover card from this tutorial

Step-by-Step Instructions to Create a Hover Card

1. Open your page in the editor

2. Click to add a new block
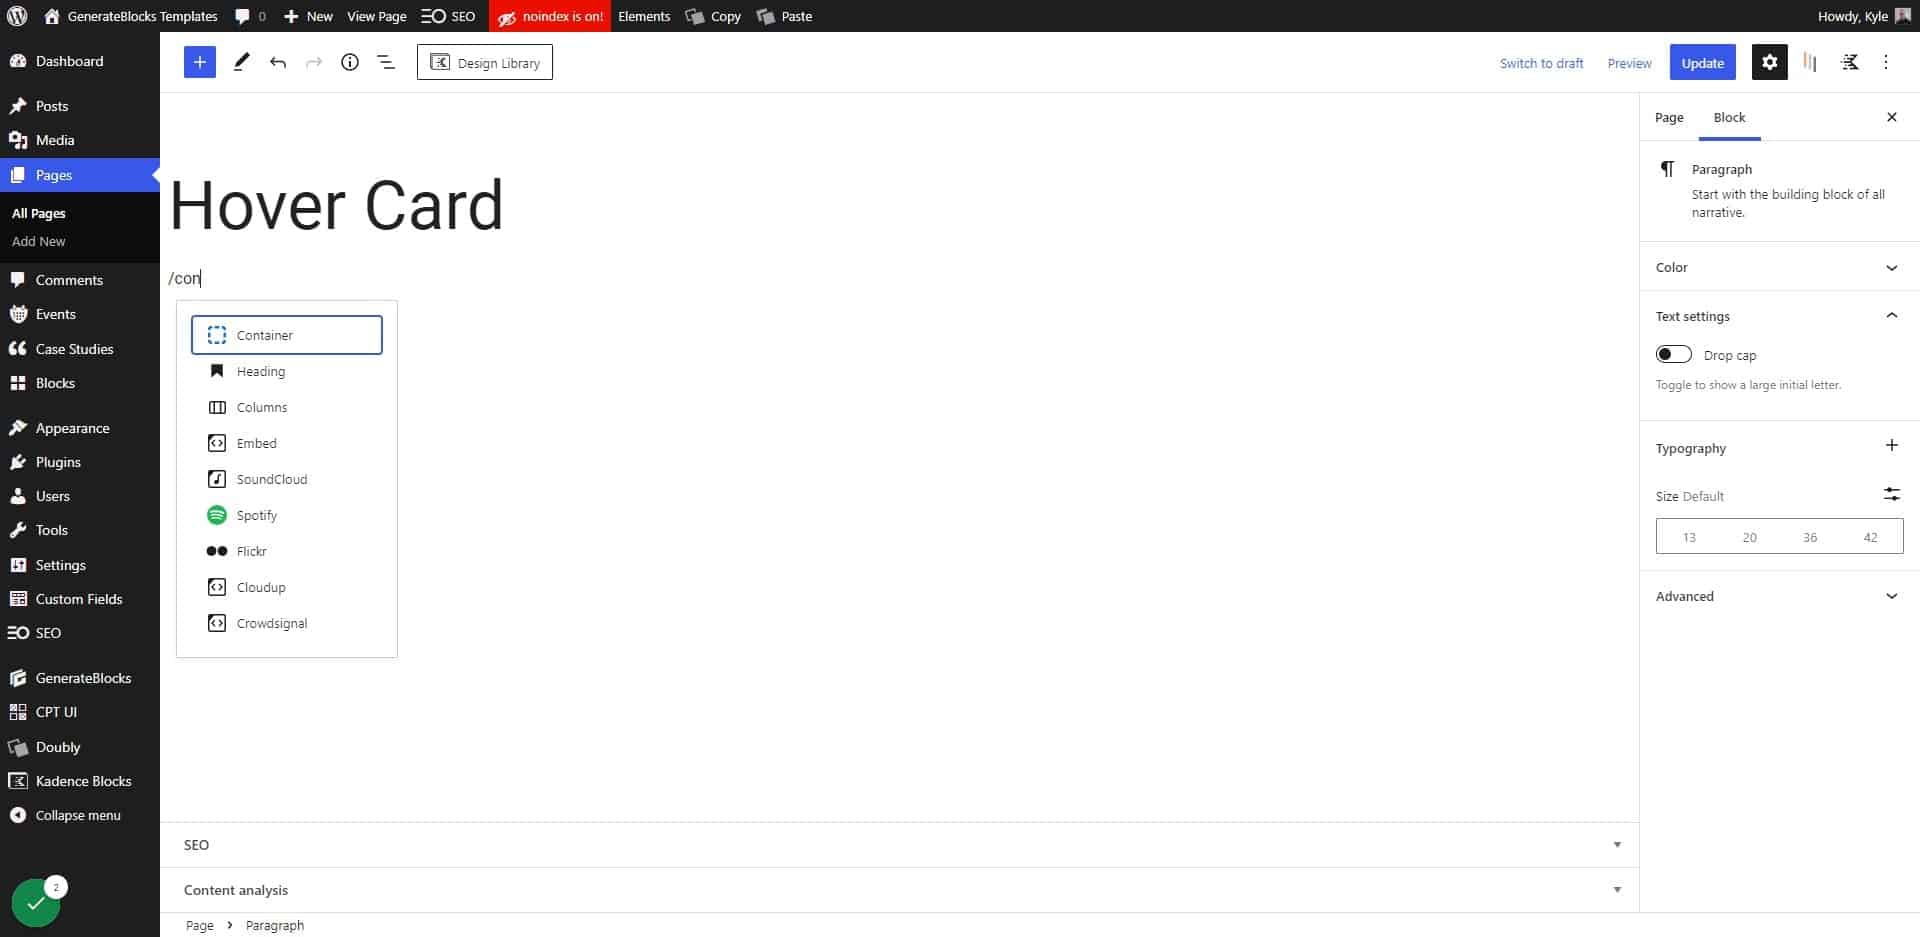
Click to add a new block

3. Choose Container
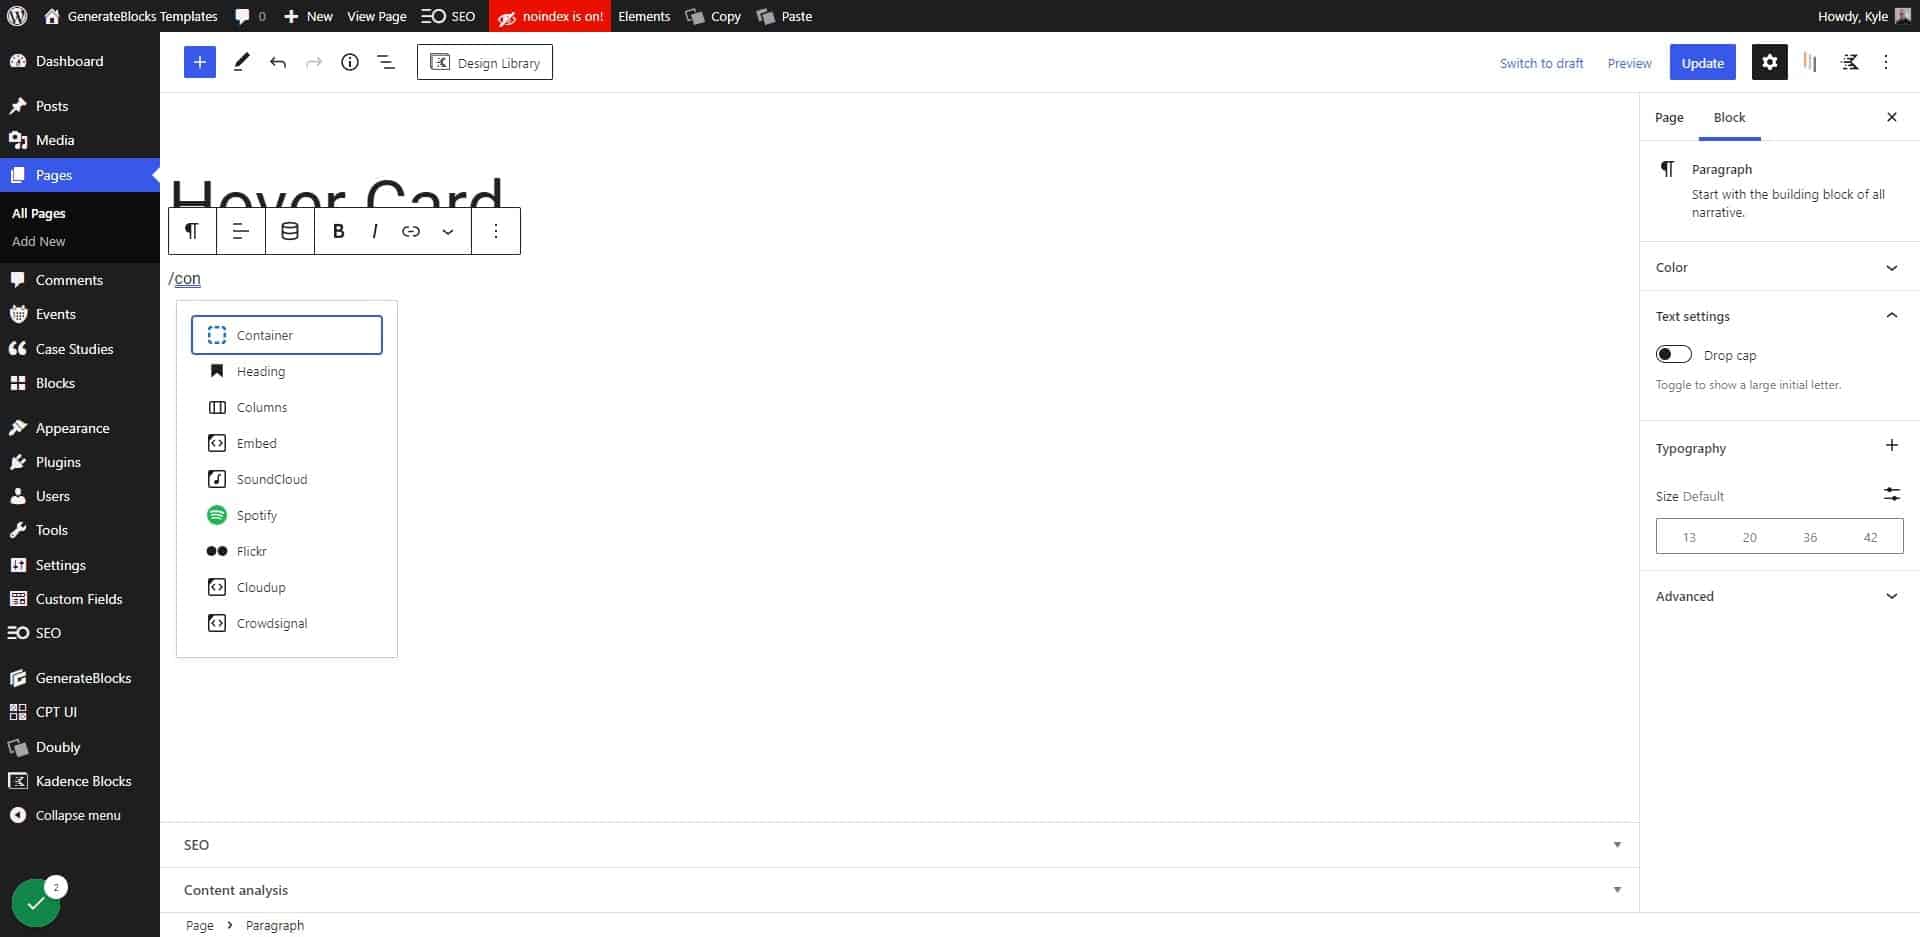
Choose Container

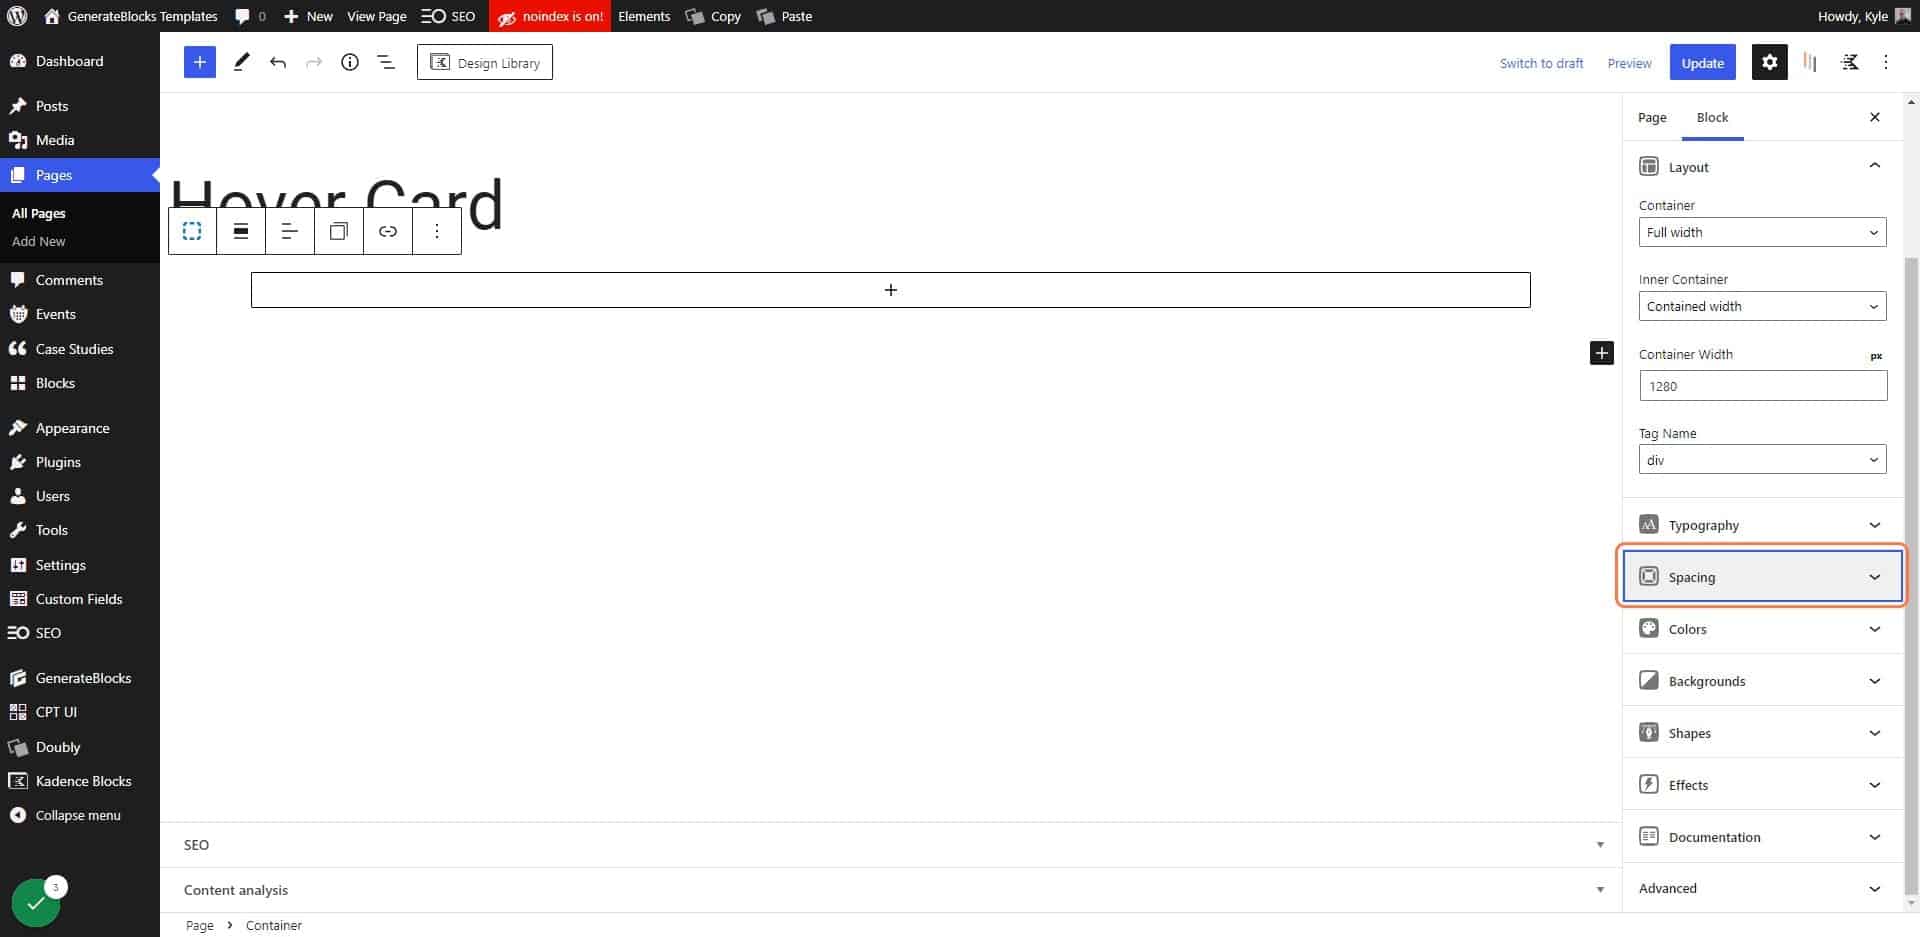
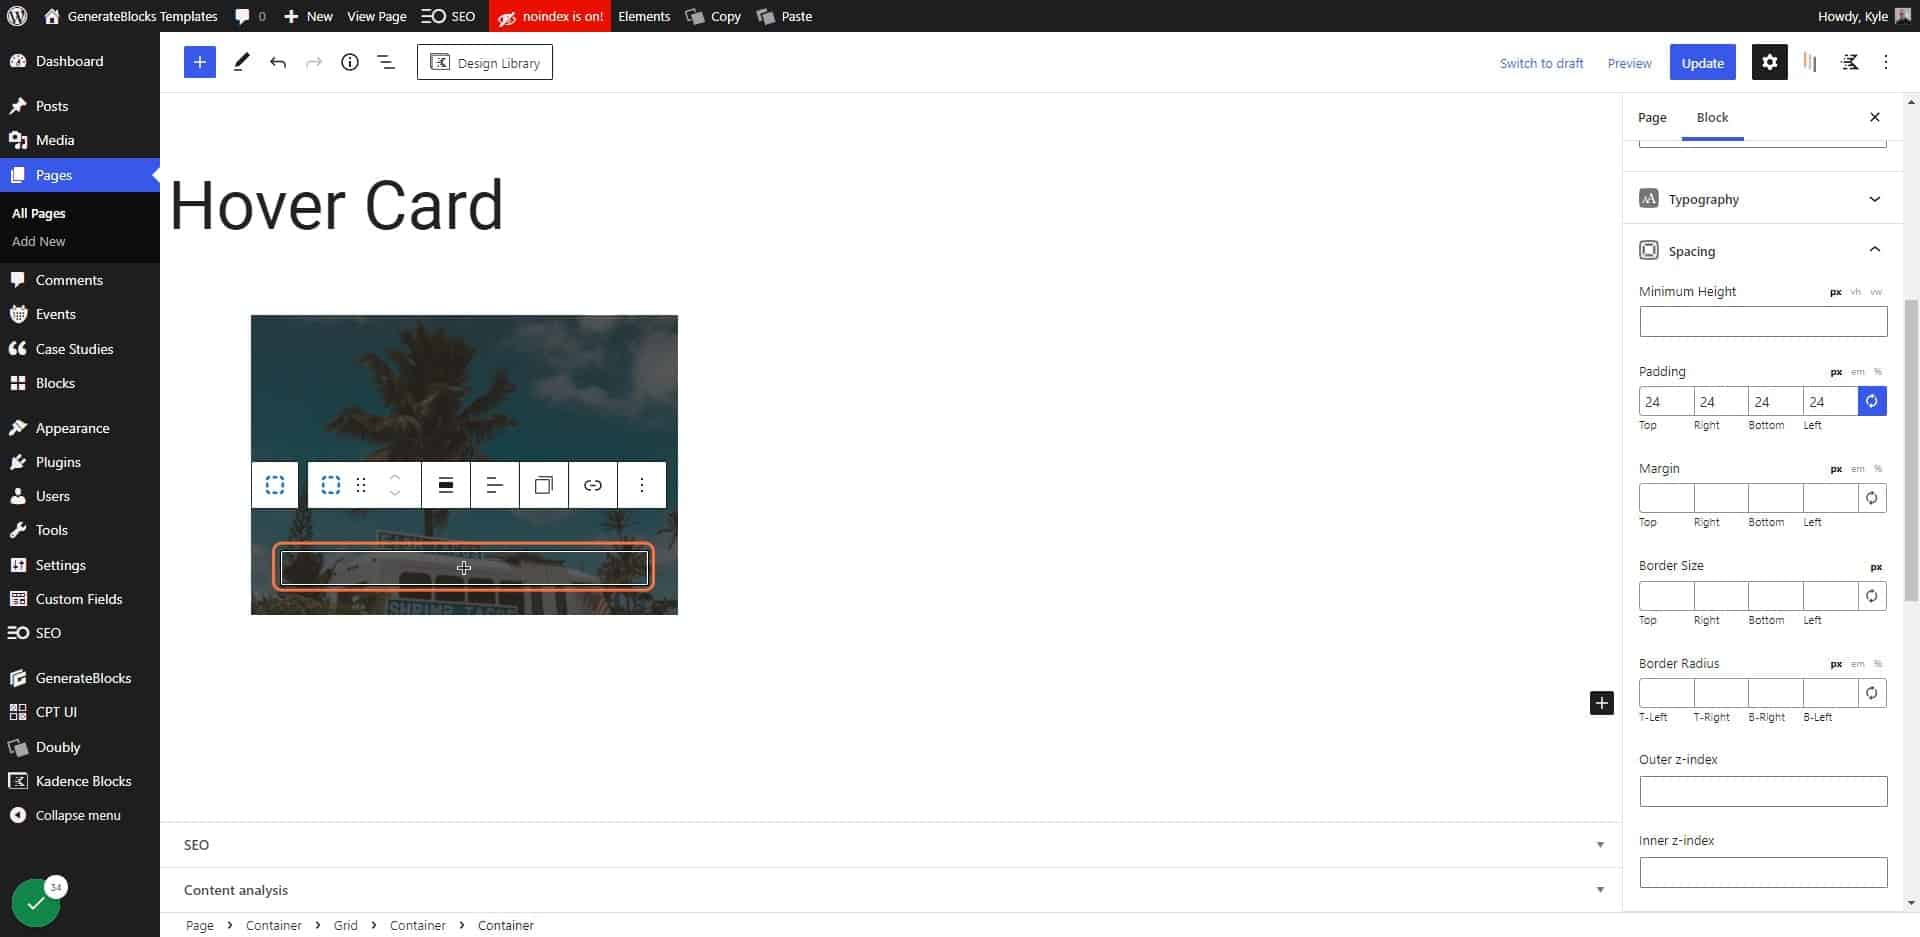
4. Click on Spacing

Click on Spacing

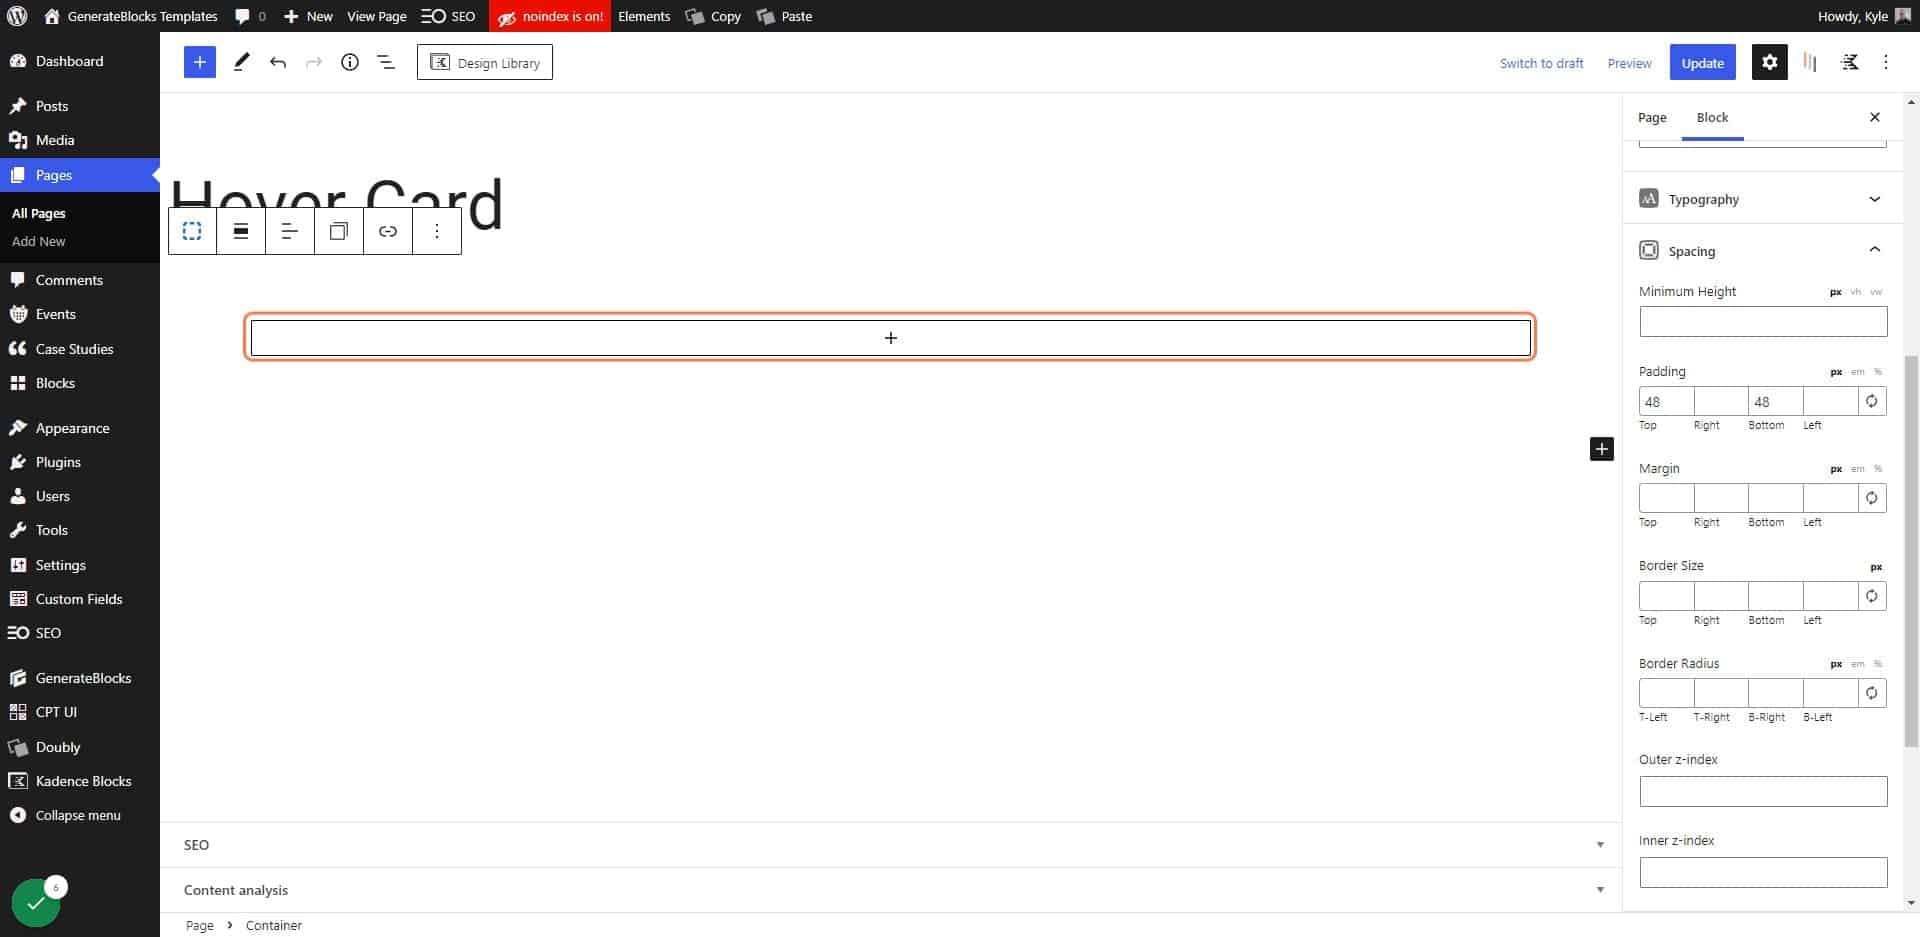
5. Add some padding

This is optional, but necessary for the demo so we can have a little breathing room.
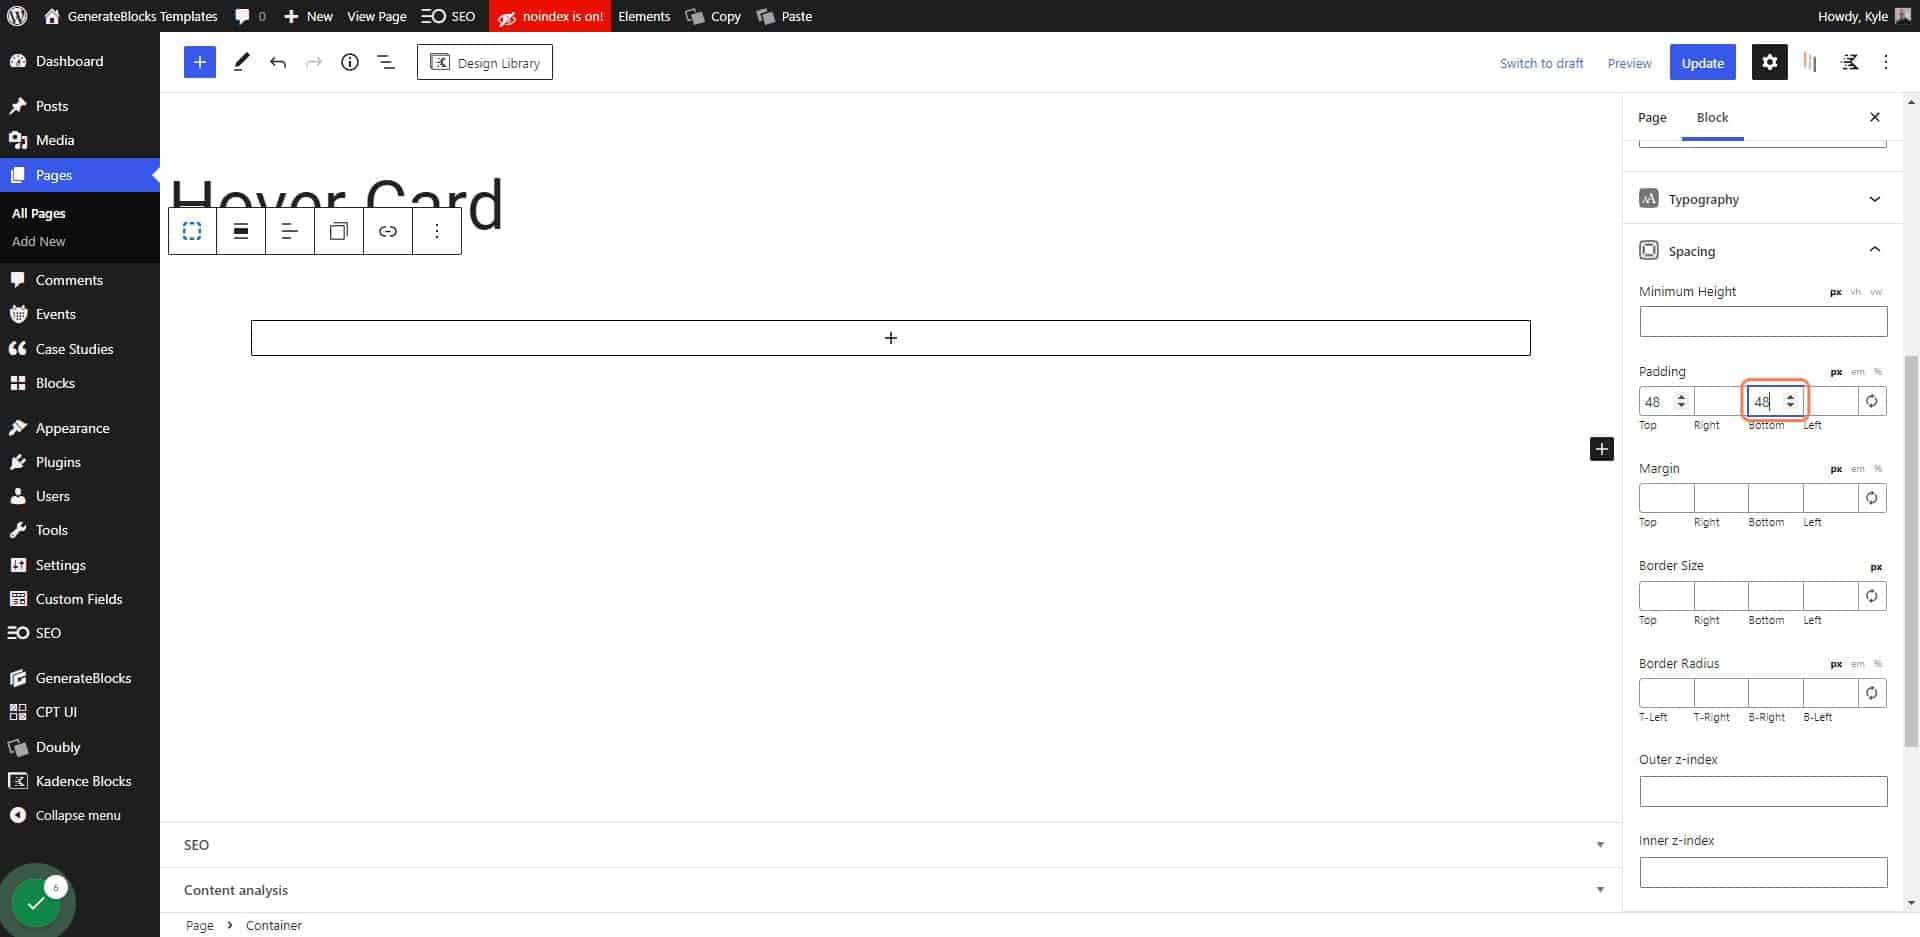
Add some padding

6. Click on Add block

Click on Add block

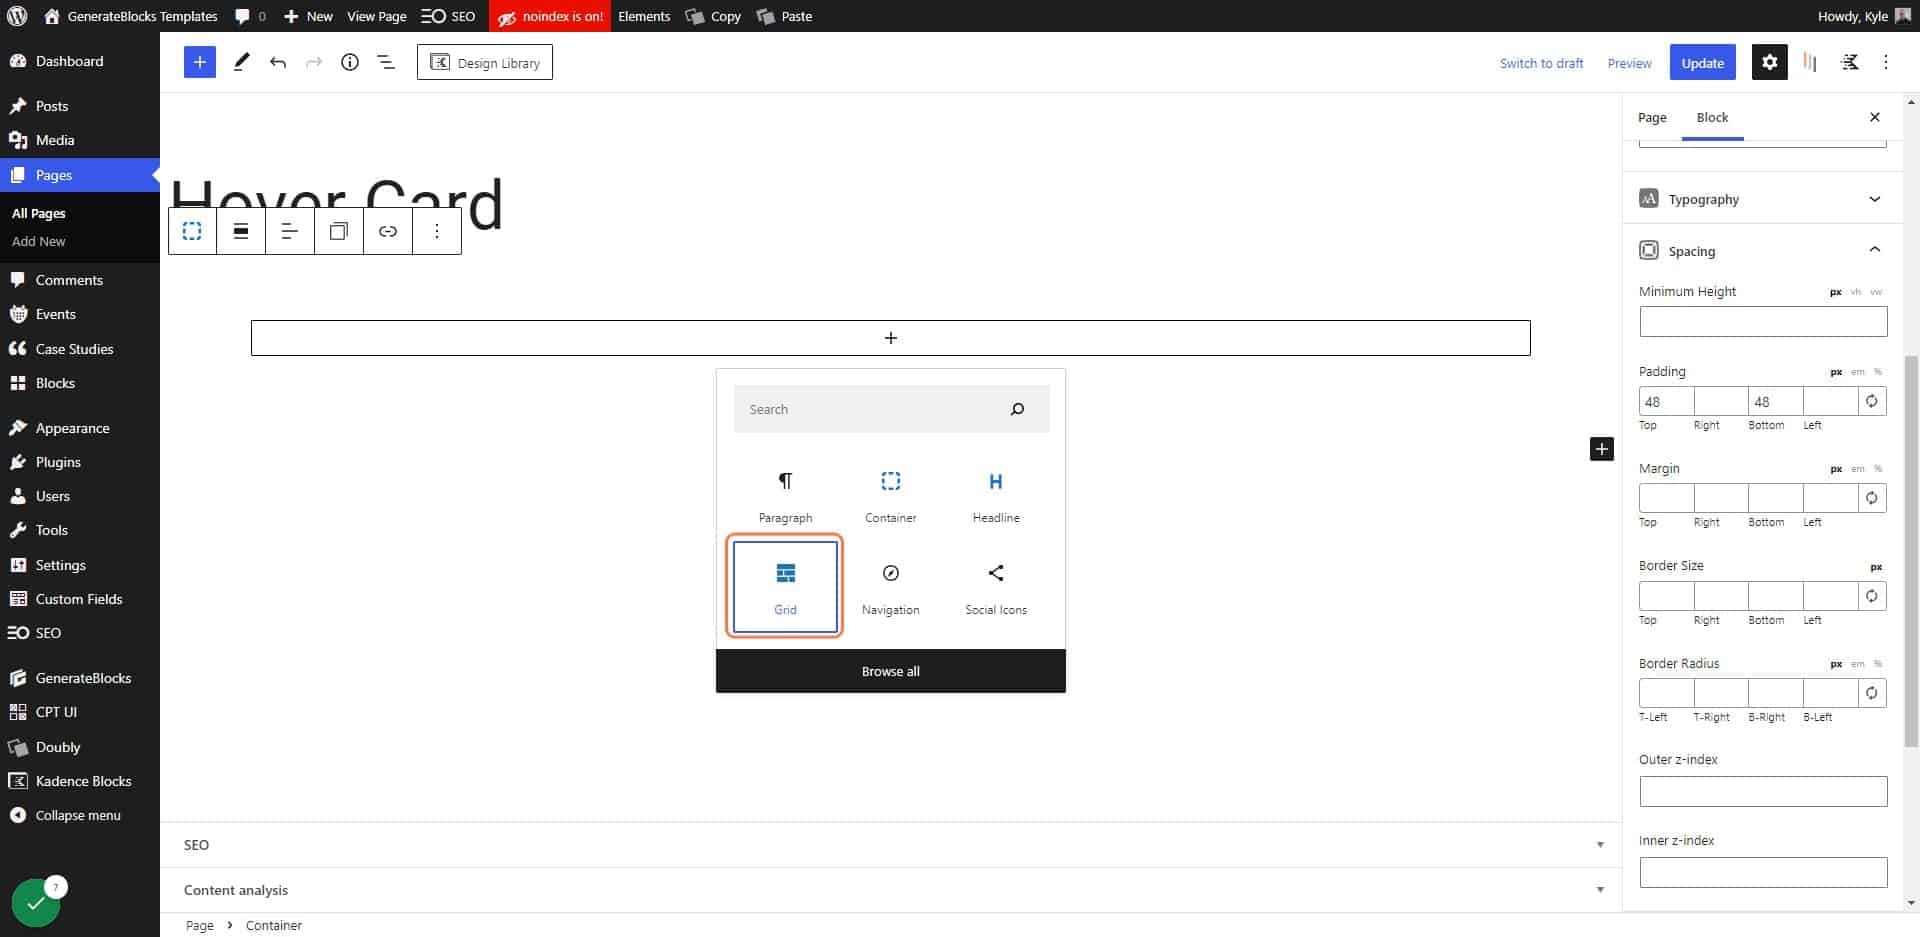
7. Click on Grid

Click on Grid

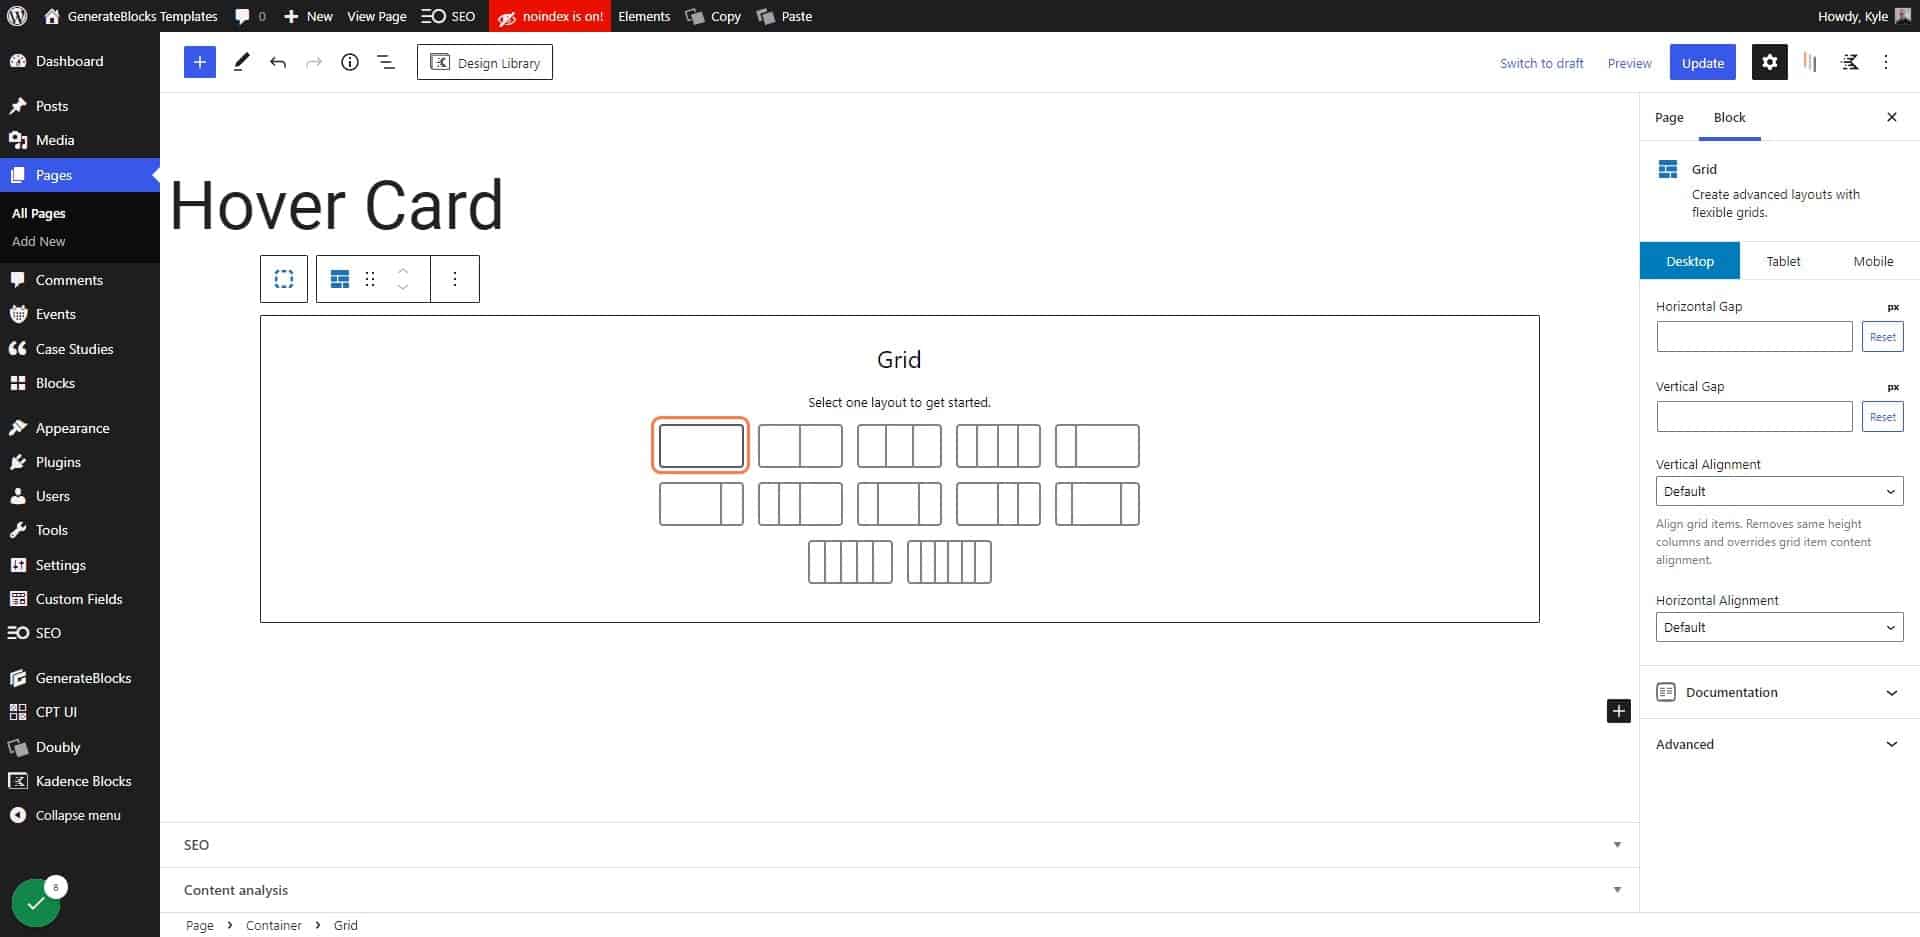
8. Choose 1 column

Choose 1 column

9. Select the container in your grid
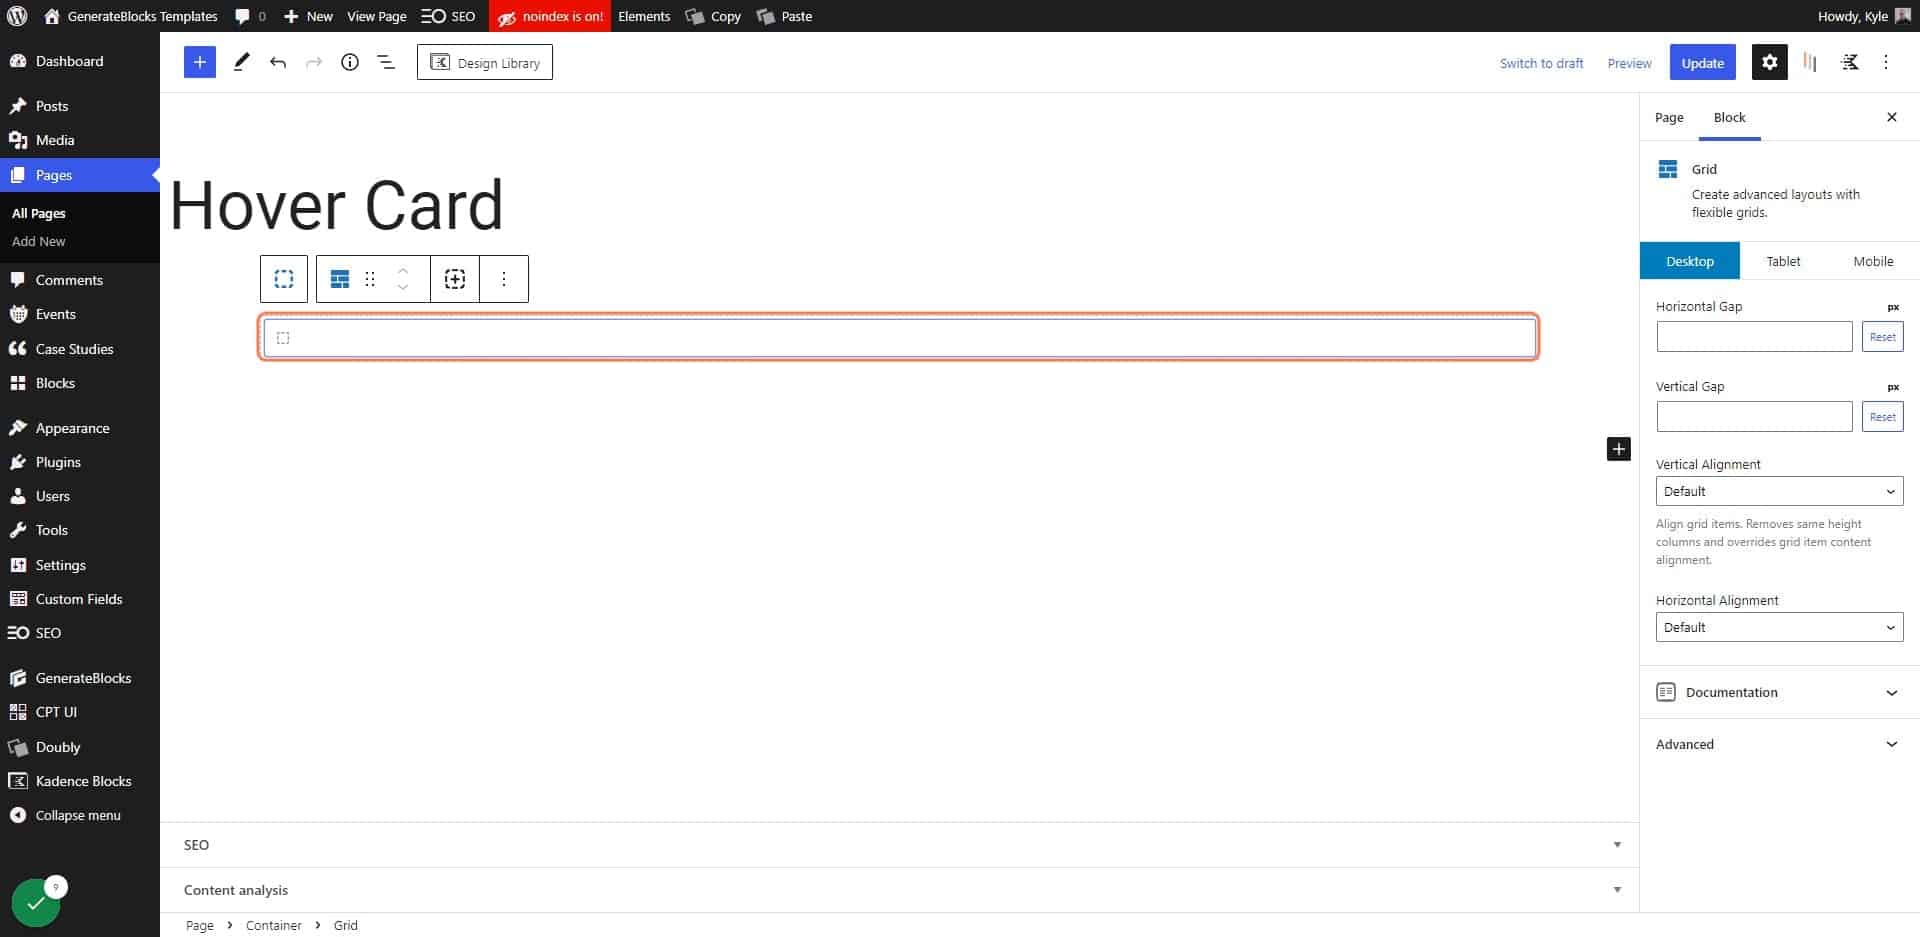
Select the container in your grid

10. Change the container width to 33%

Any width will do, but this demo is setup for a 3-column grid
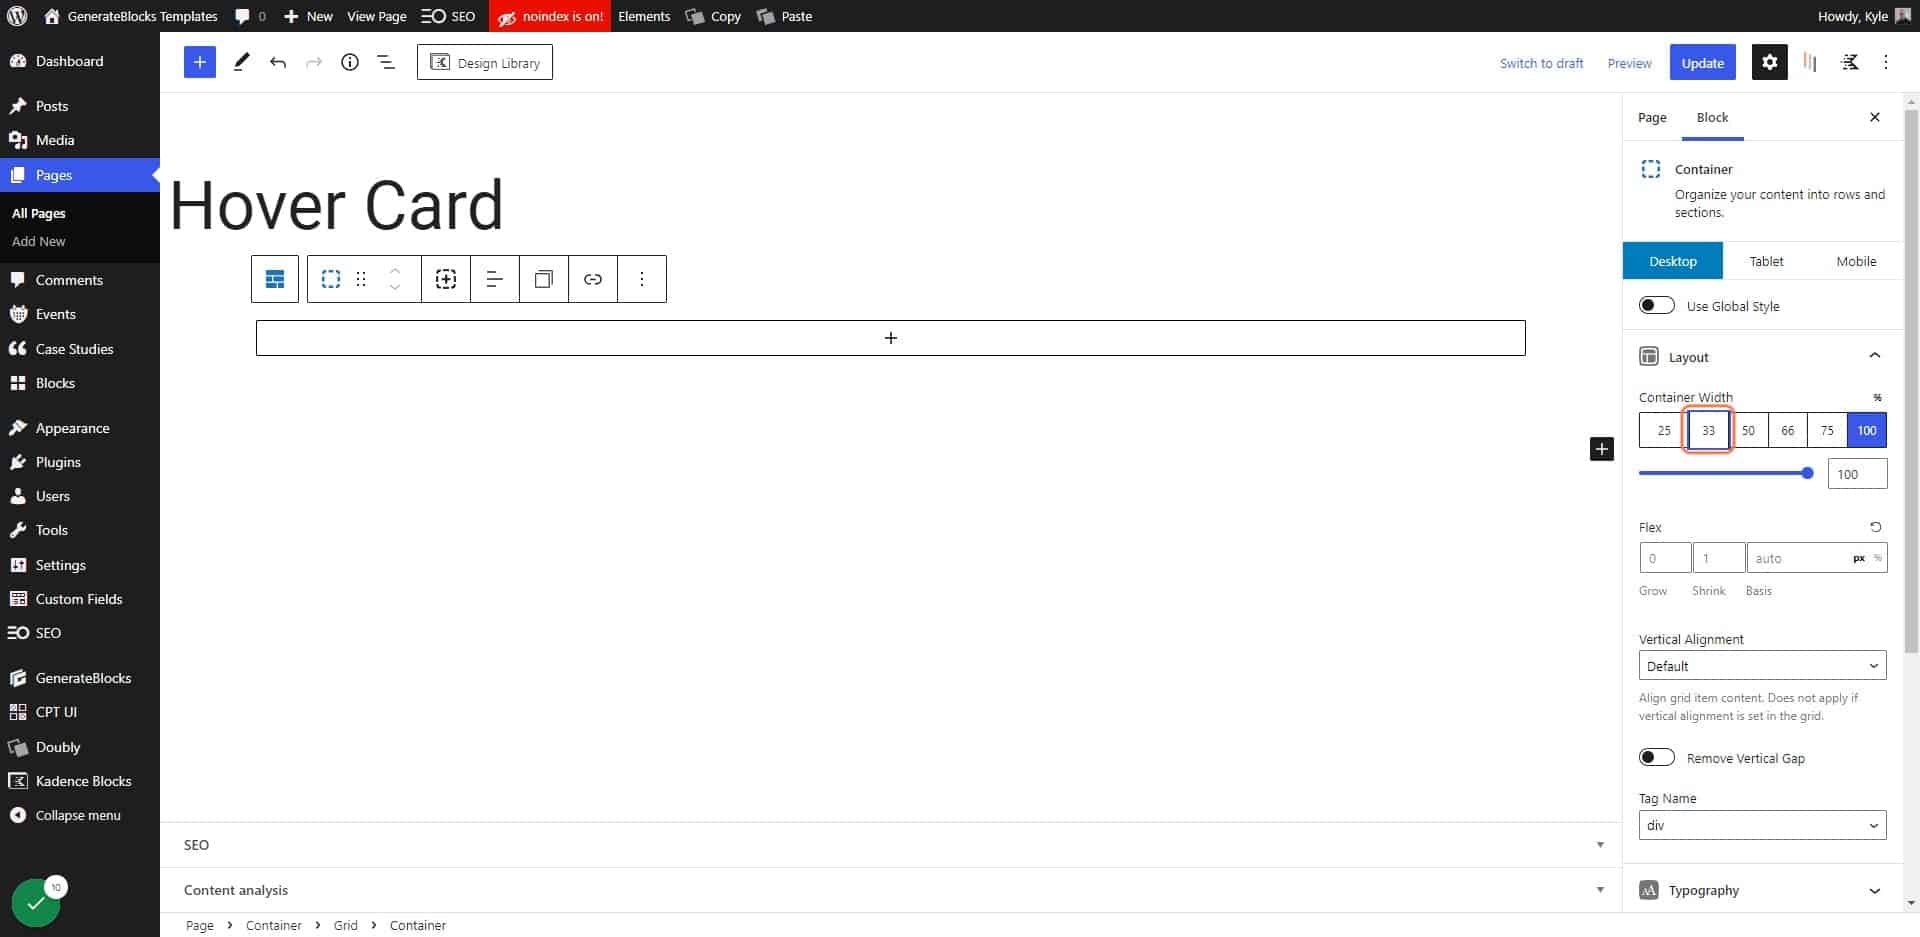
Change the container width to 33%

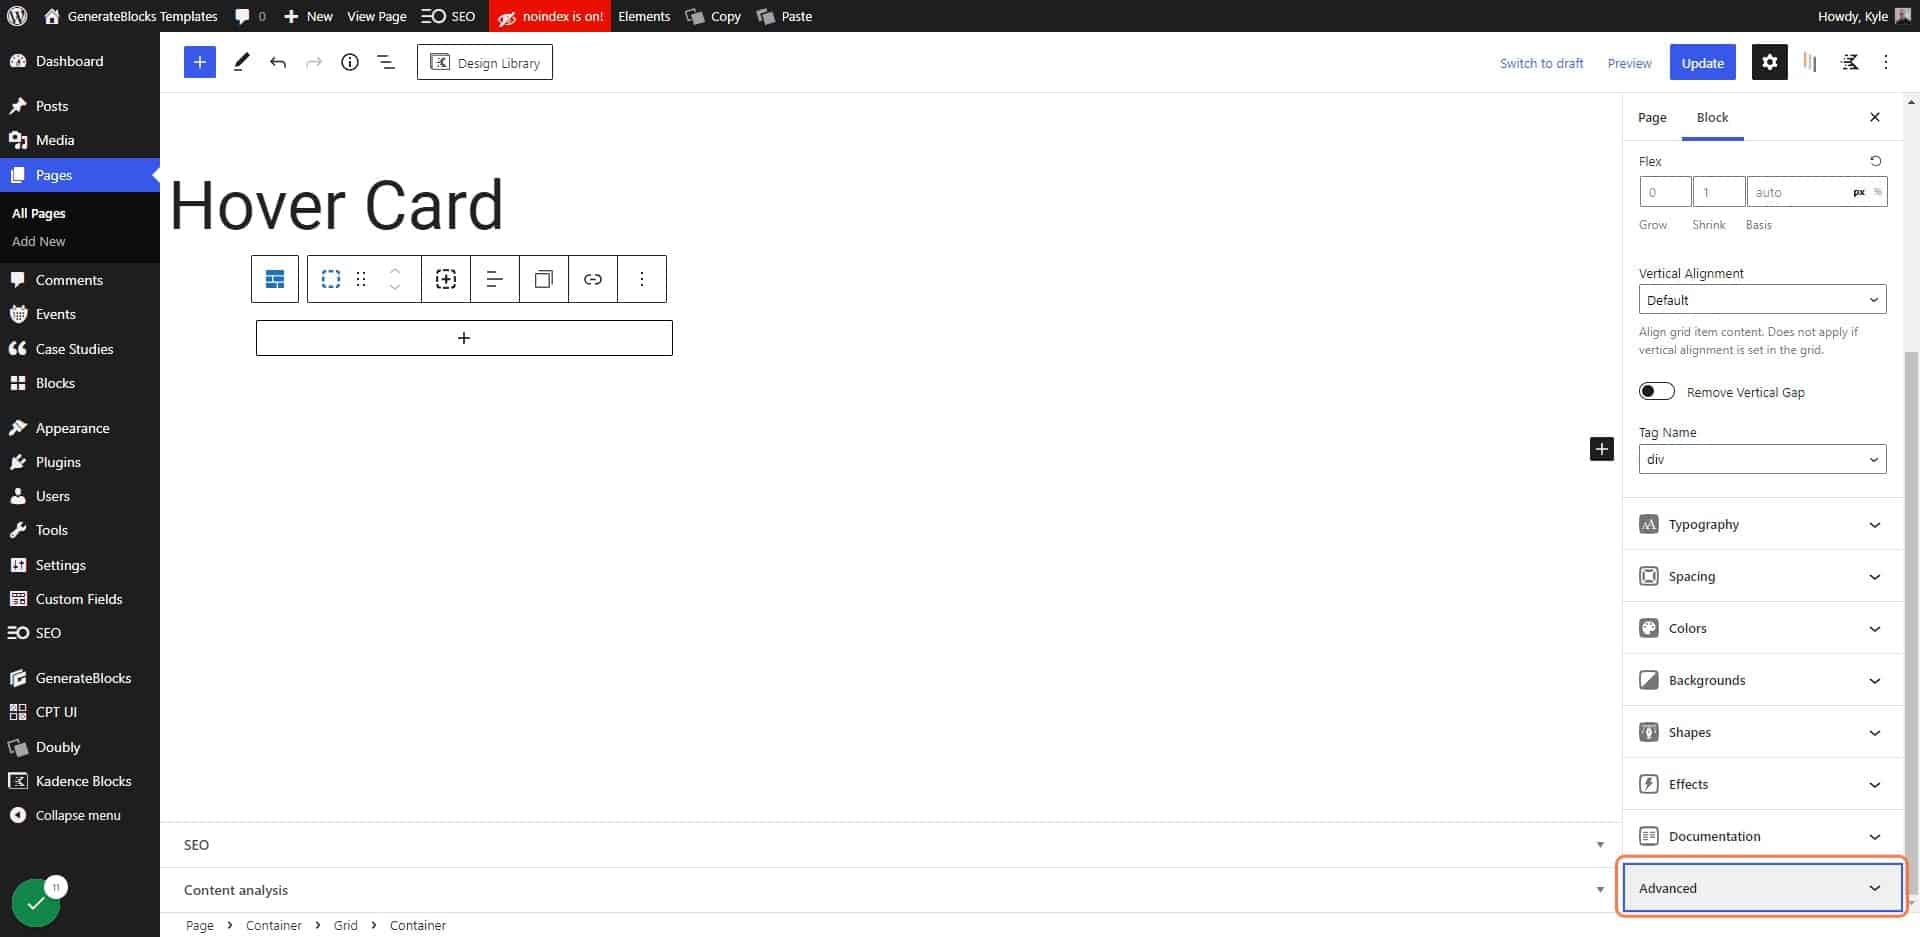
11. Click on Advanced

Click on Advanced

12. Add the class “hc-back”
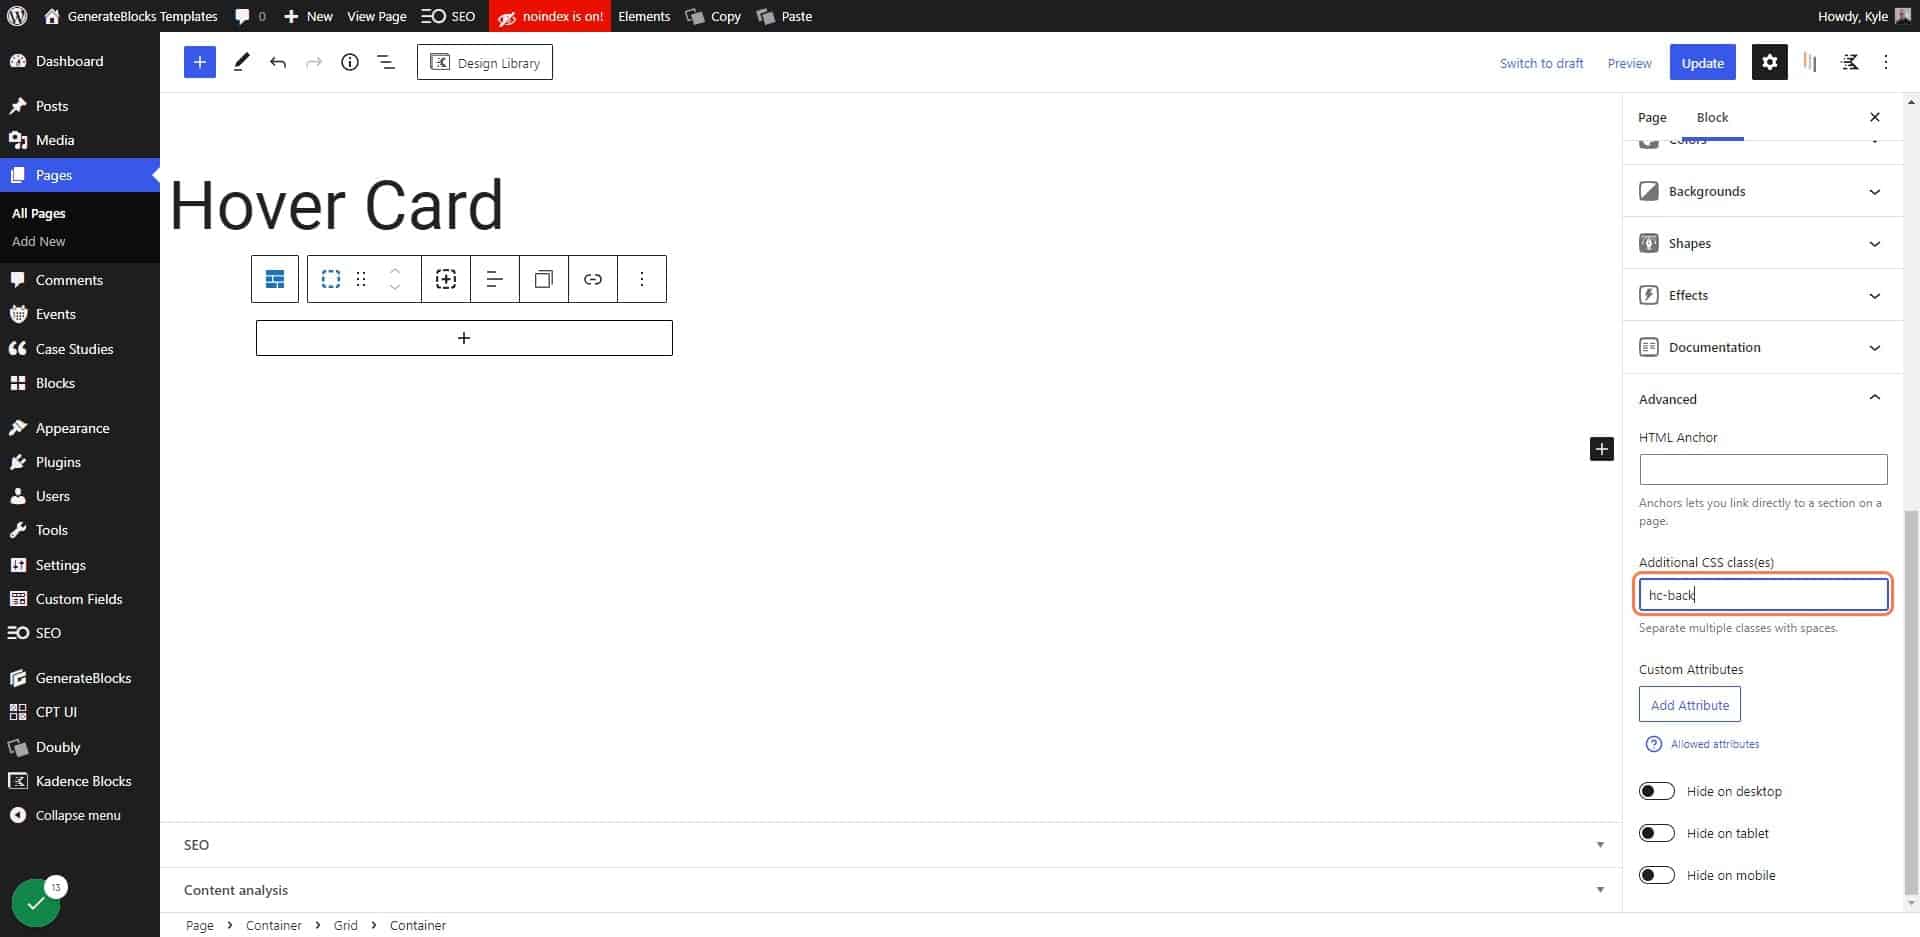
13. Click on Backgrounds
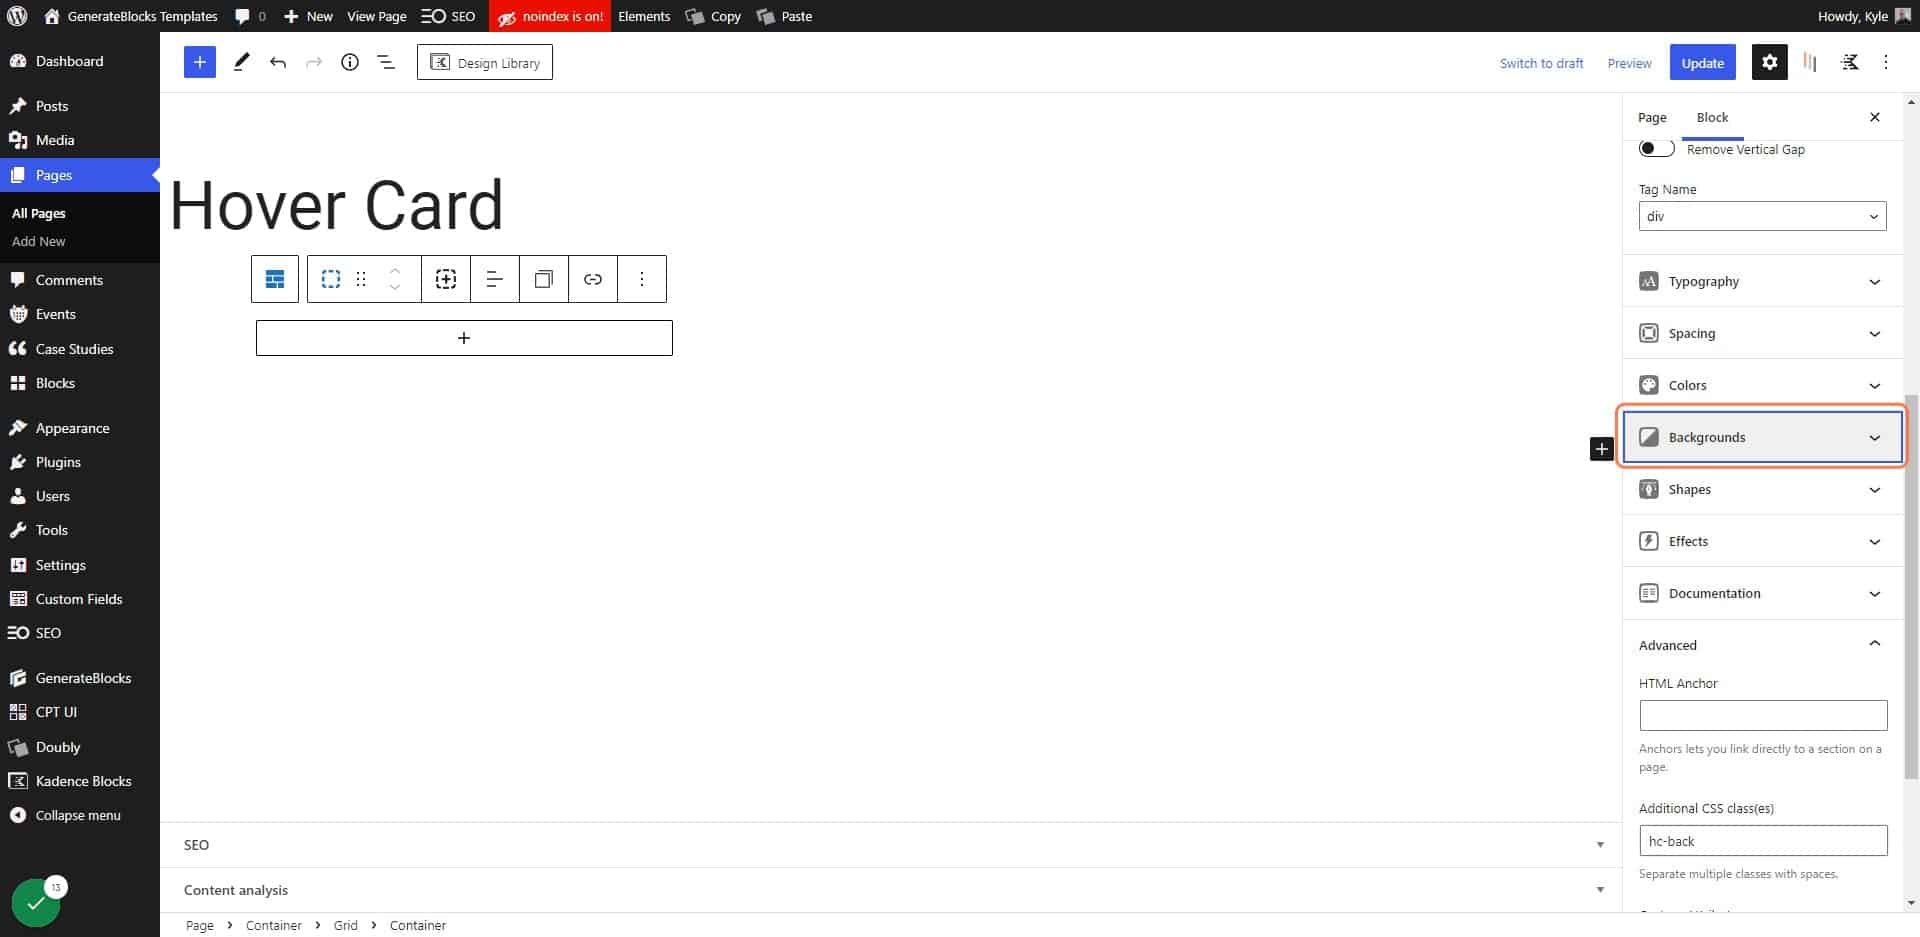
Click on Backgrounds

14. Click on Browse
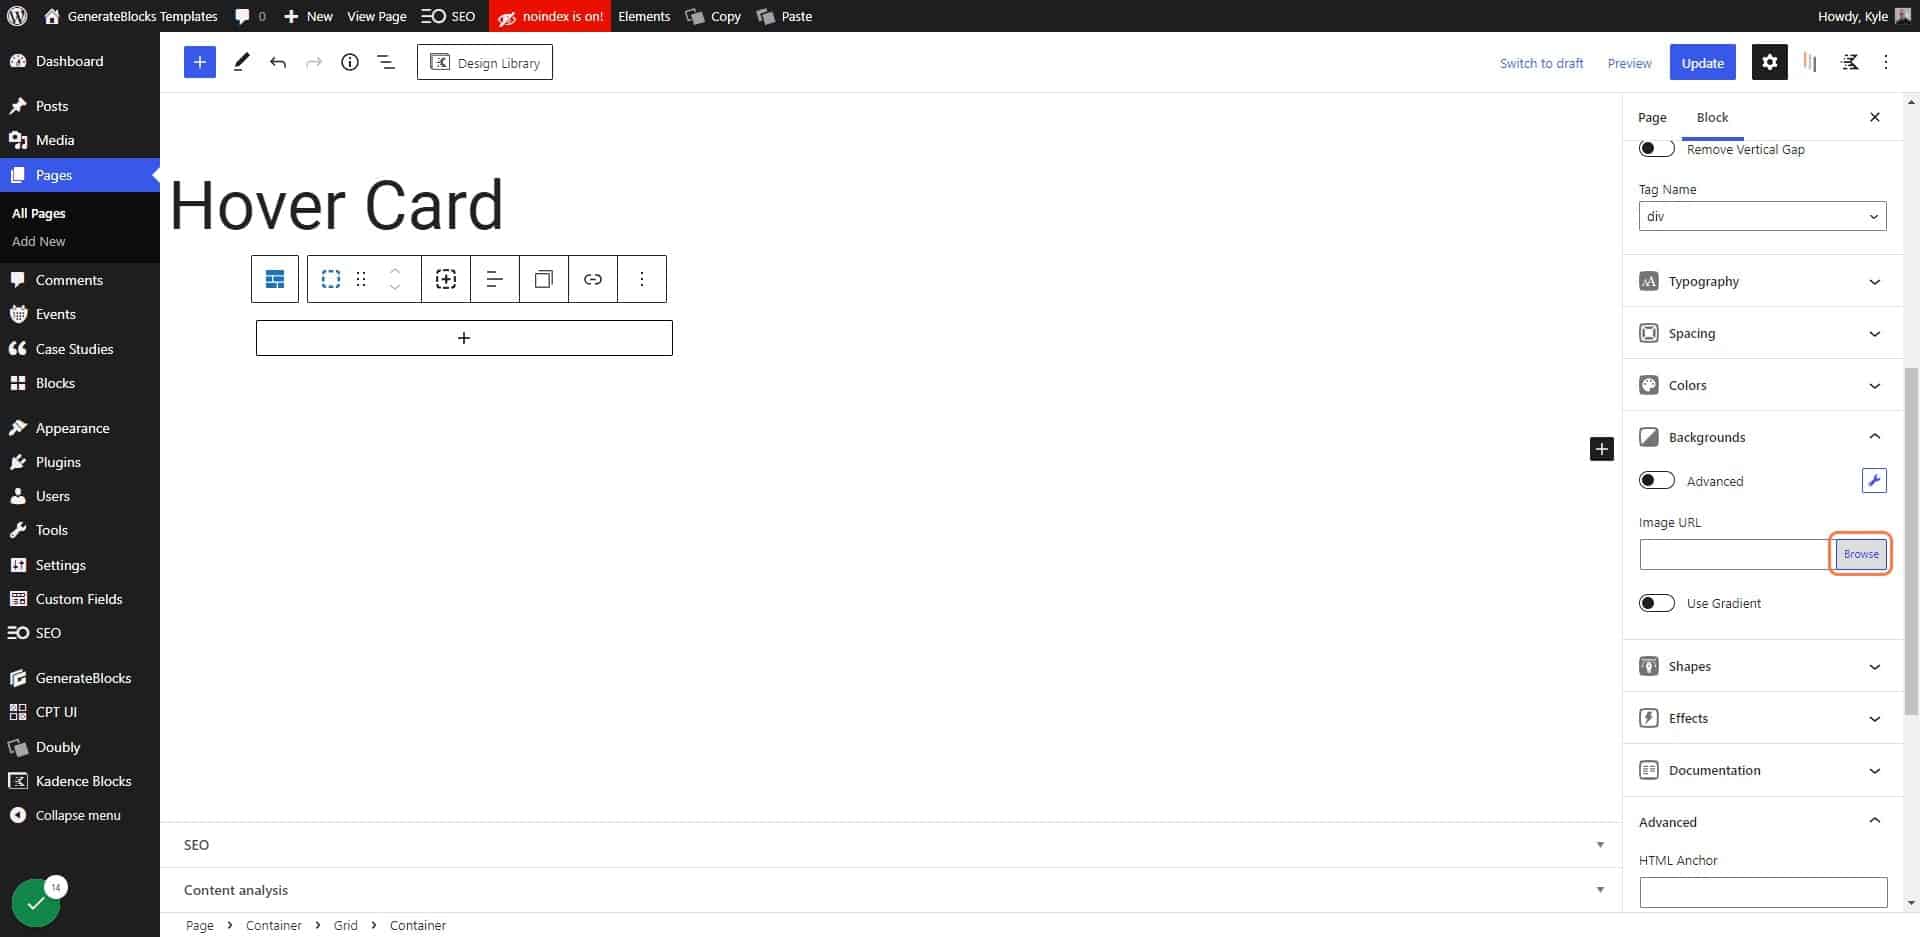
Click on Browse

15. Choose your background image
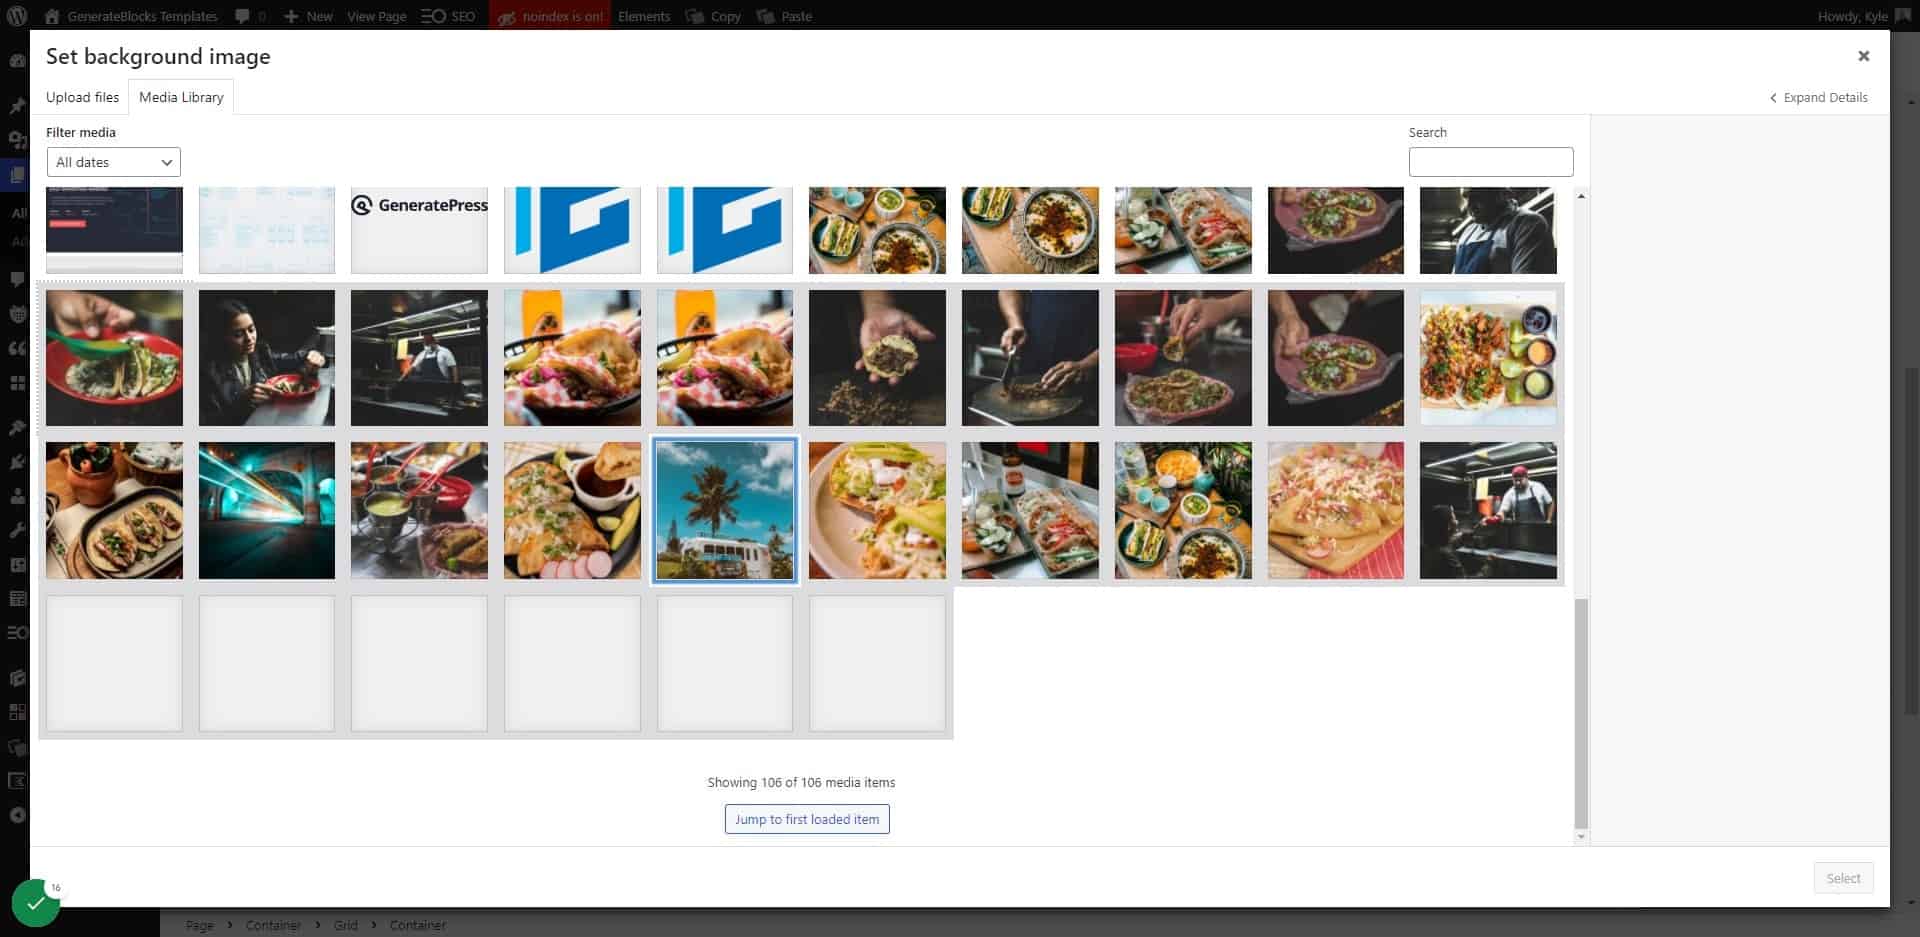
Choose your background image

16. Click on Select
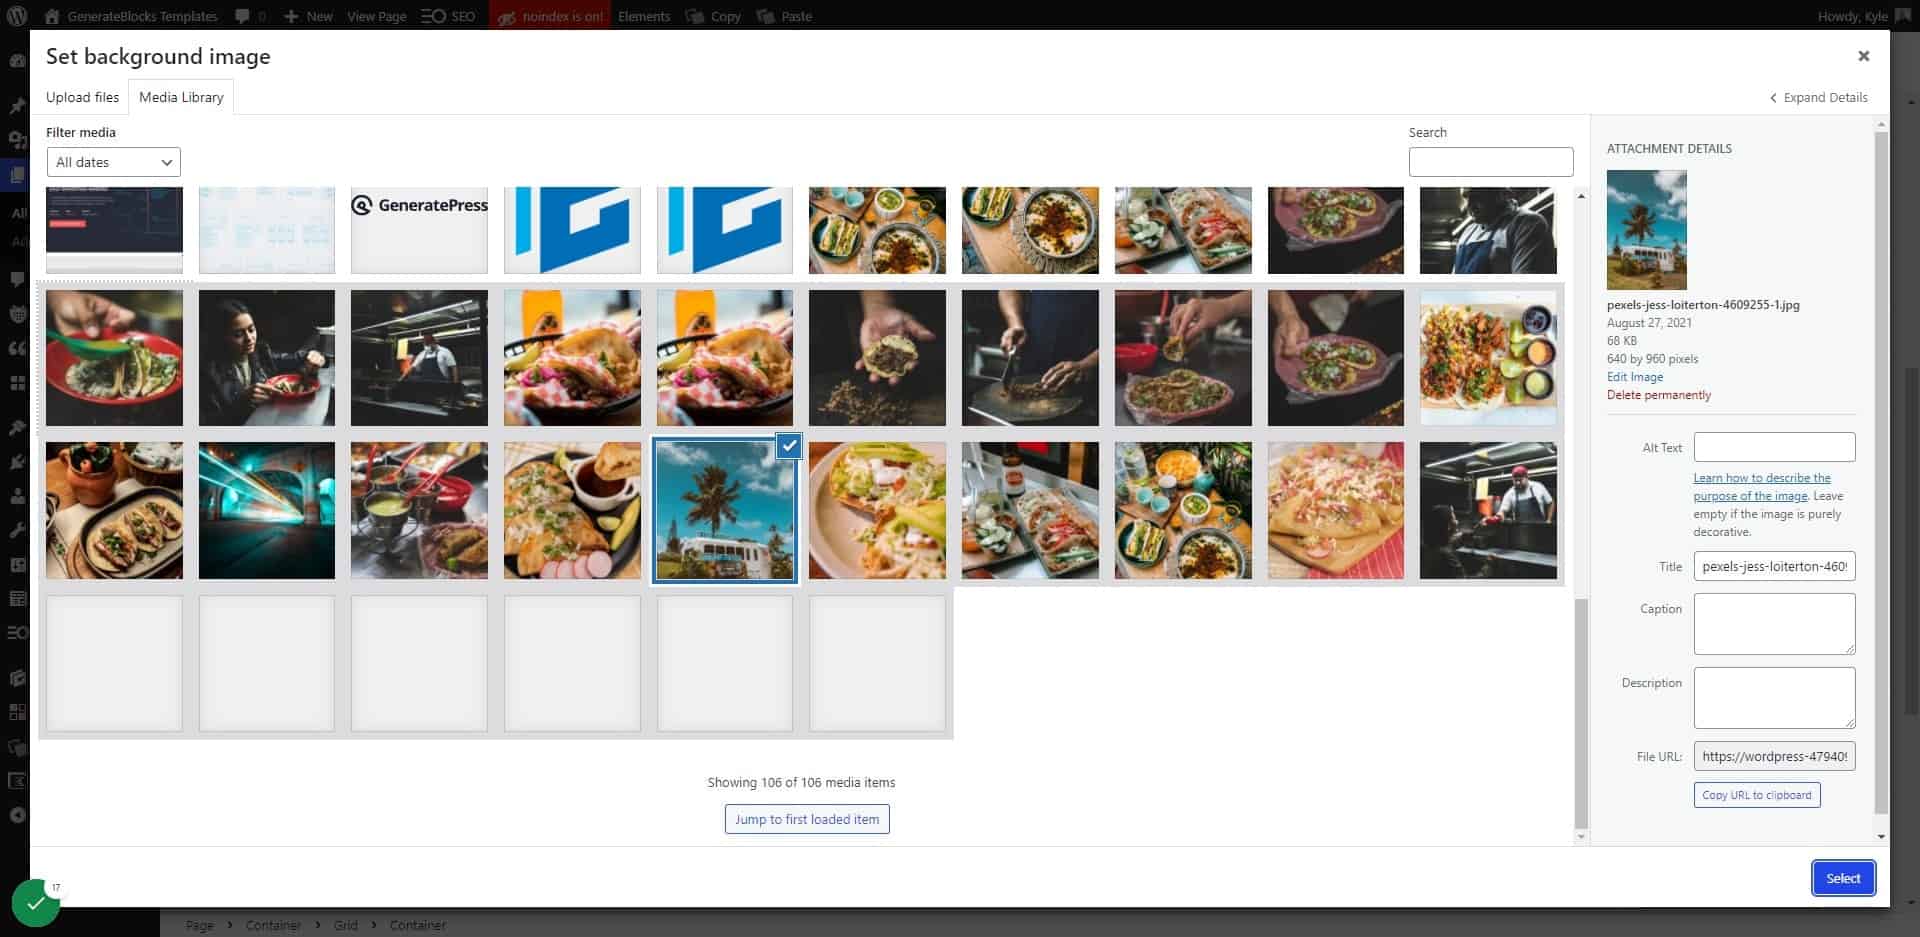
Click on Select

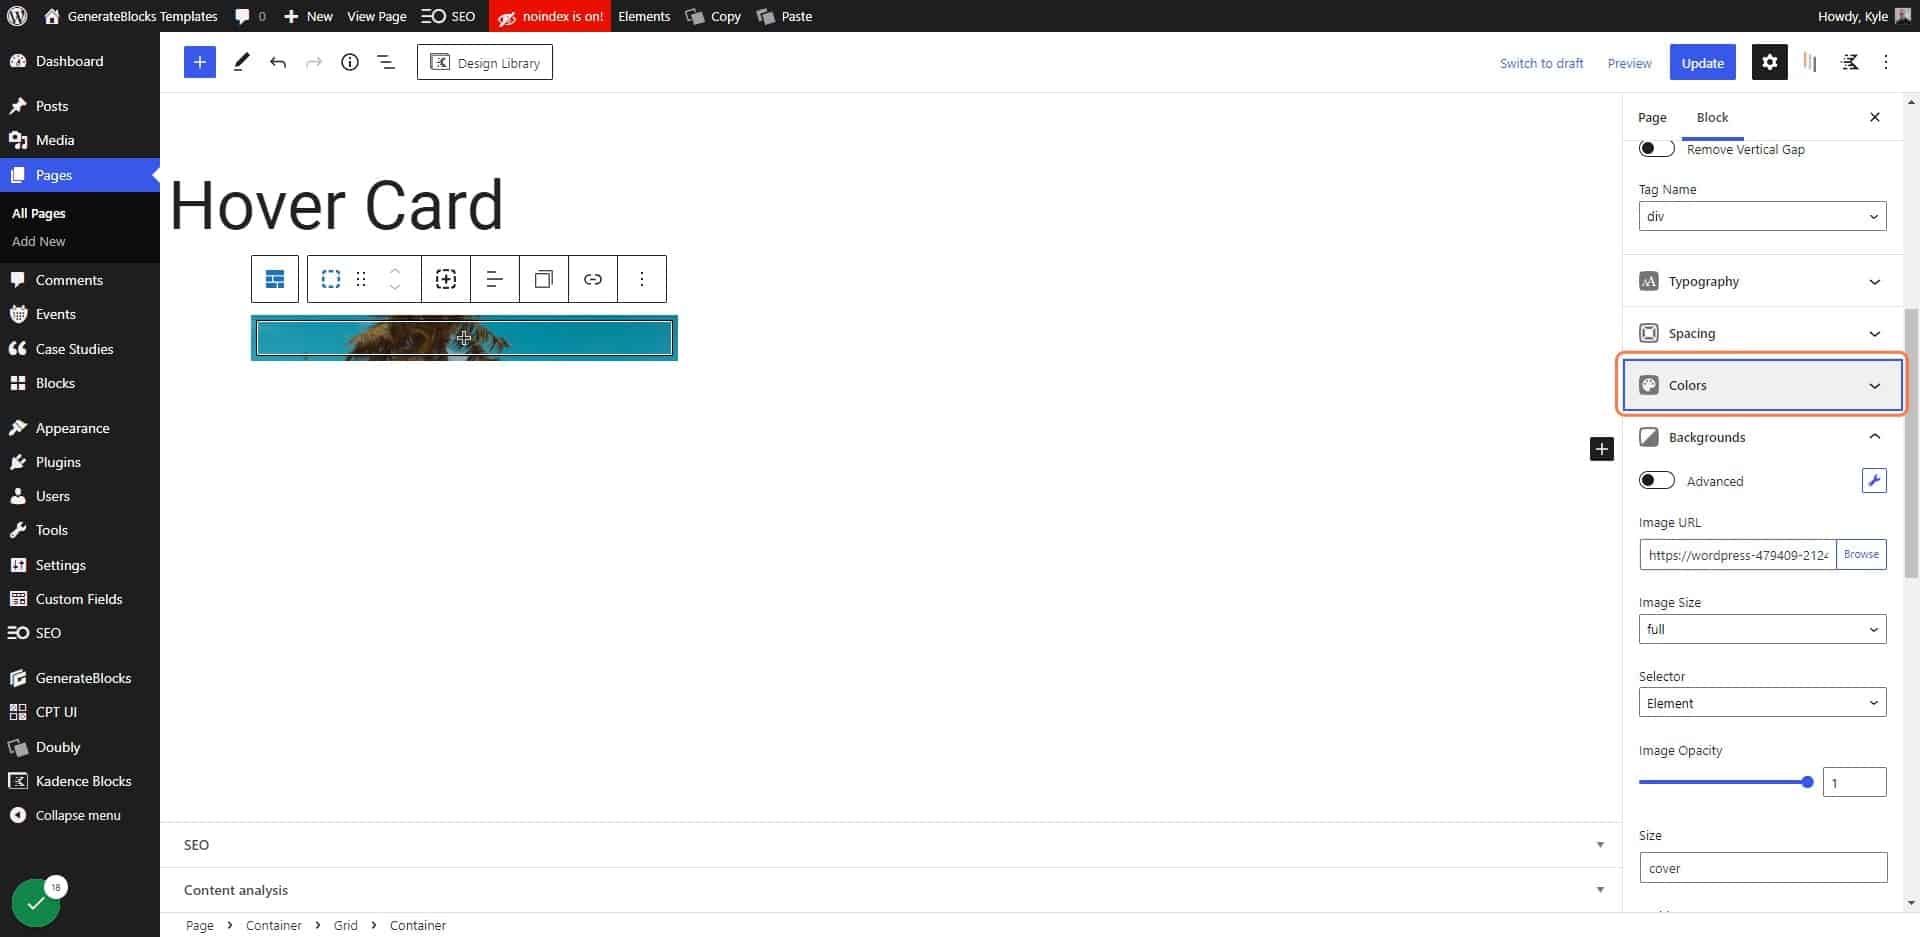
17. Click on Colors

Click on Colors

18. Click on the background color
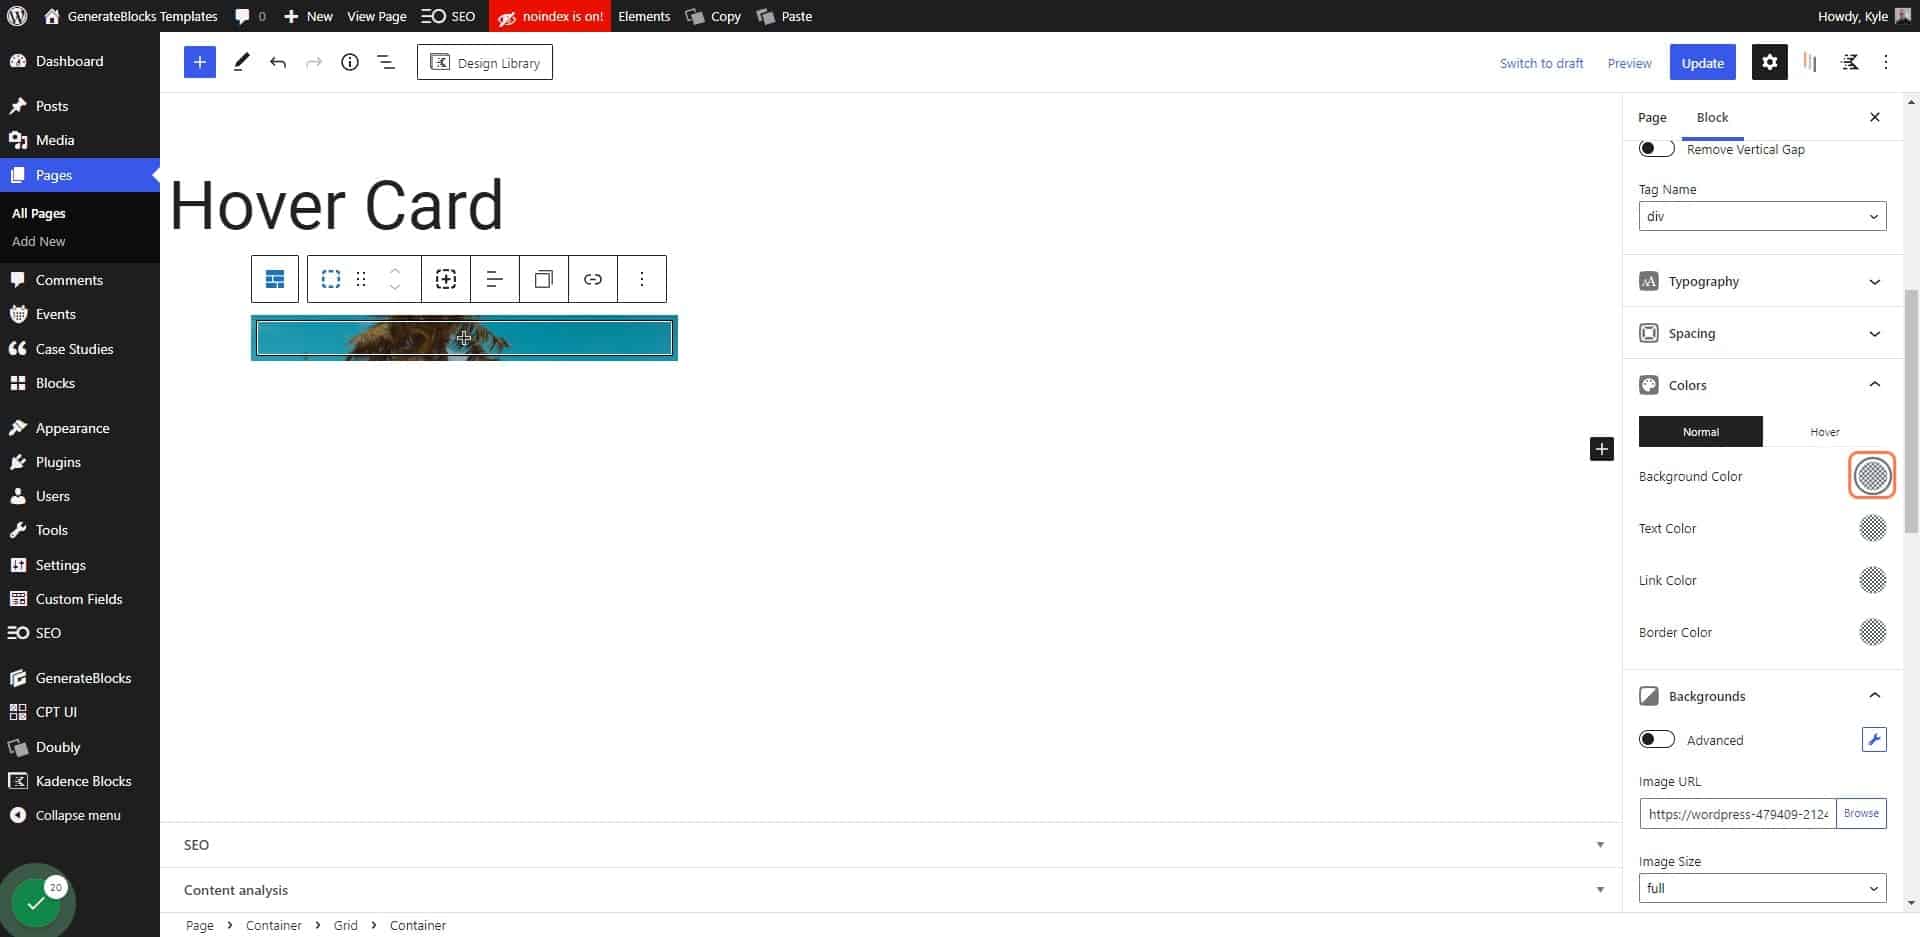
Click on the background color

19. Choose a dark color for an overlay
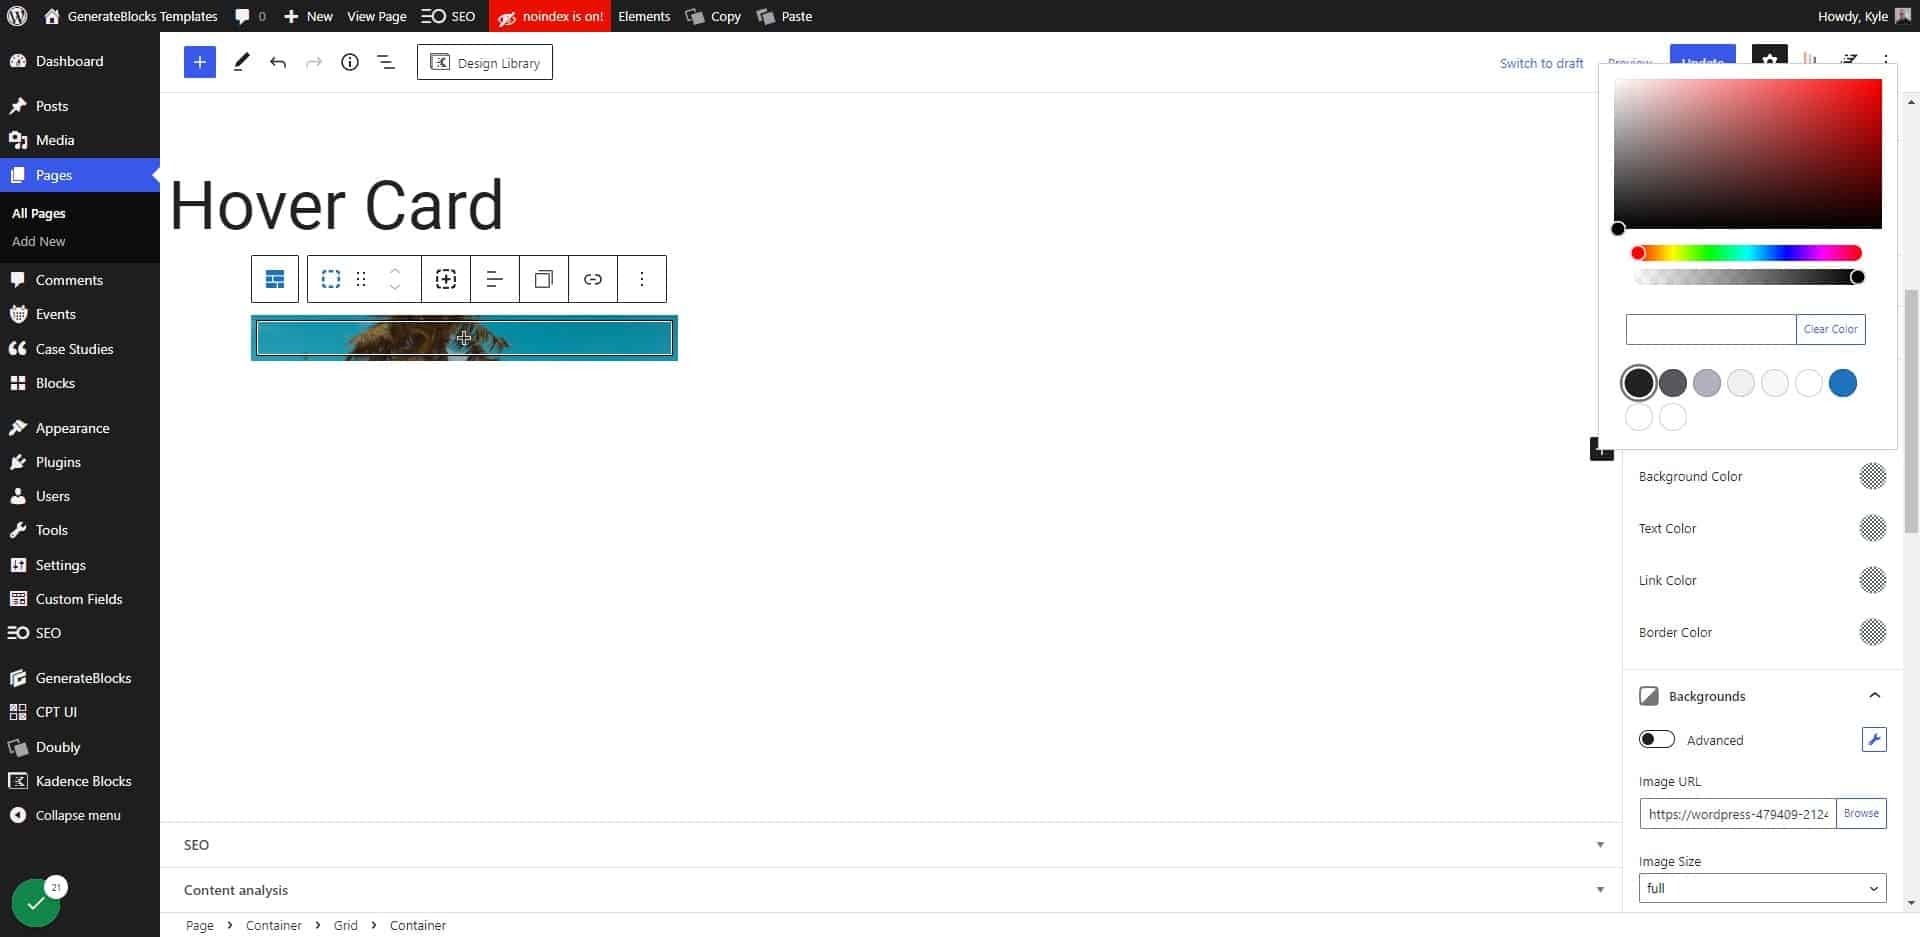
Choose a dark color for an overlay

20. Change the opacity of your background image

.2 to .4 usually works well, but this may vary depending on your image
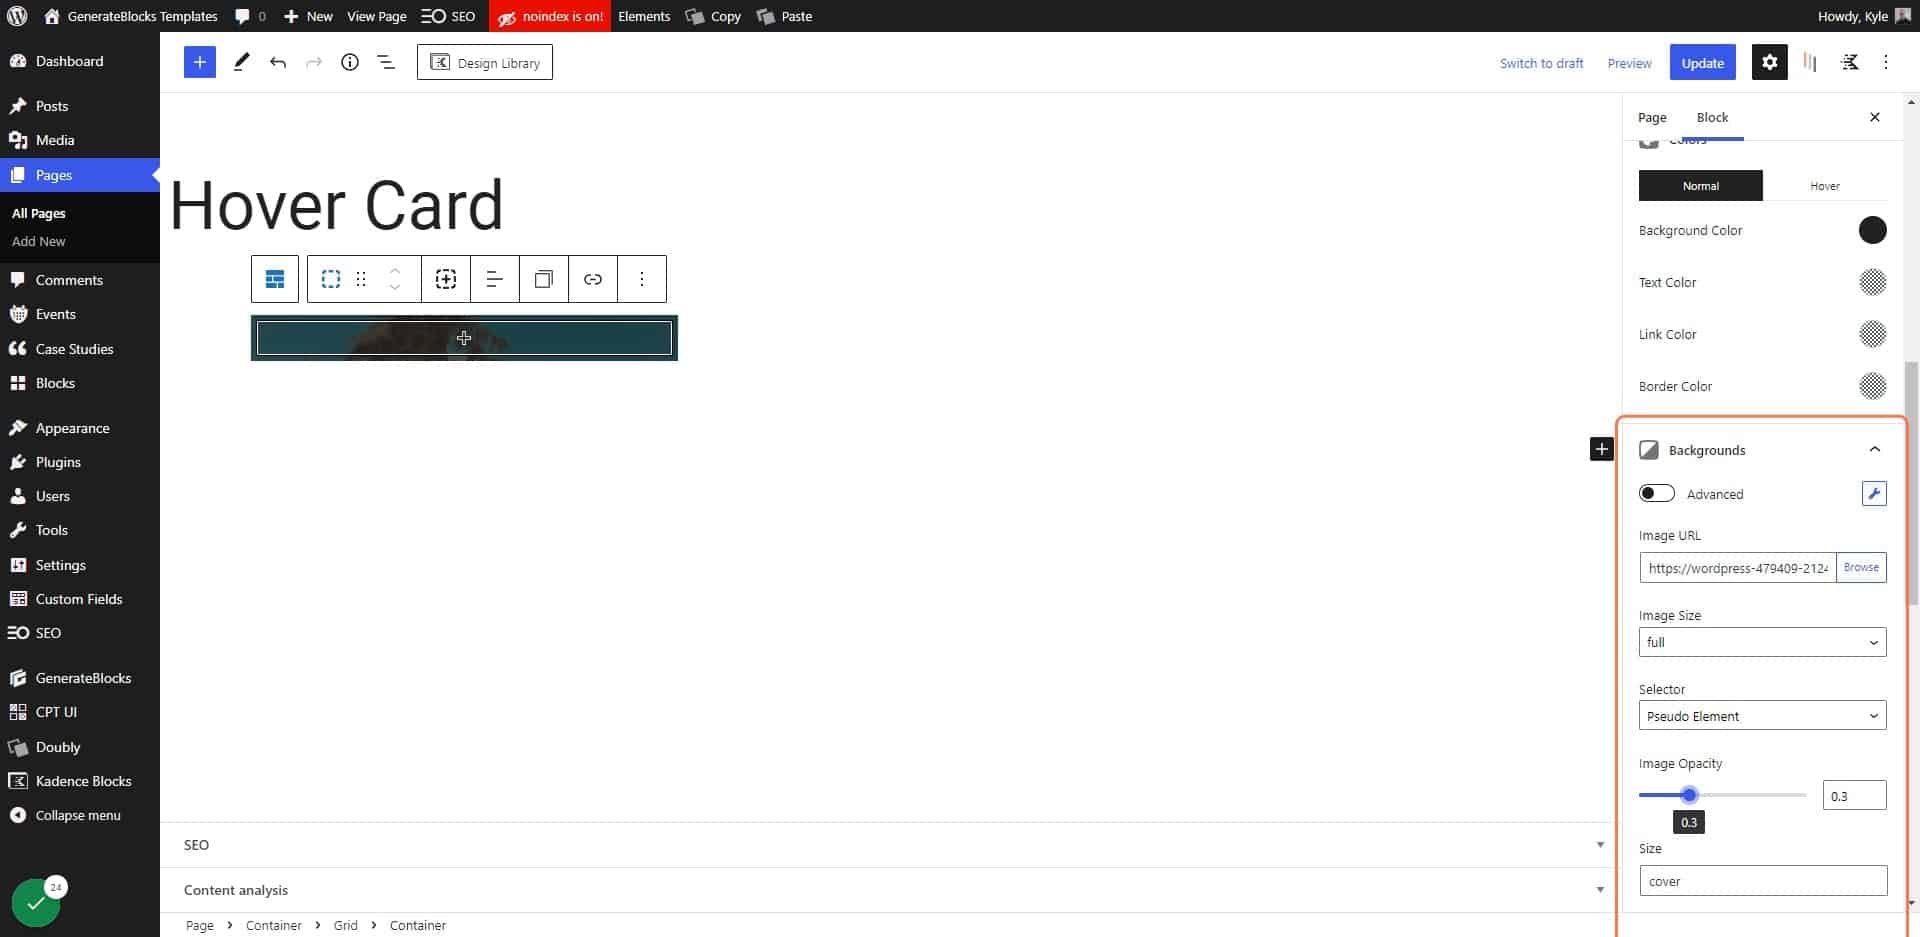
Change the opacity of your background image

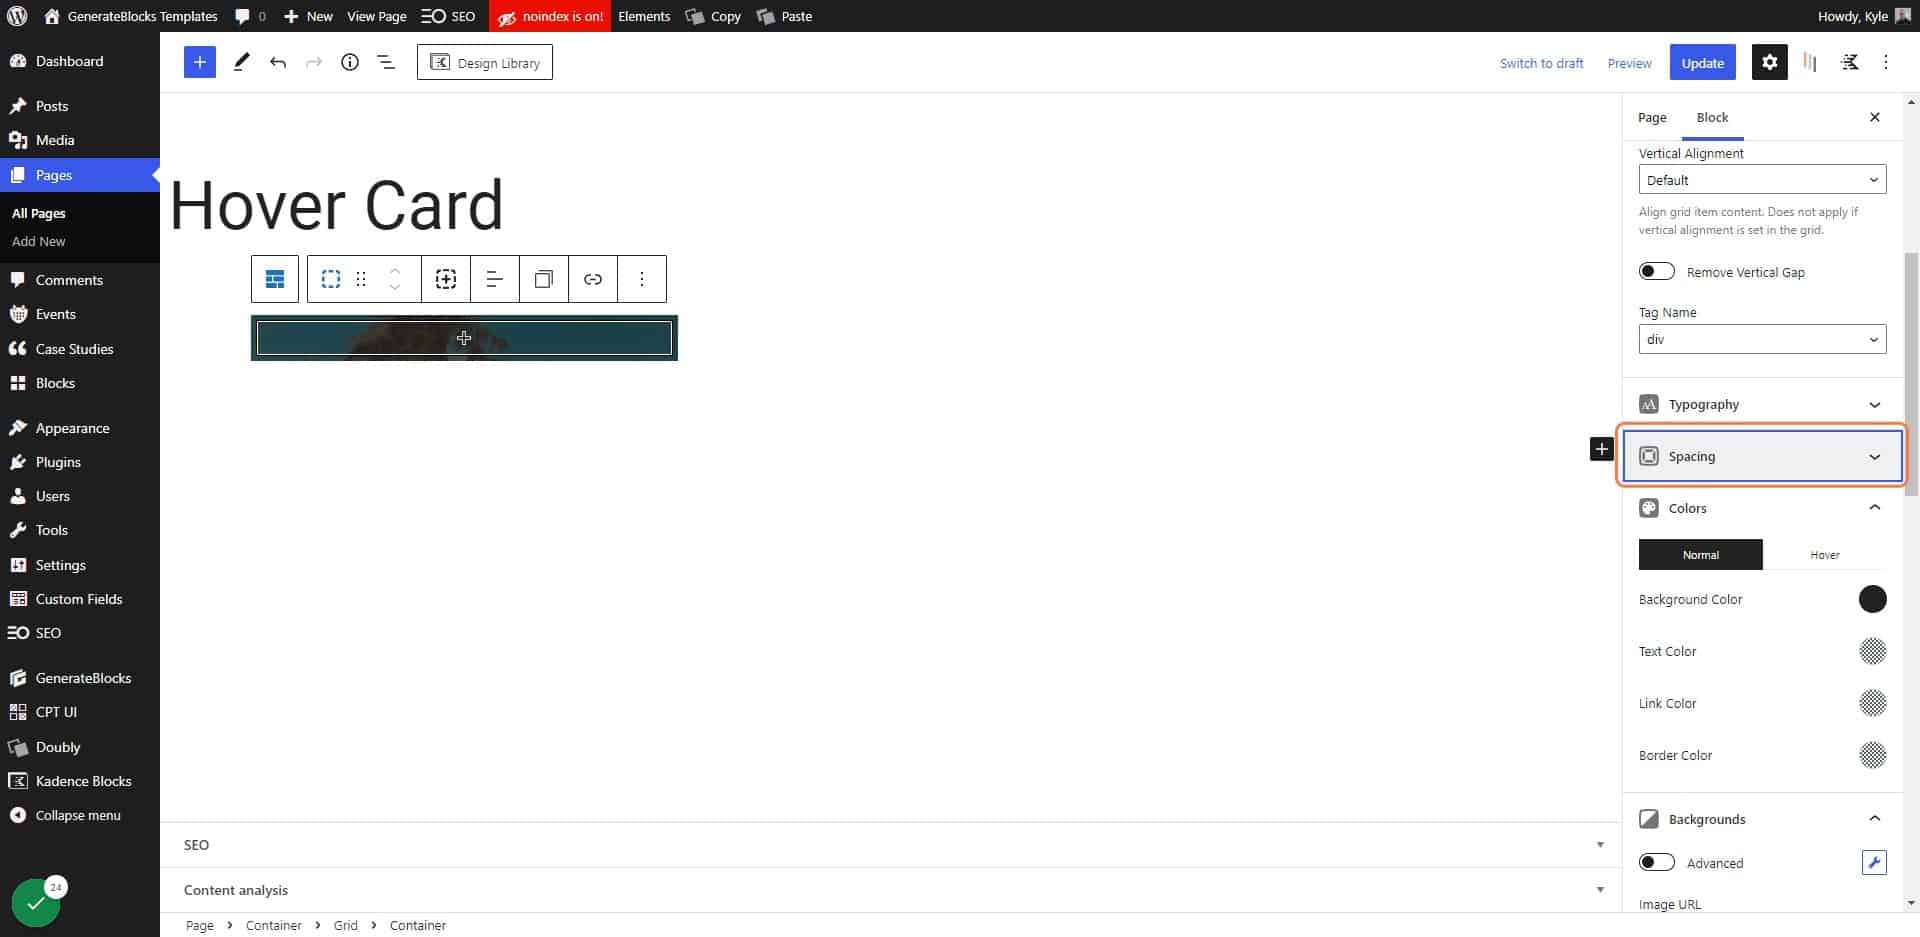
21. Click on Spacing

Click on Spacing

22. Give the container a minimum height

For the demo 300px was enough, but your use case may vary
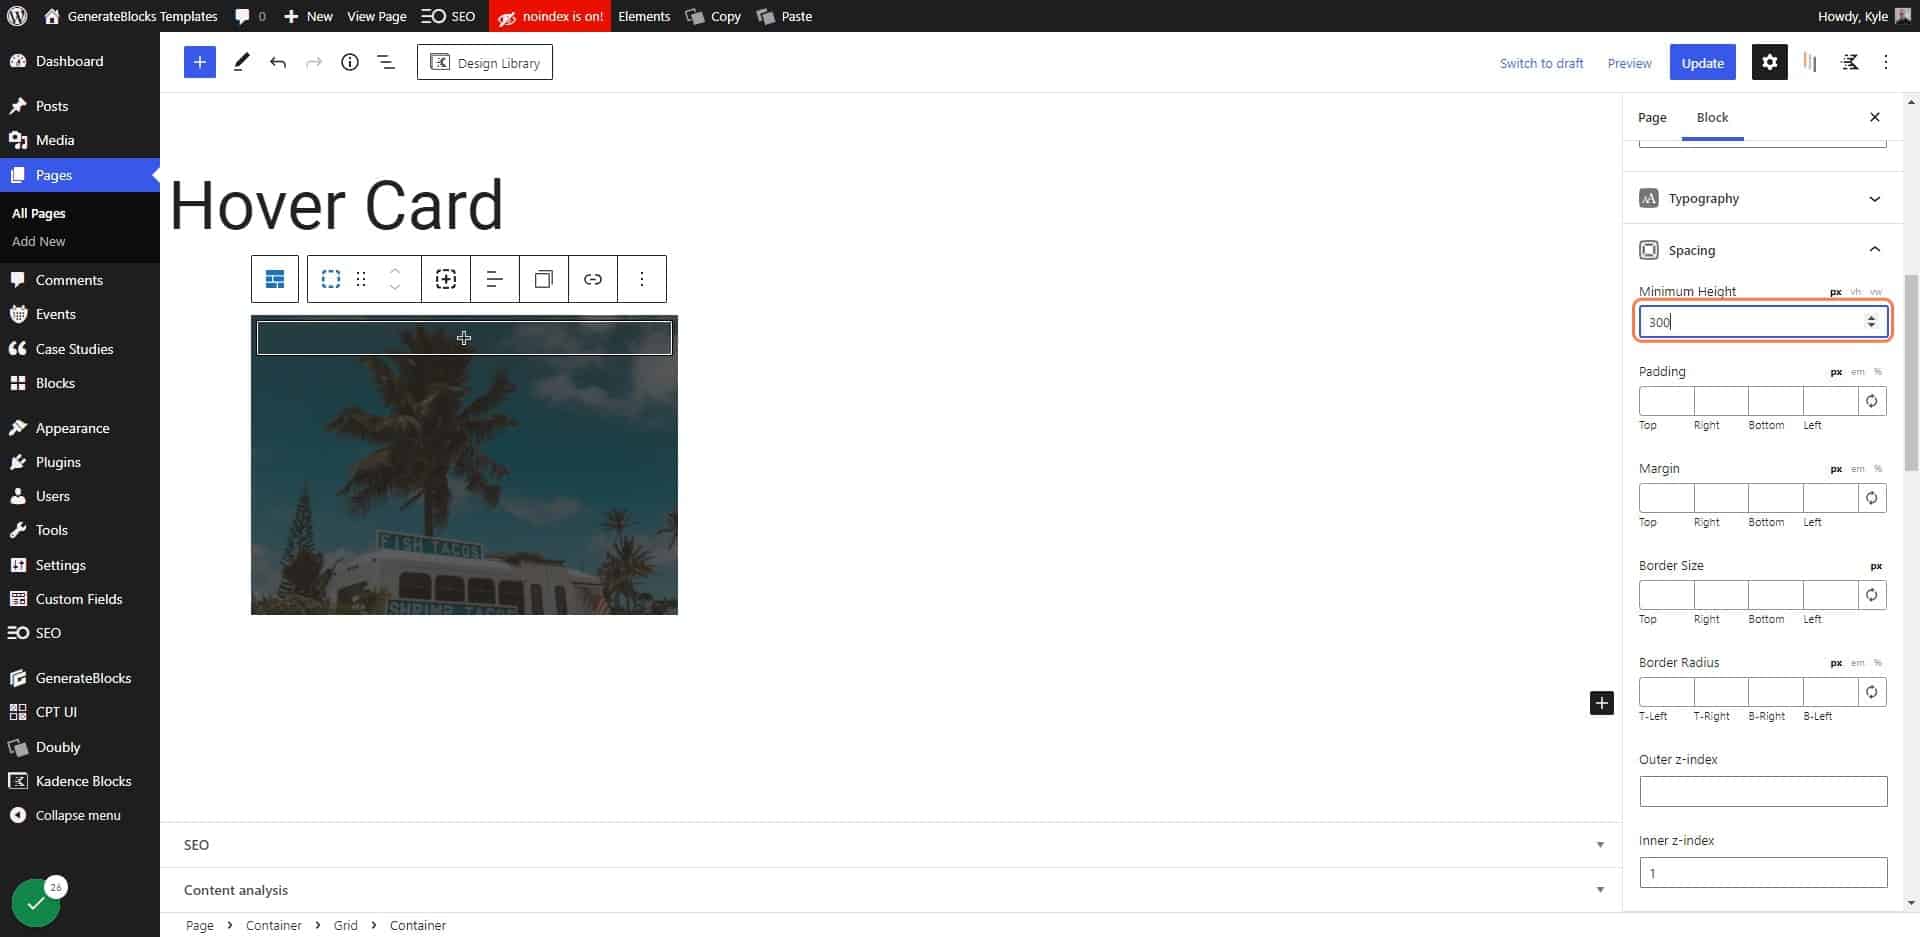
Give the container a minimum height

23. Change the Vertical Alignment to “Bottom”
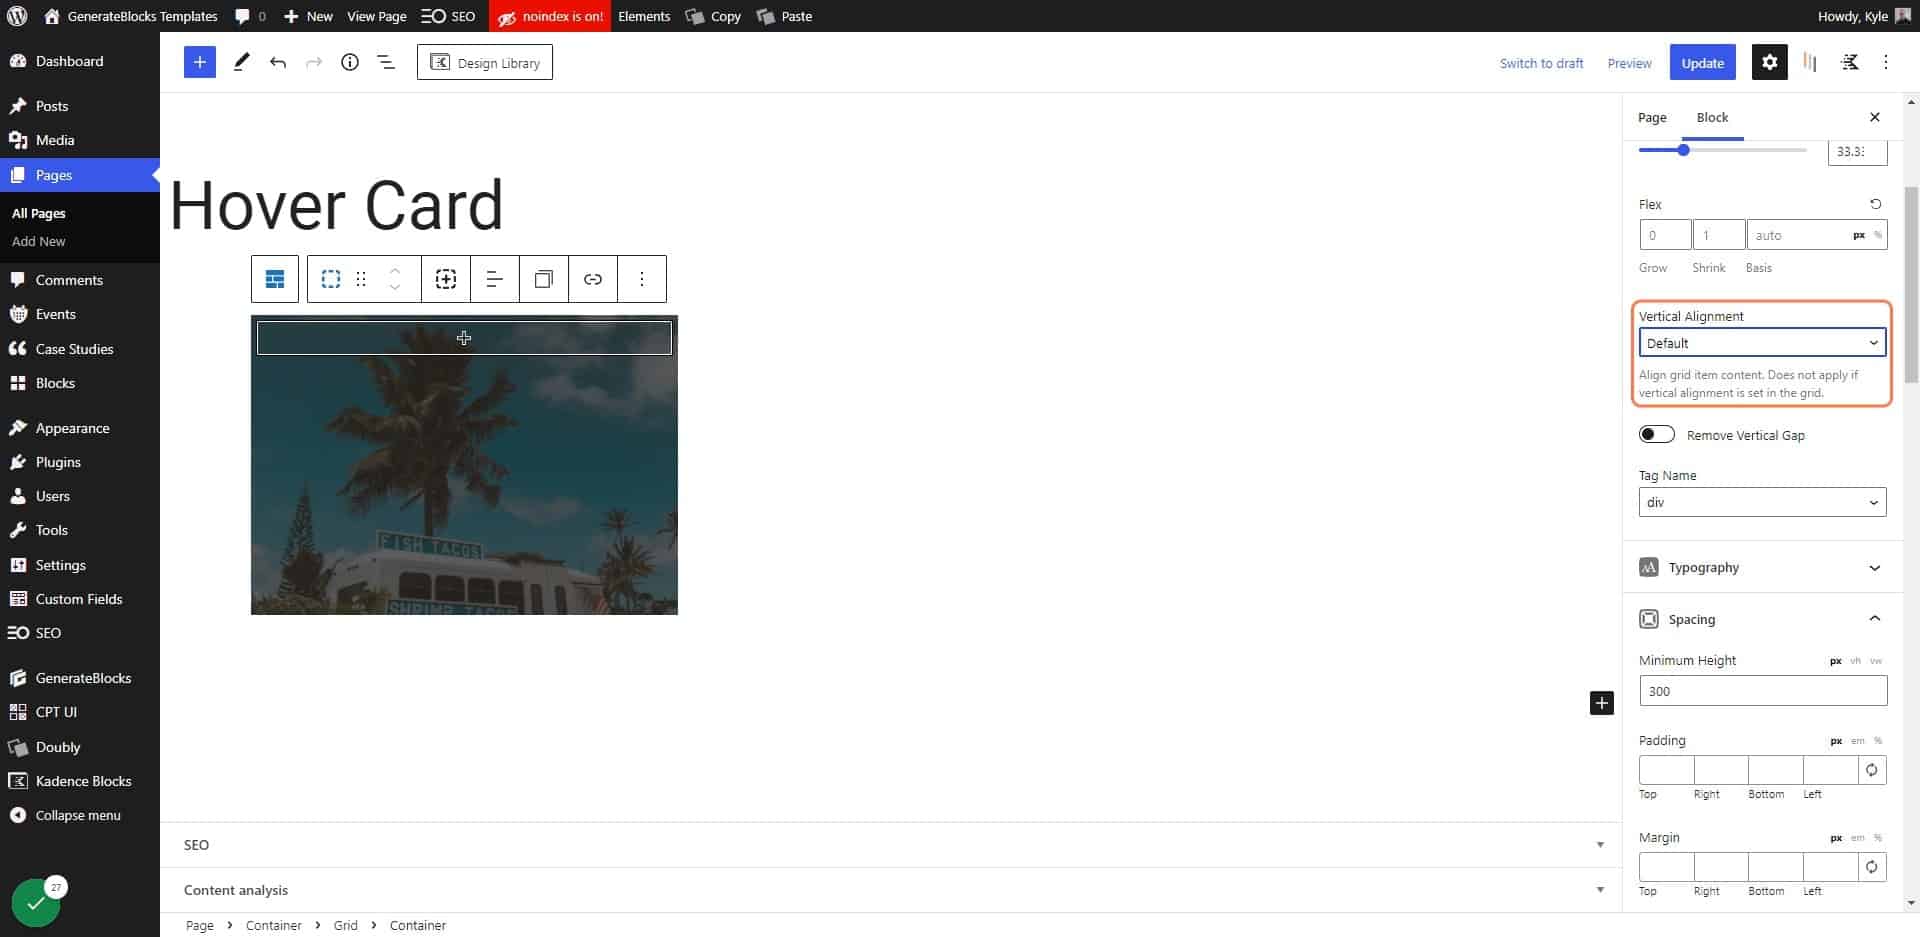
24. Click on Add block

You want to add this block inside of your container with the background
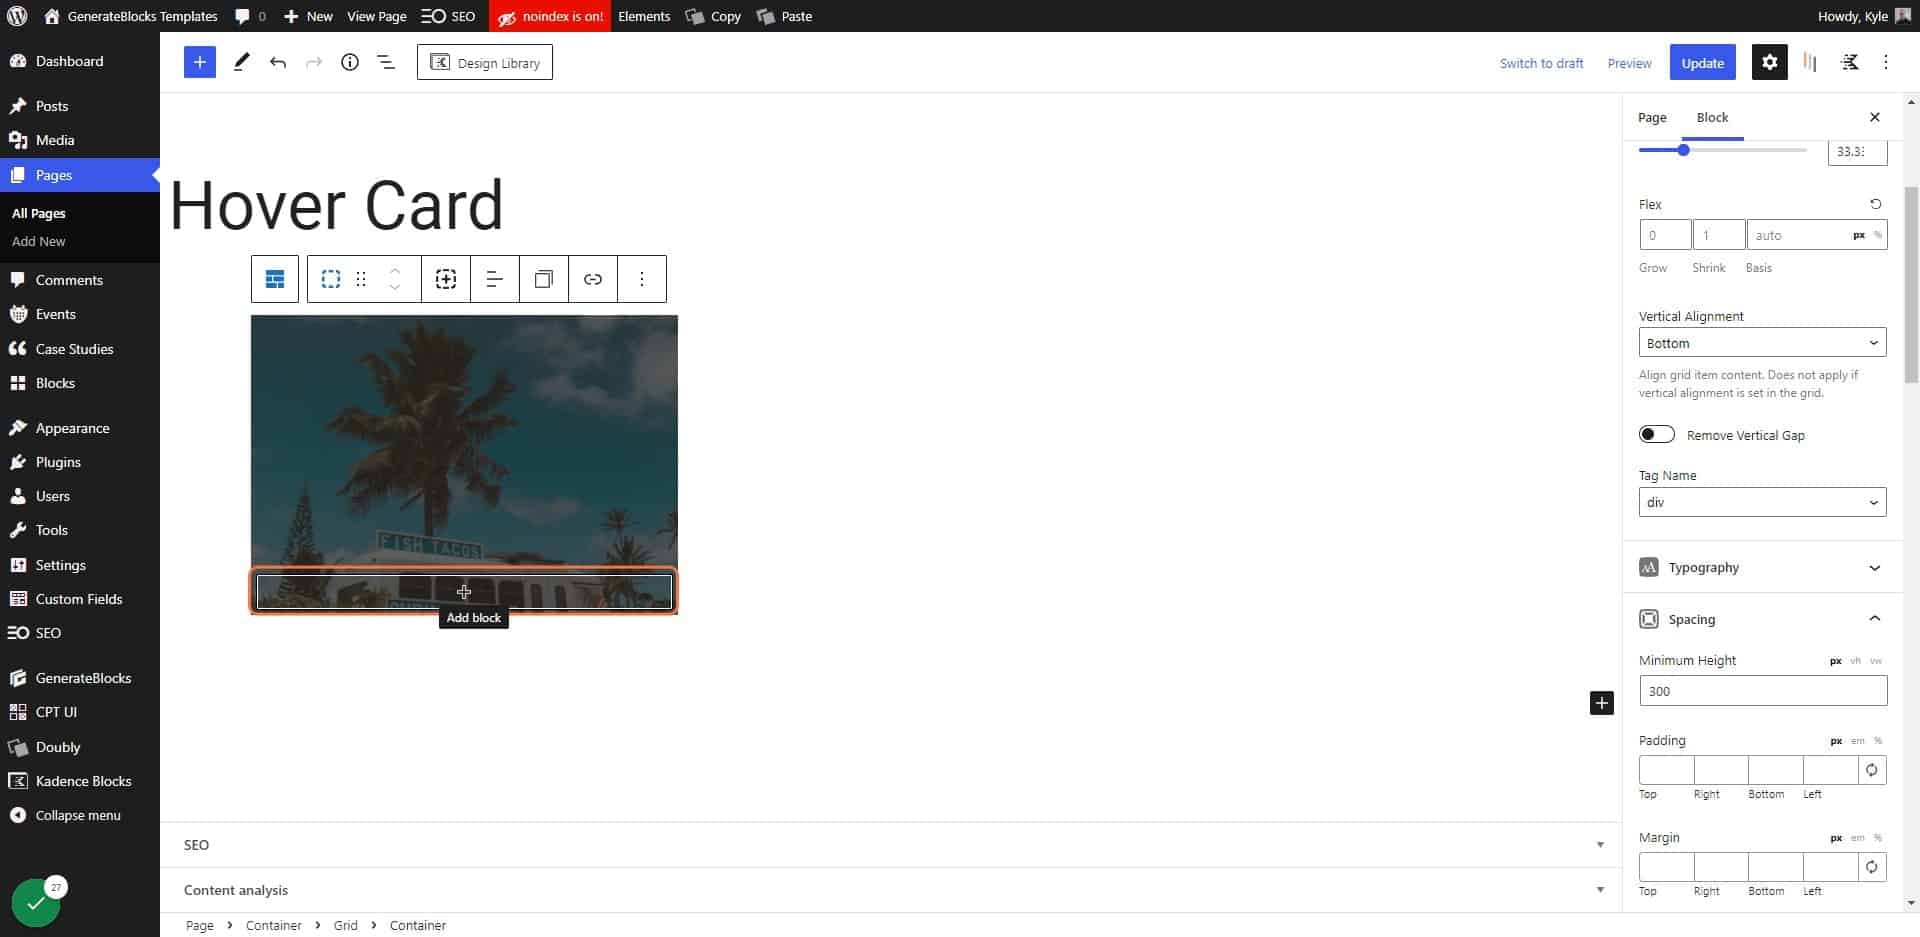
Click on Add block

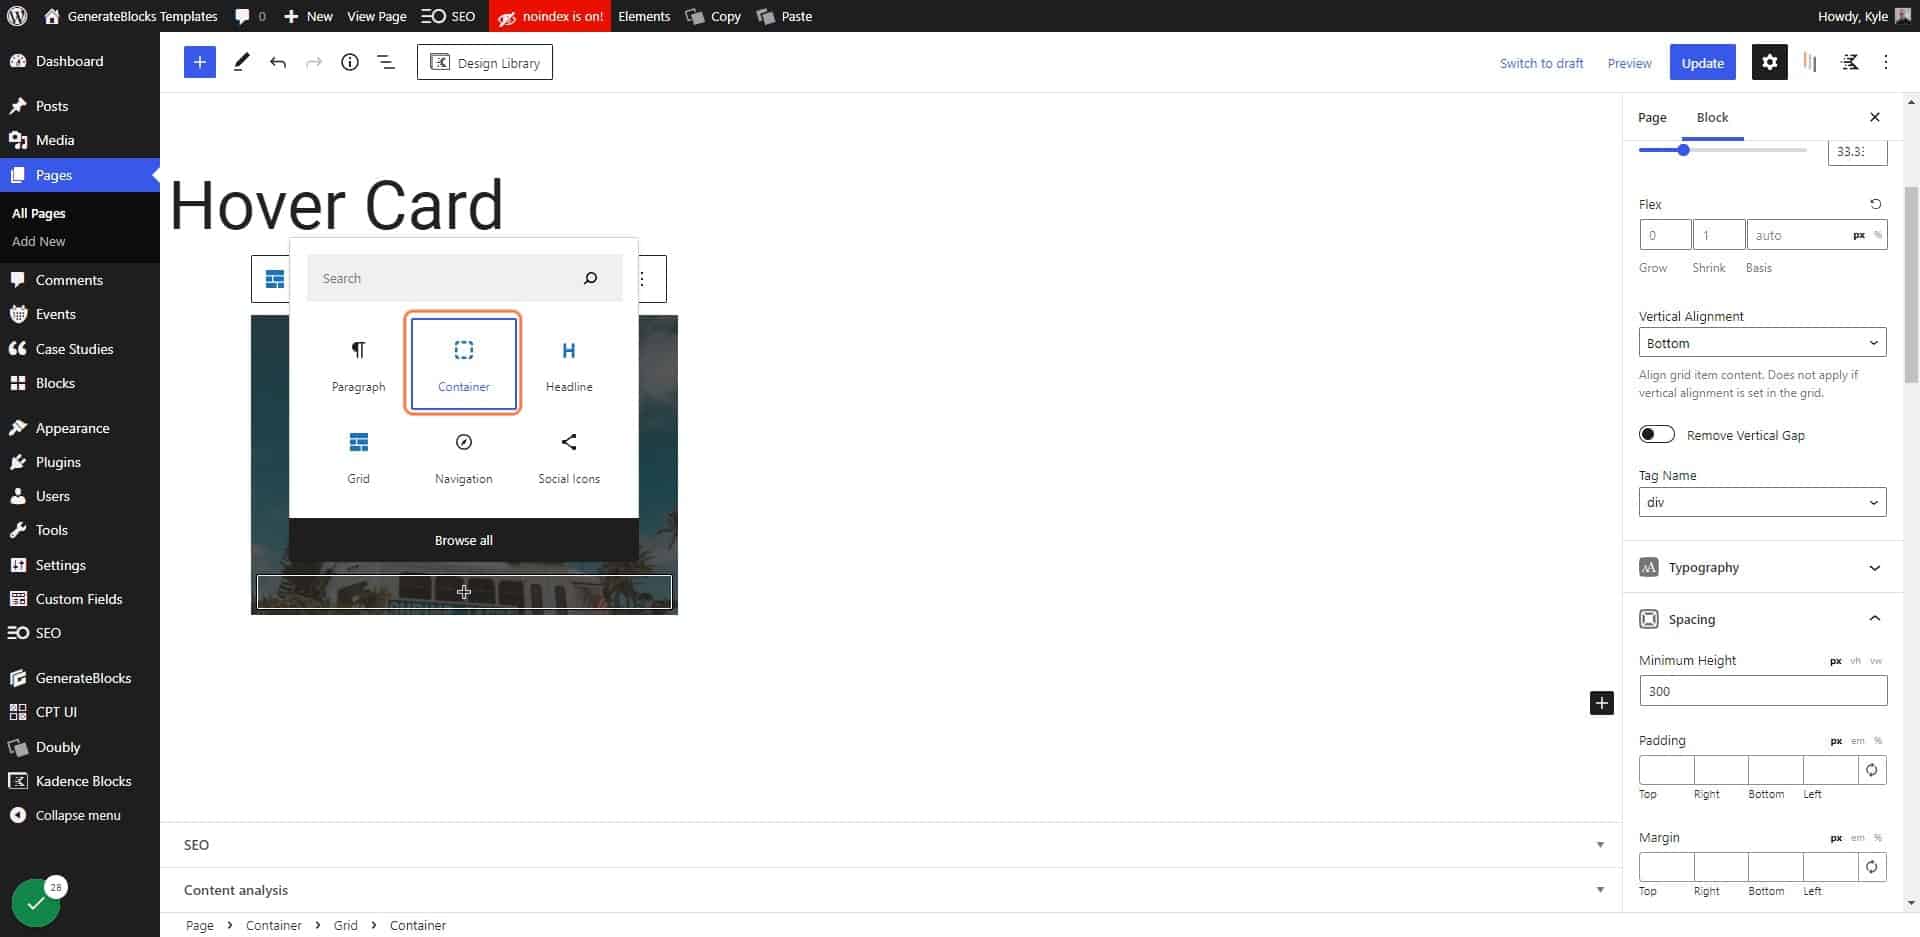
25. Choose Container

Choose Container

26. Give your new container the class of “hc-front”
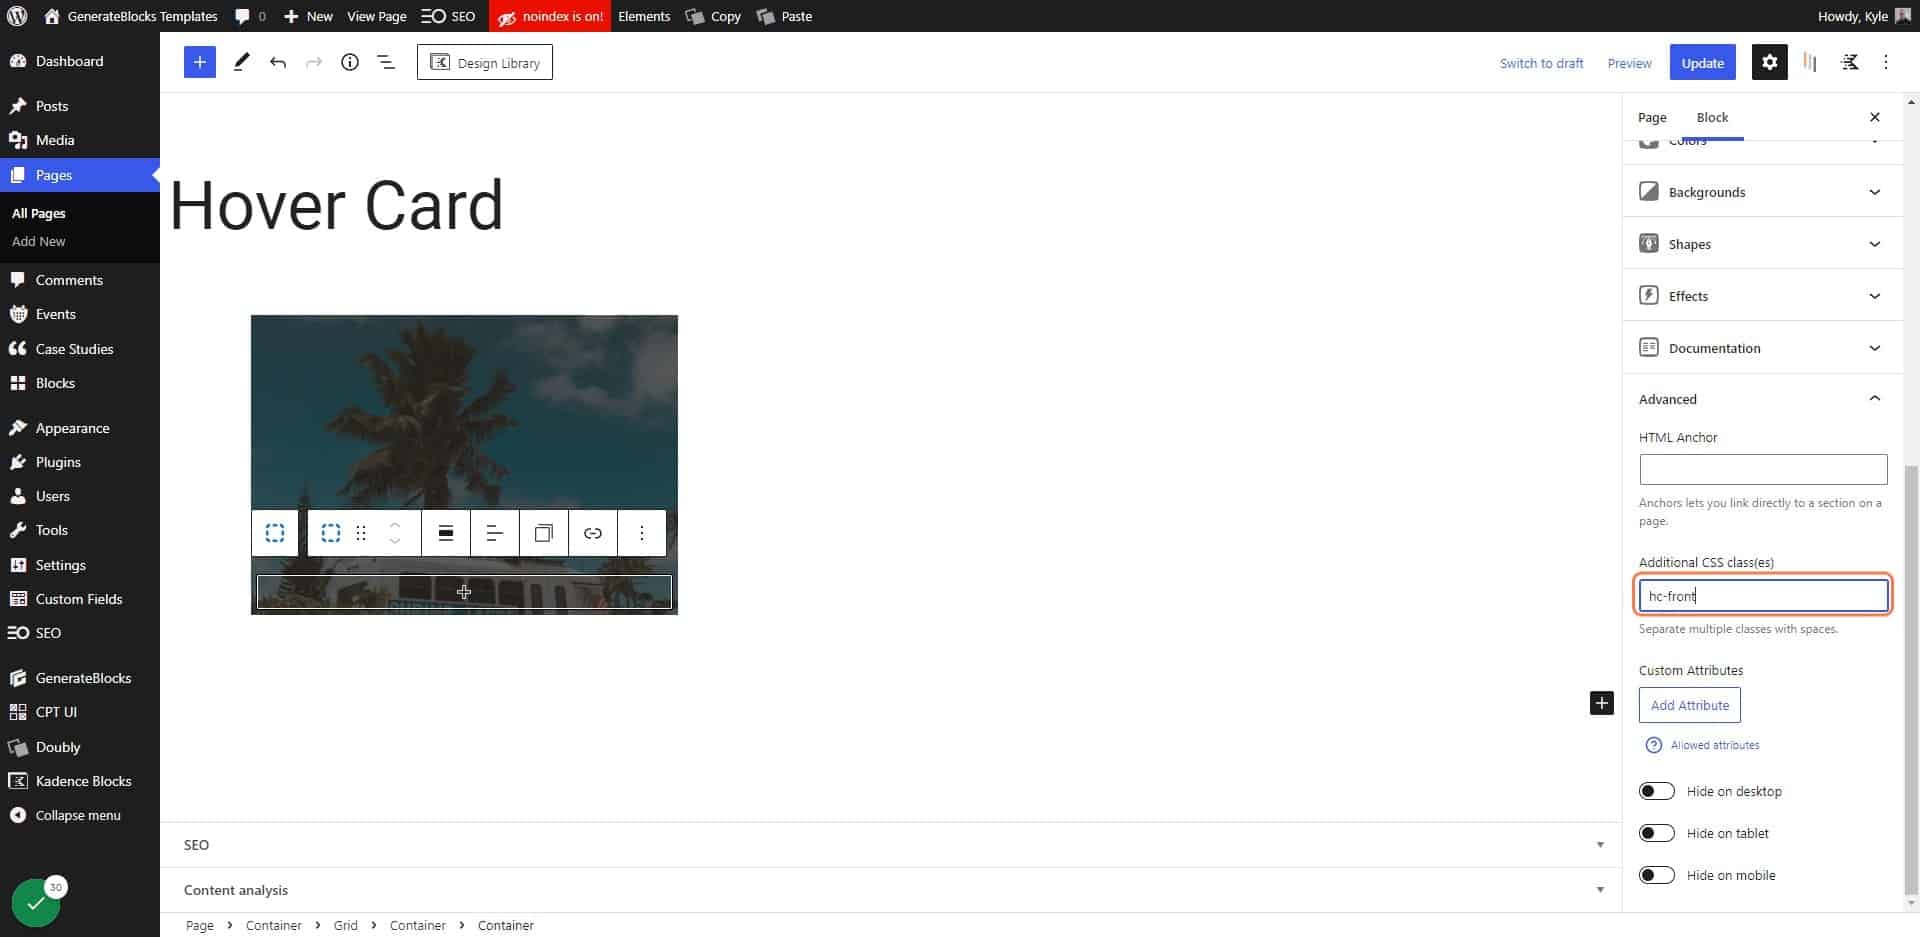
27. Click on Spacing
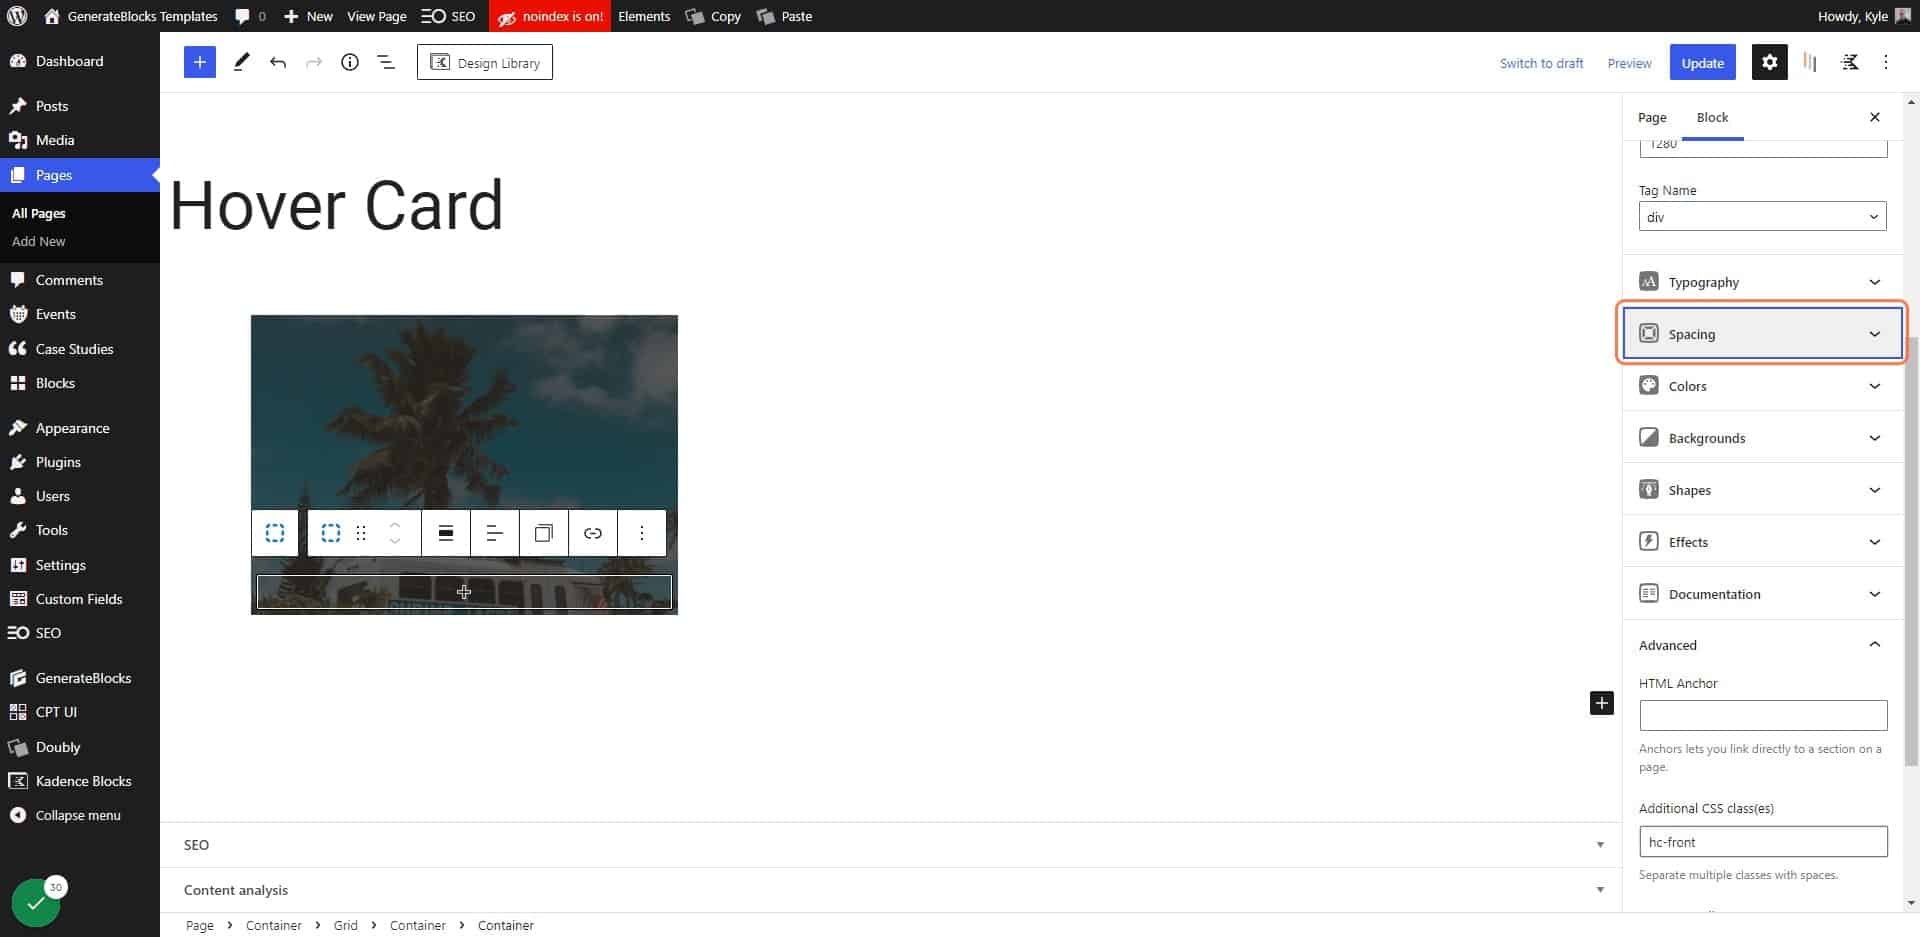
Click on Spacing

28. Click on Sync Units
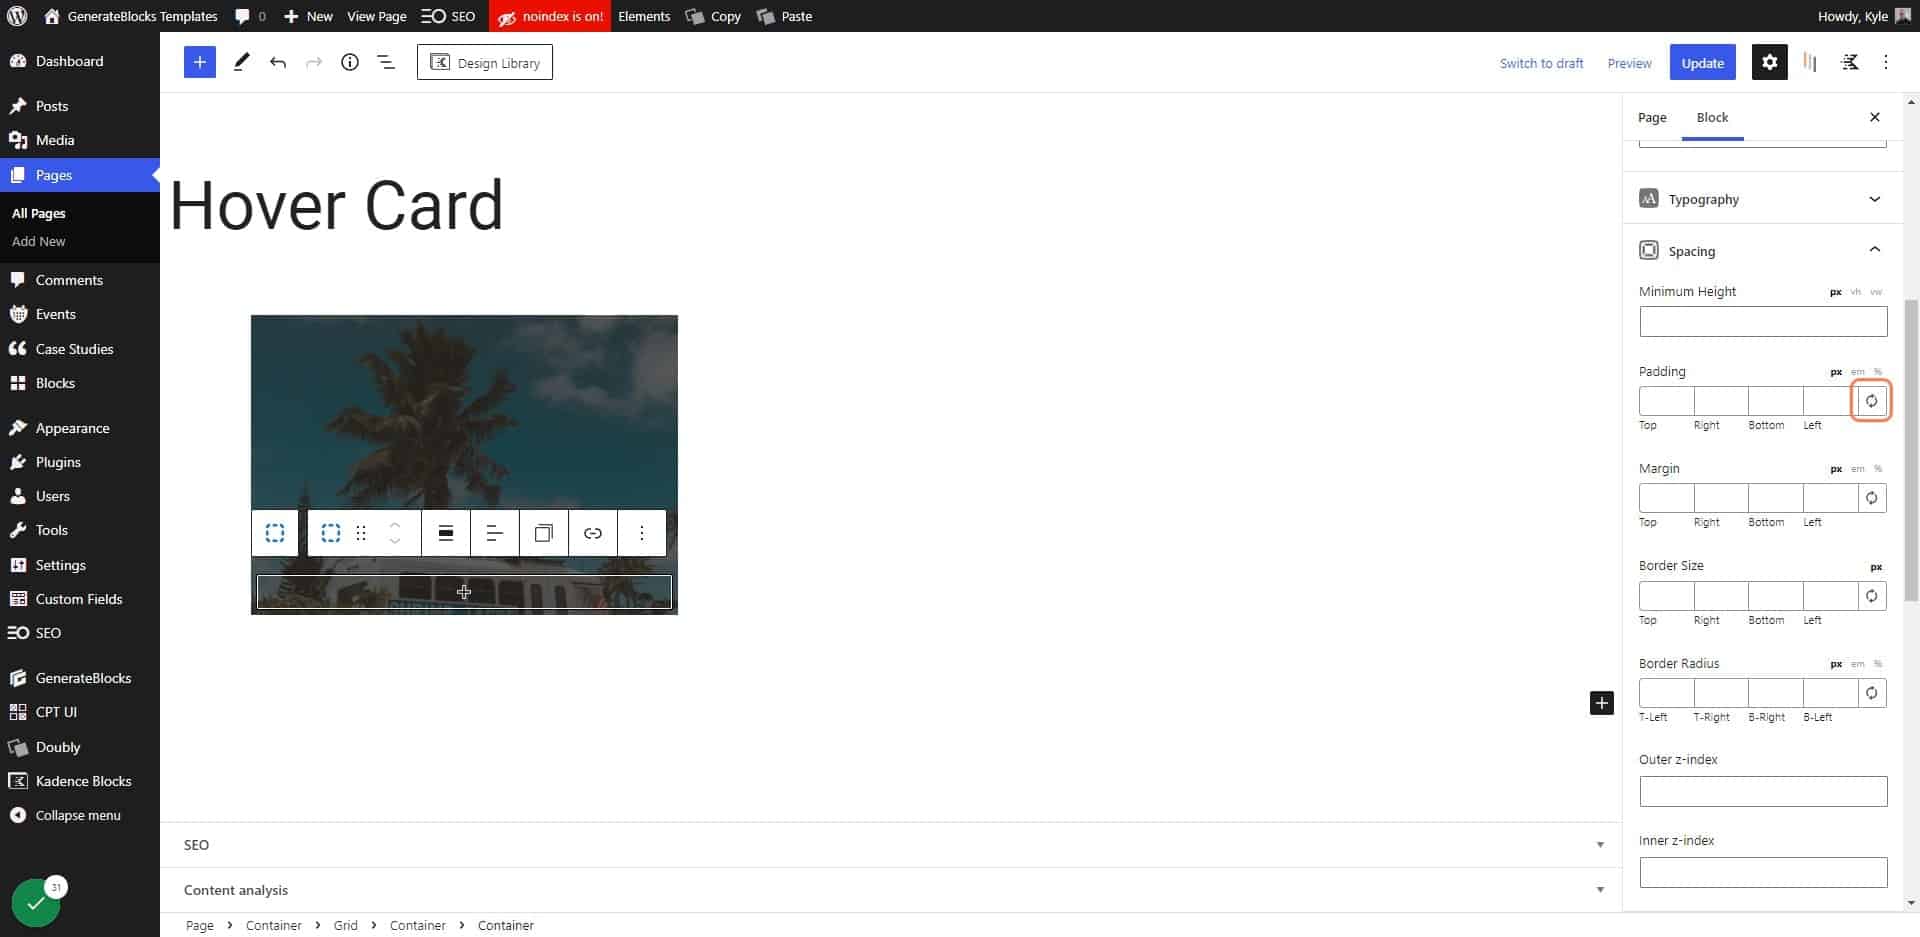
Click on Sync Units

29. Add padding to your container

24px of padding was fine for this demo, but your padding may vary.
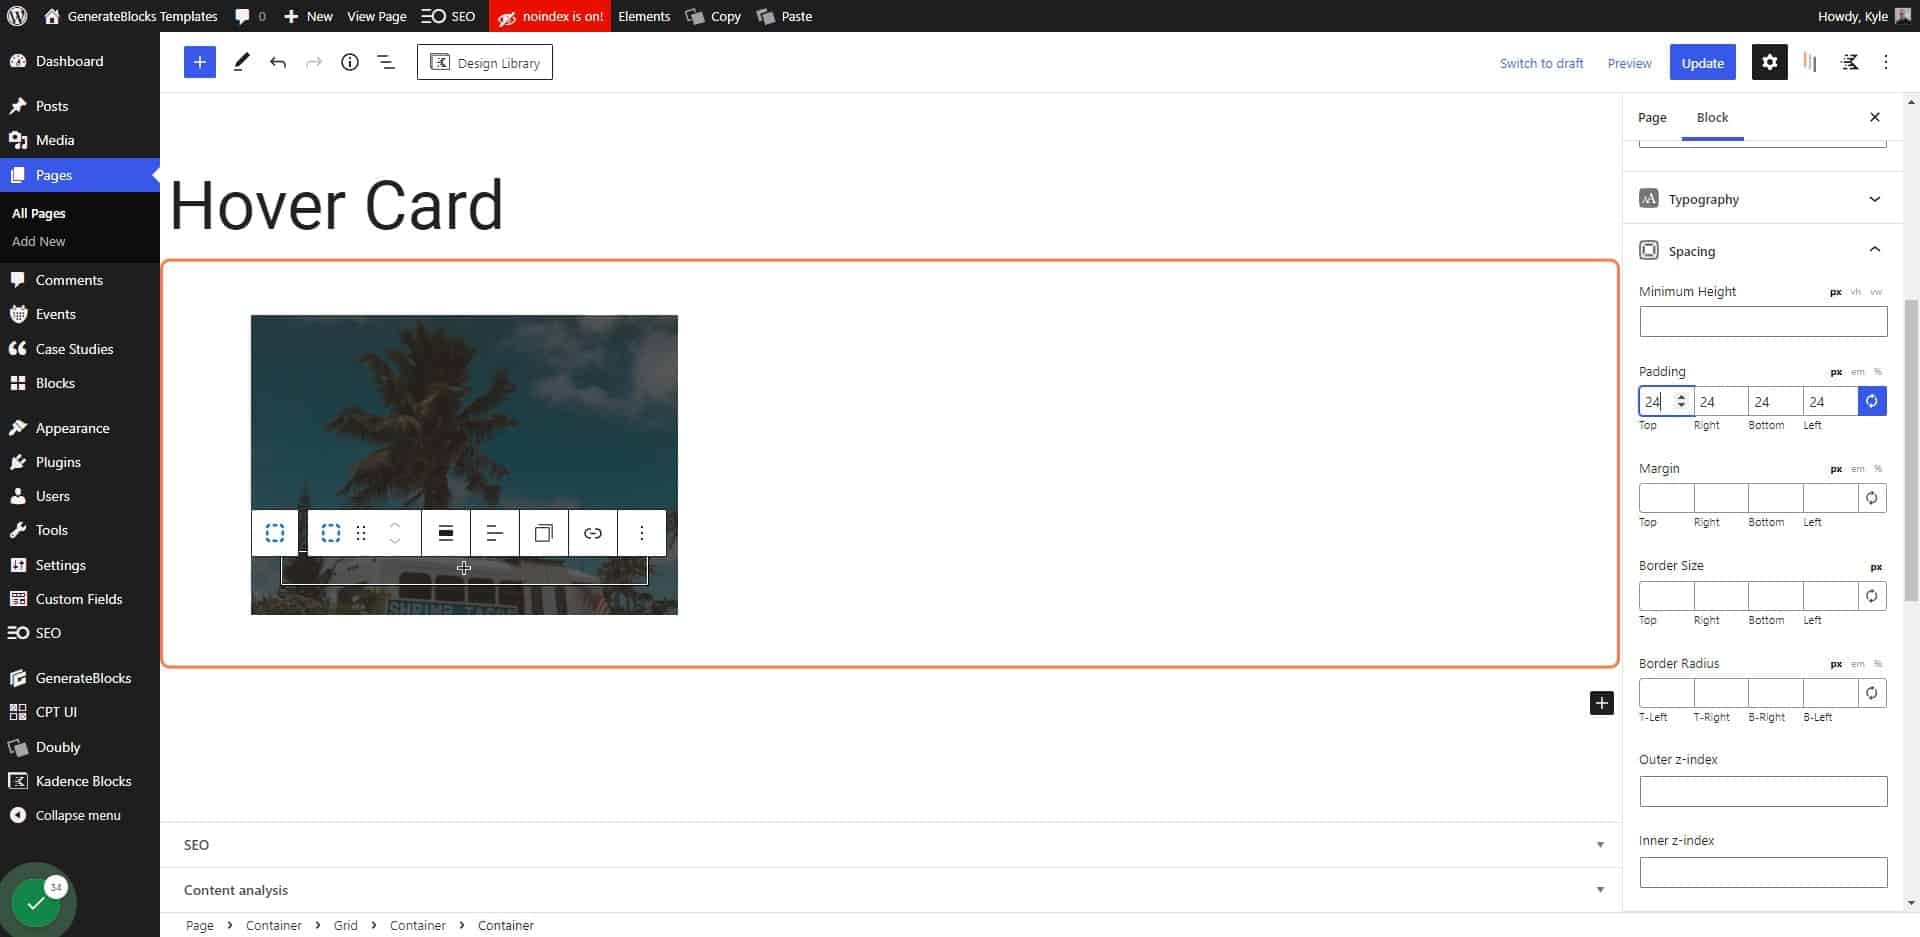
Add padding to your container

30. Click on Add block

Click on Add block

31. Click on Headline
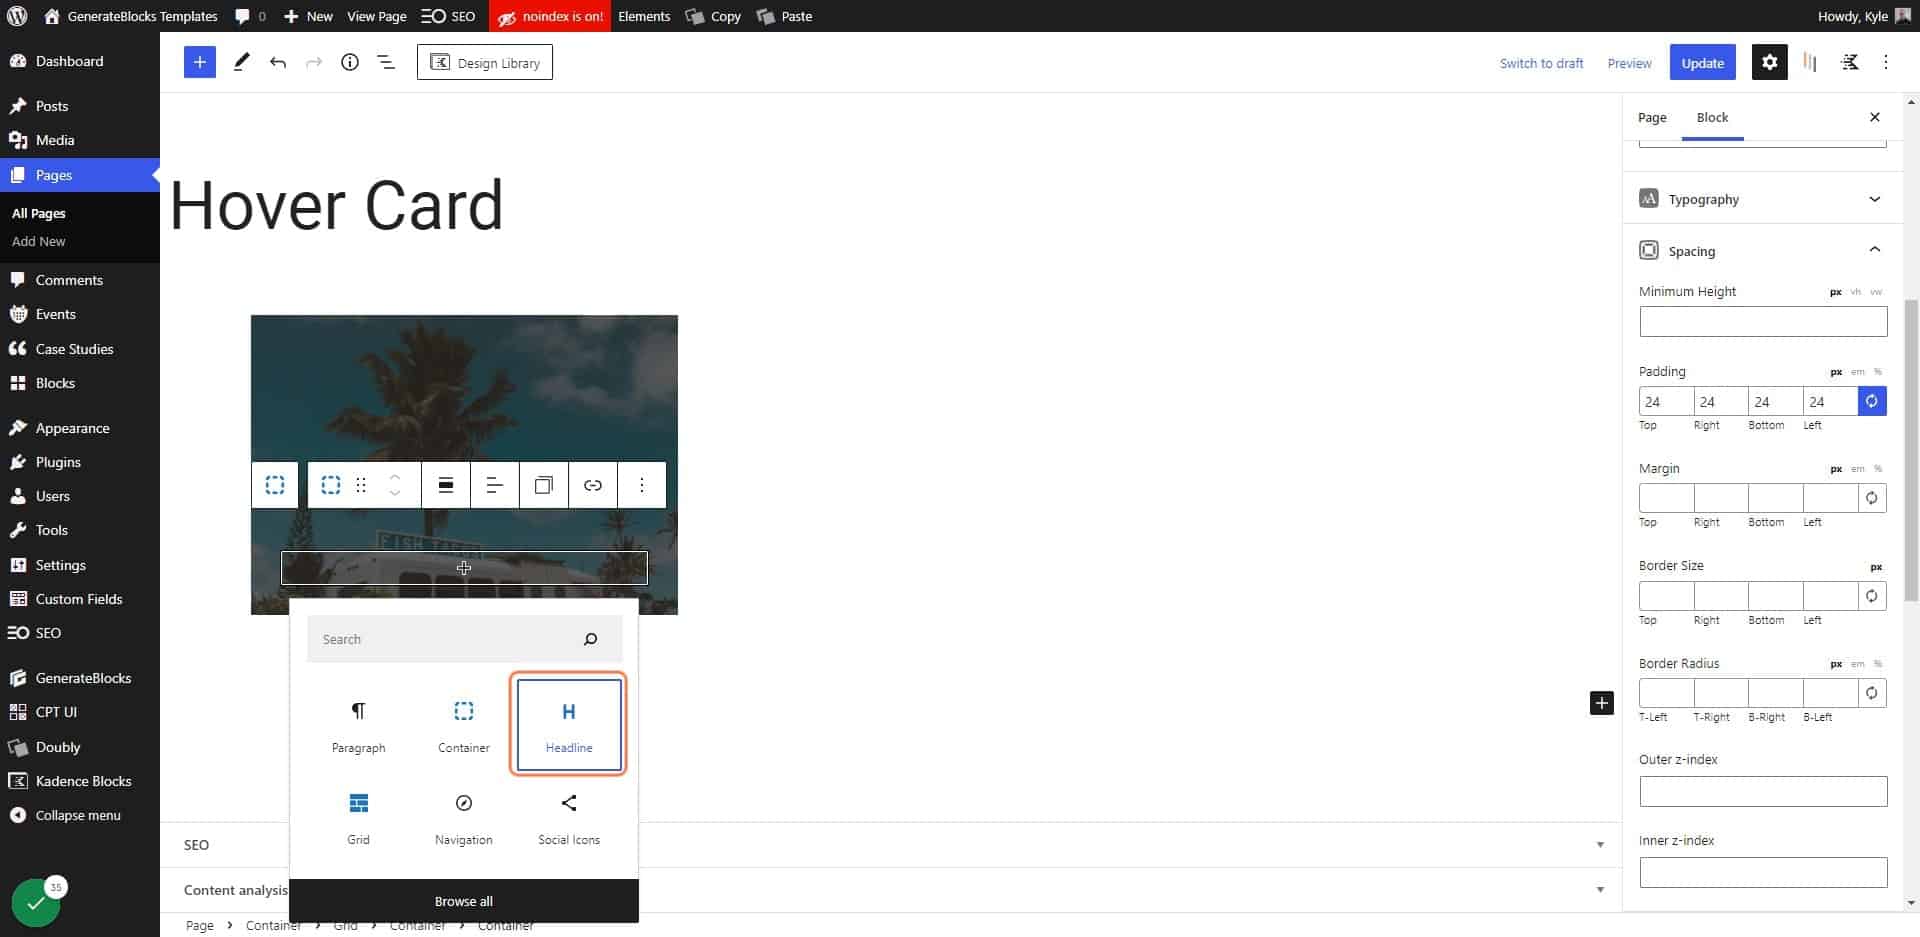
Click on Headline

32. Enter the text you want to show on hover
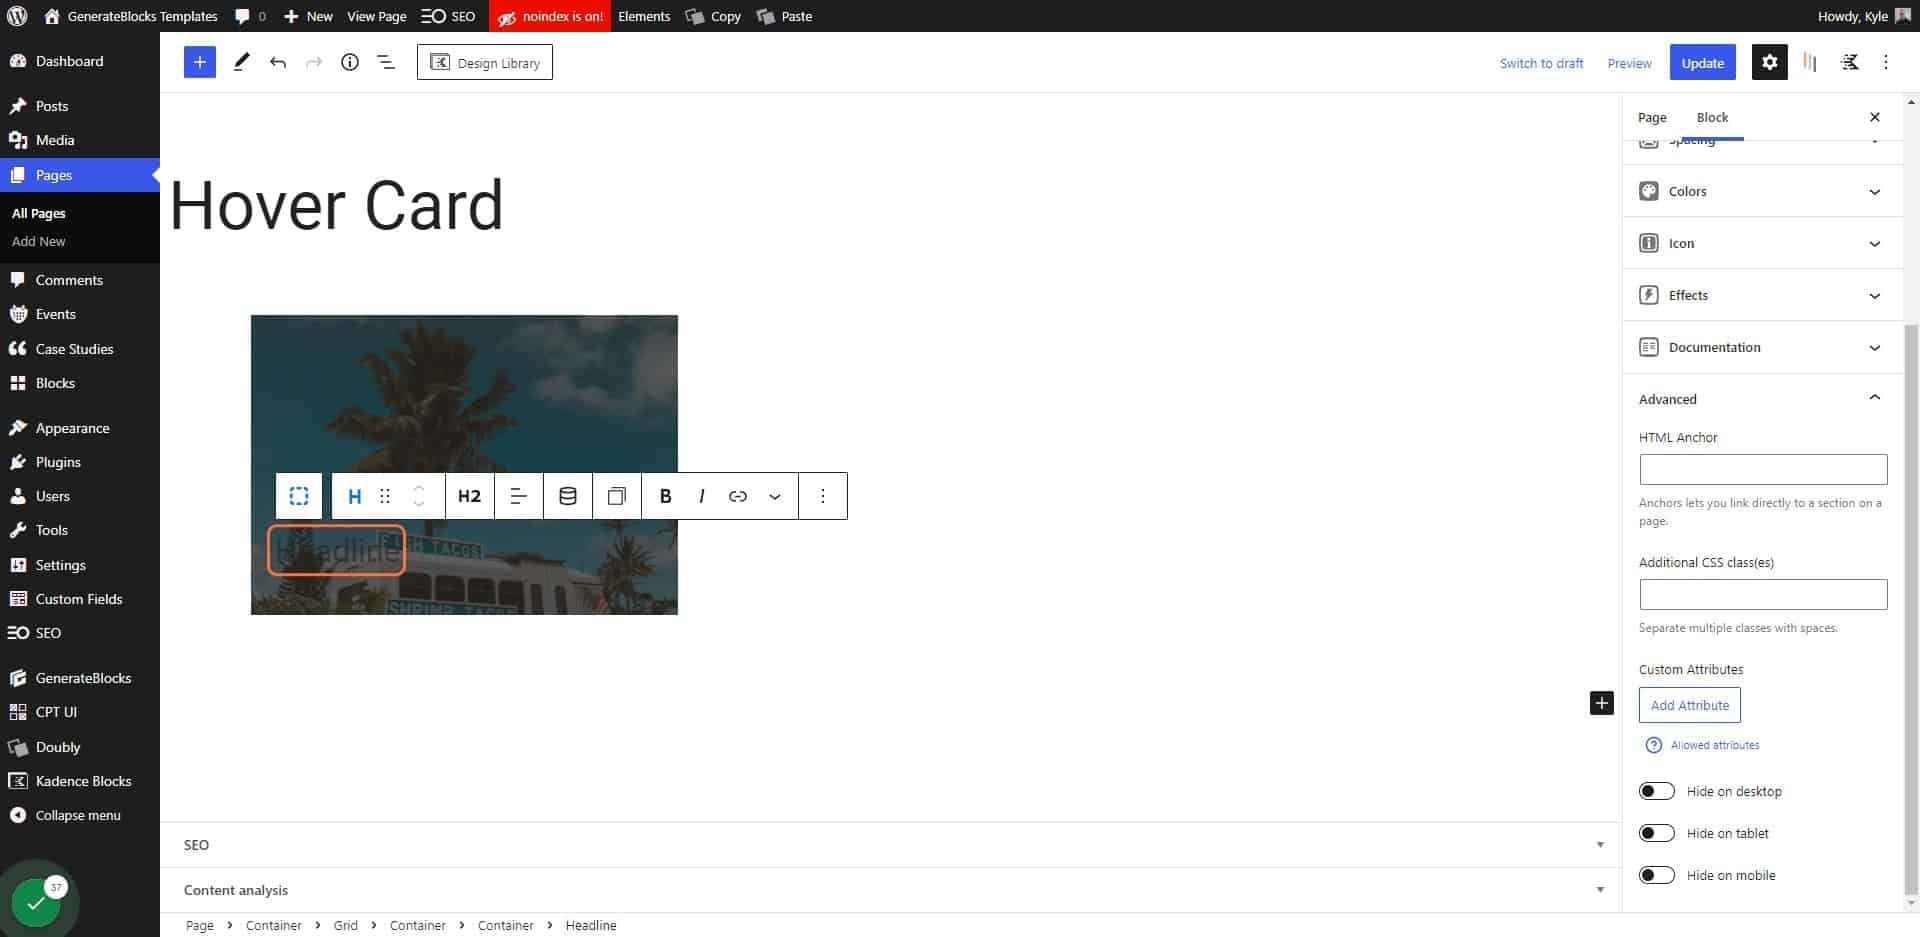
Enter the text you want to show on hover

33. Change the tag to whatever is appropriate

For the demo I used a paragraph tag.
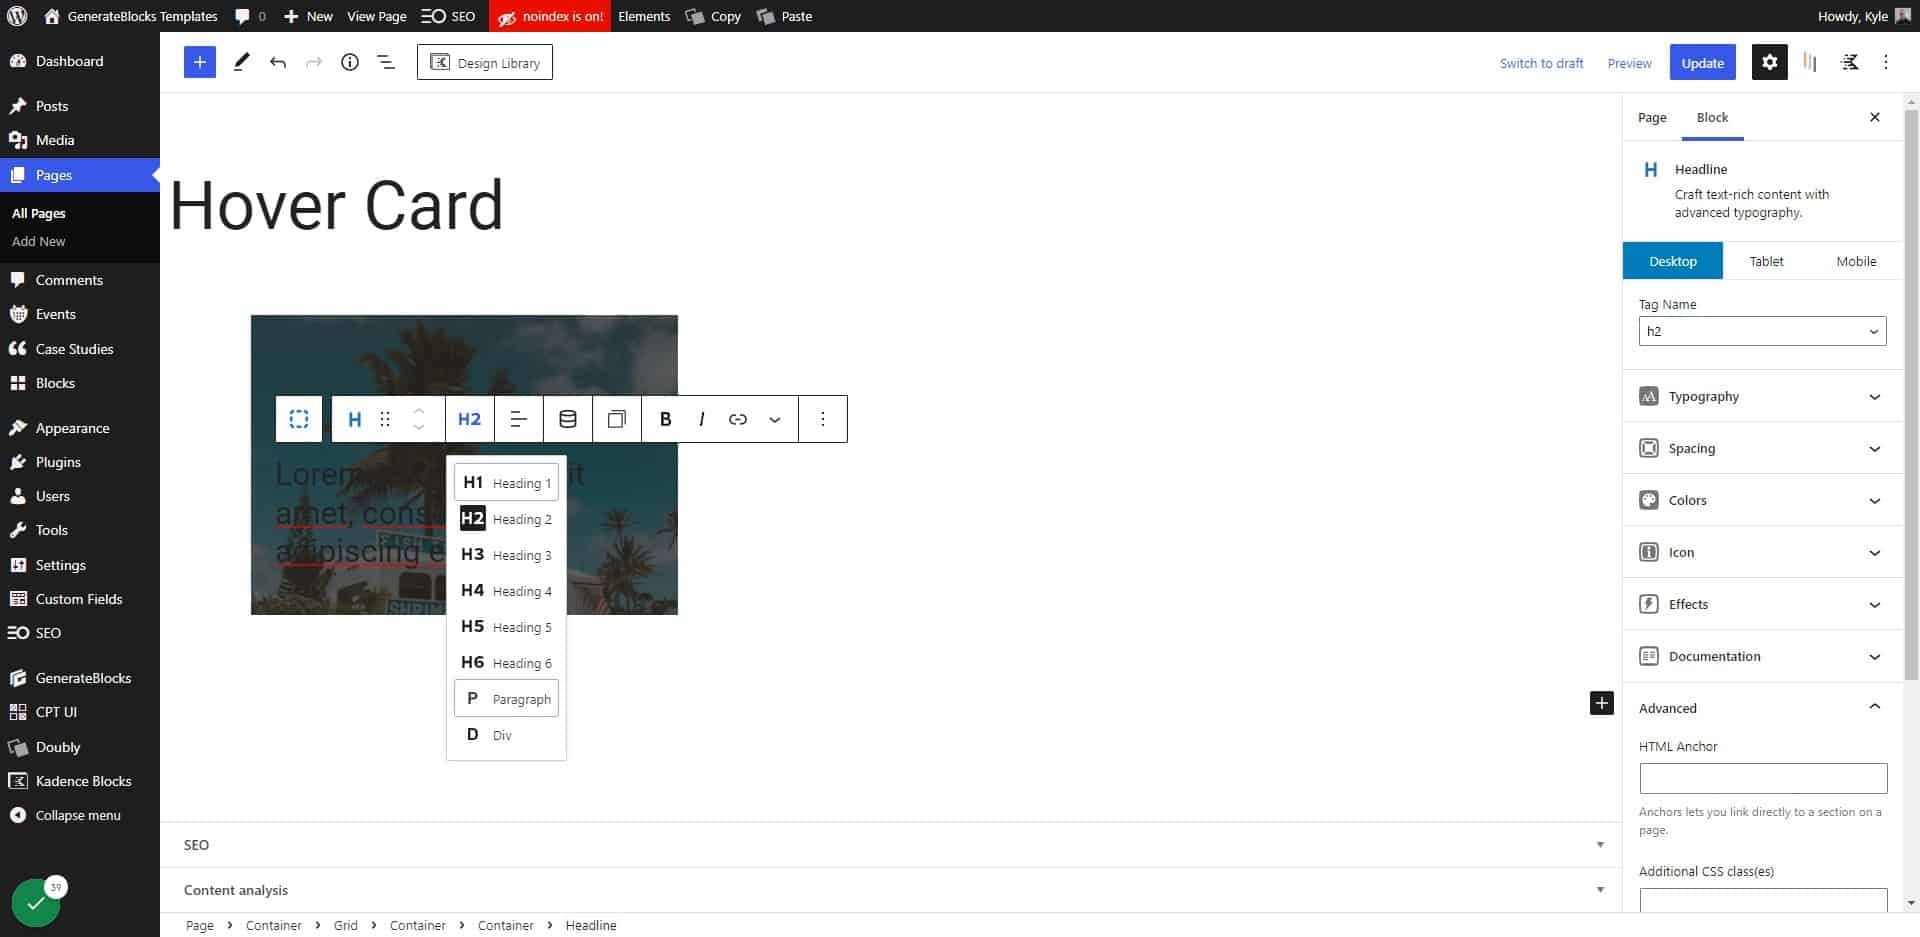
Change the tag to whatever is appropriate

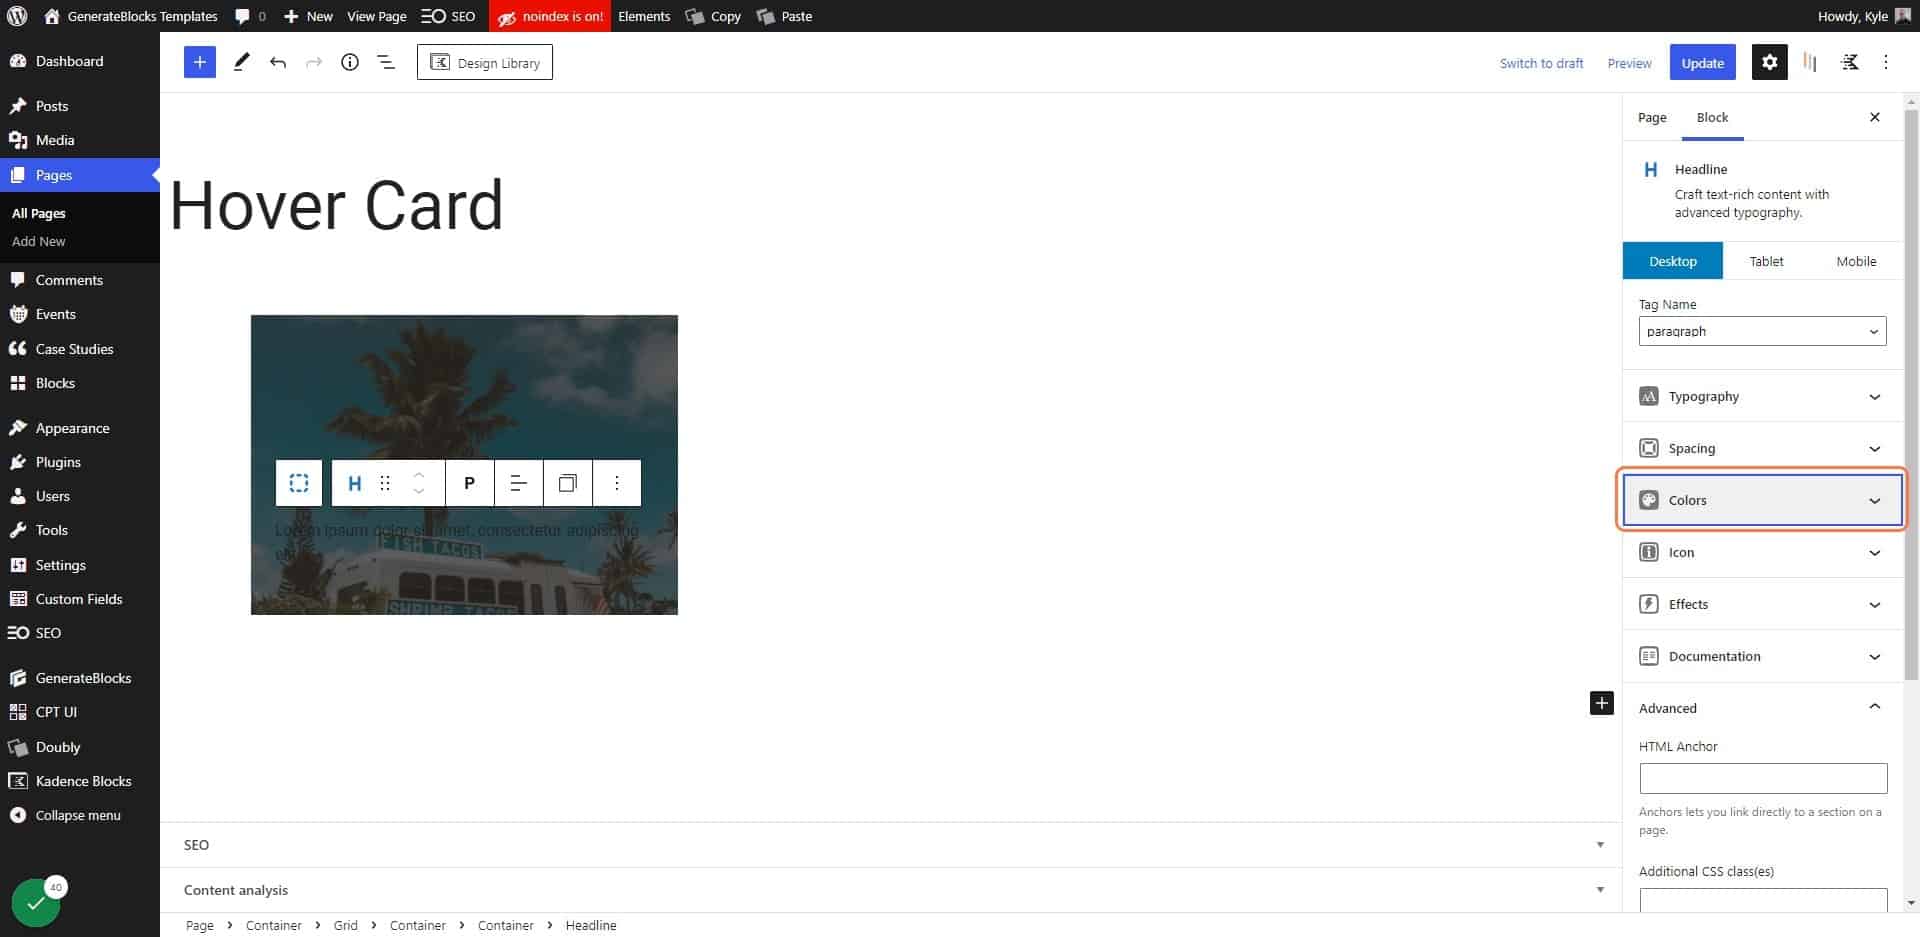
34. Click on Colors

Click on Colors

35. Click on the Text Color
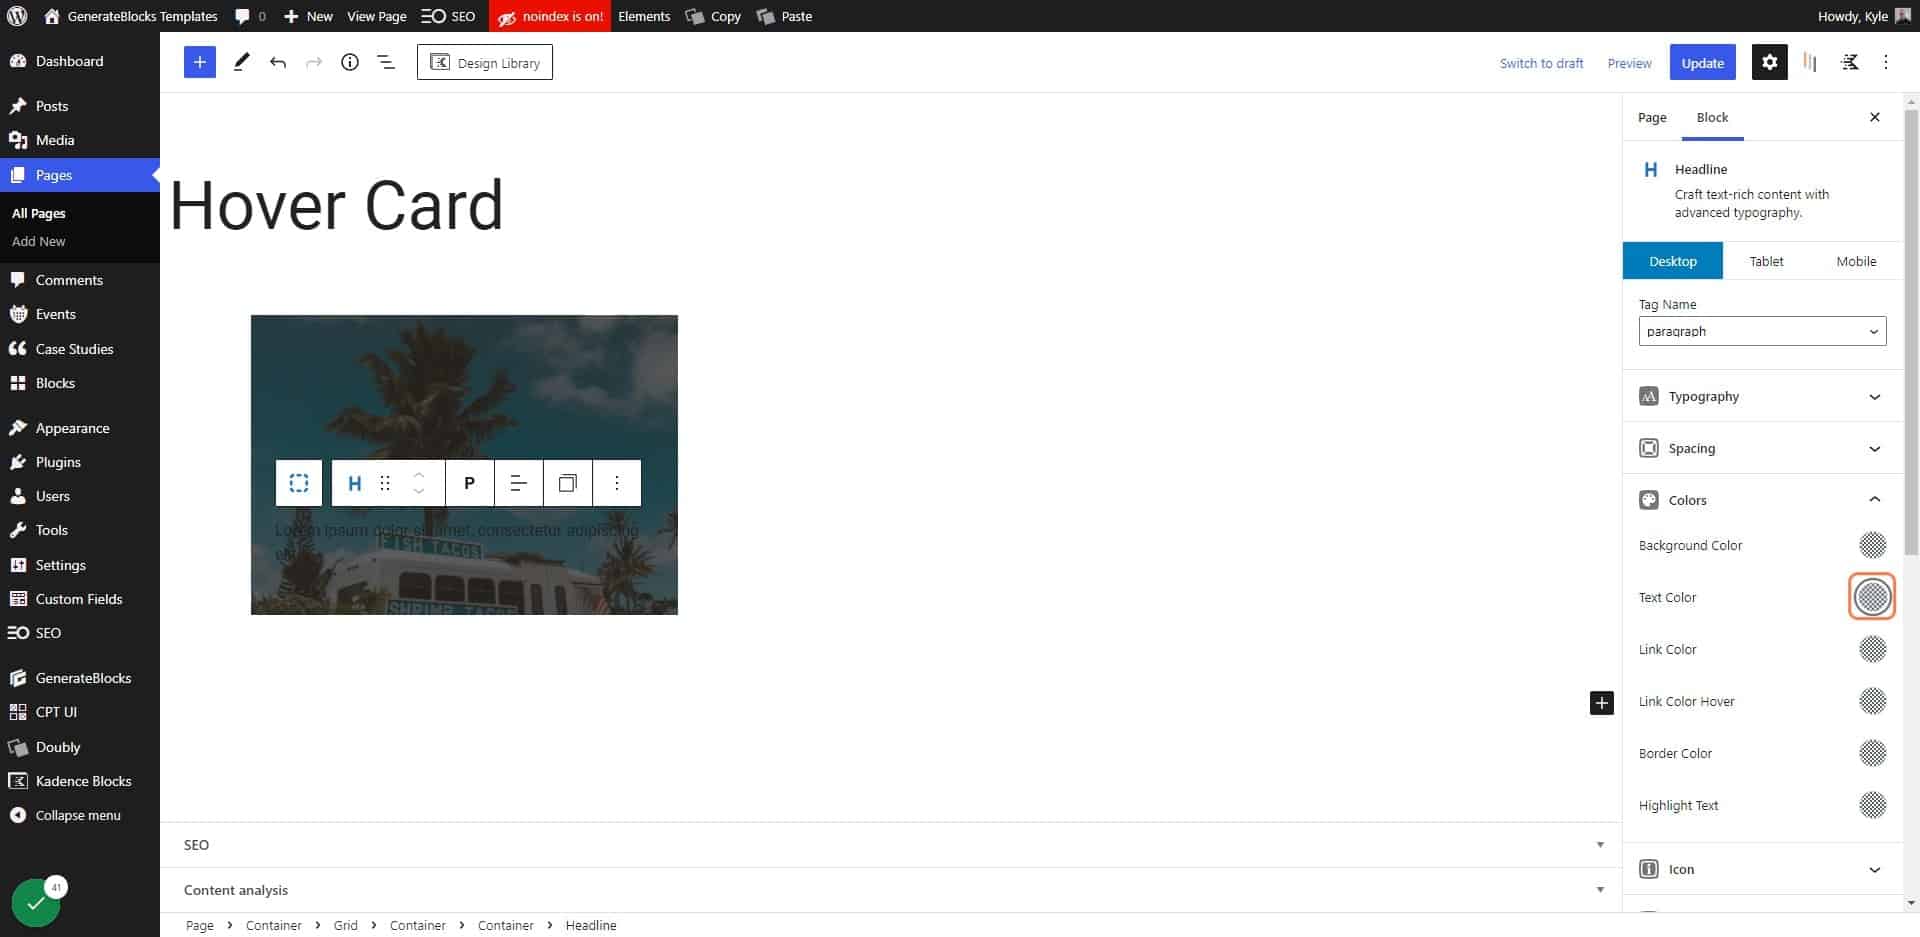
Click on the Text Color

36. Choose a light color

In the demo I used pure white (#ffffff).
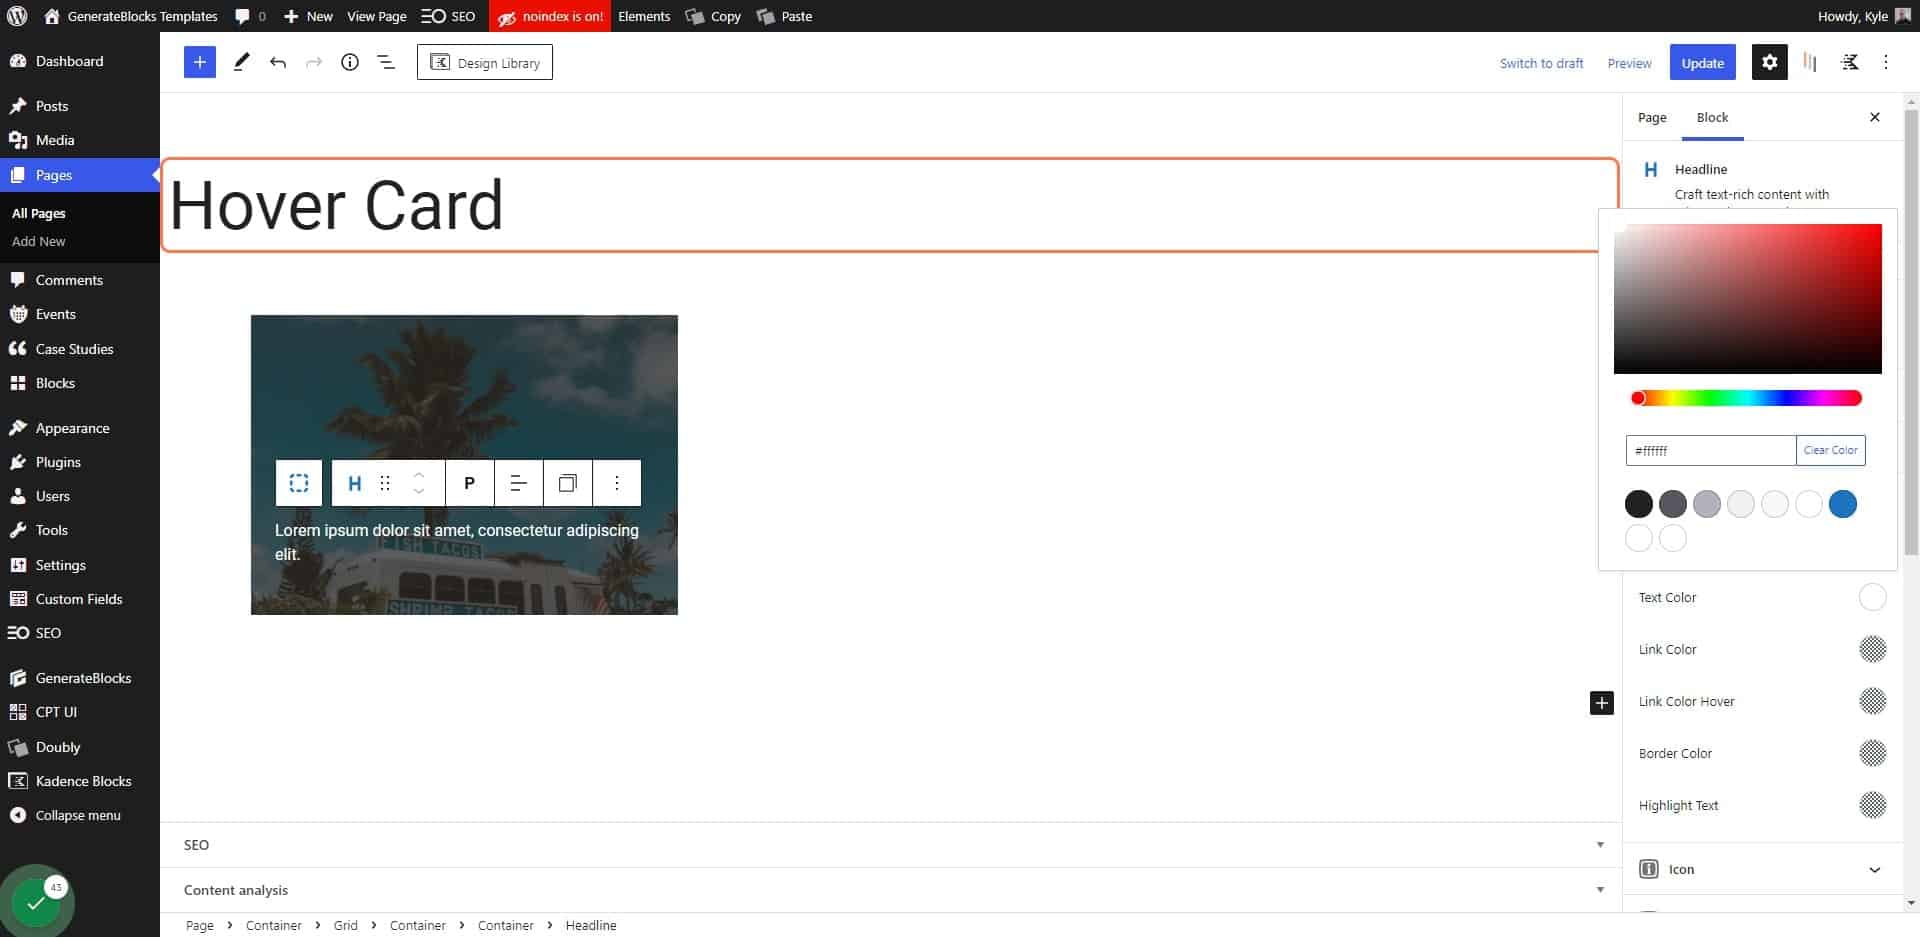
Choose a light color

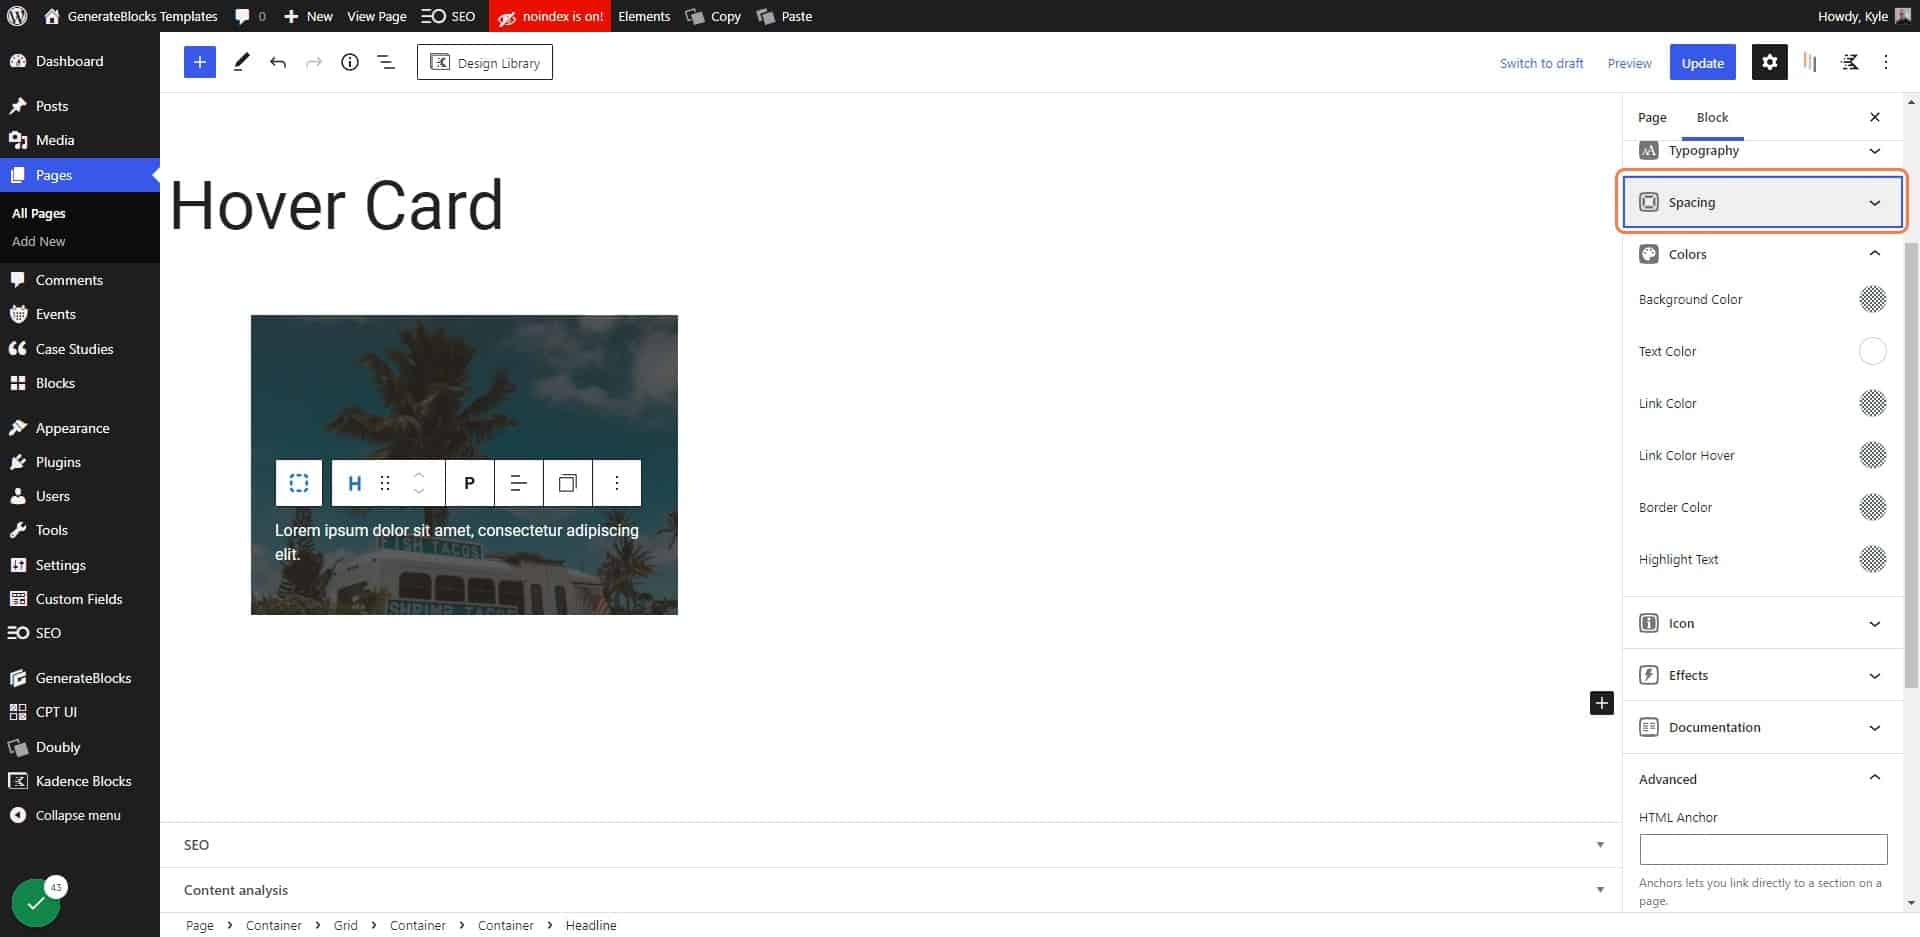
37. Click on Spacing

Click on Spacing

38. Make sure the text doesn’t have any bottom margin
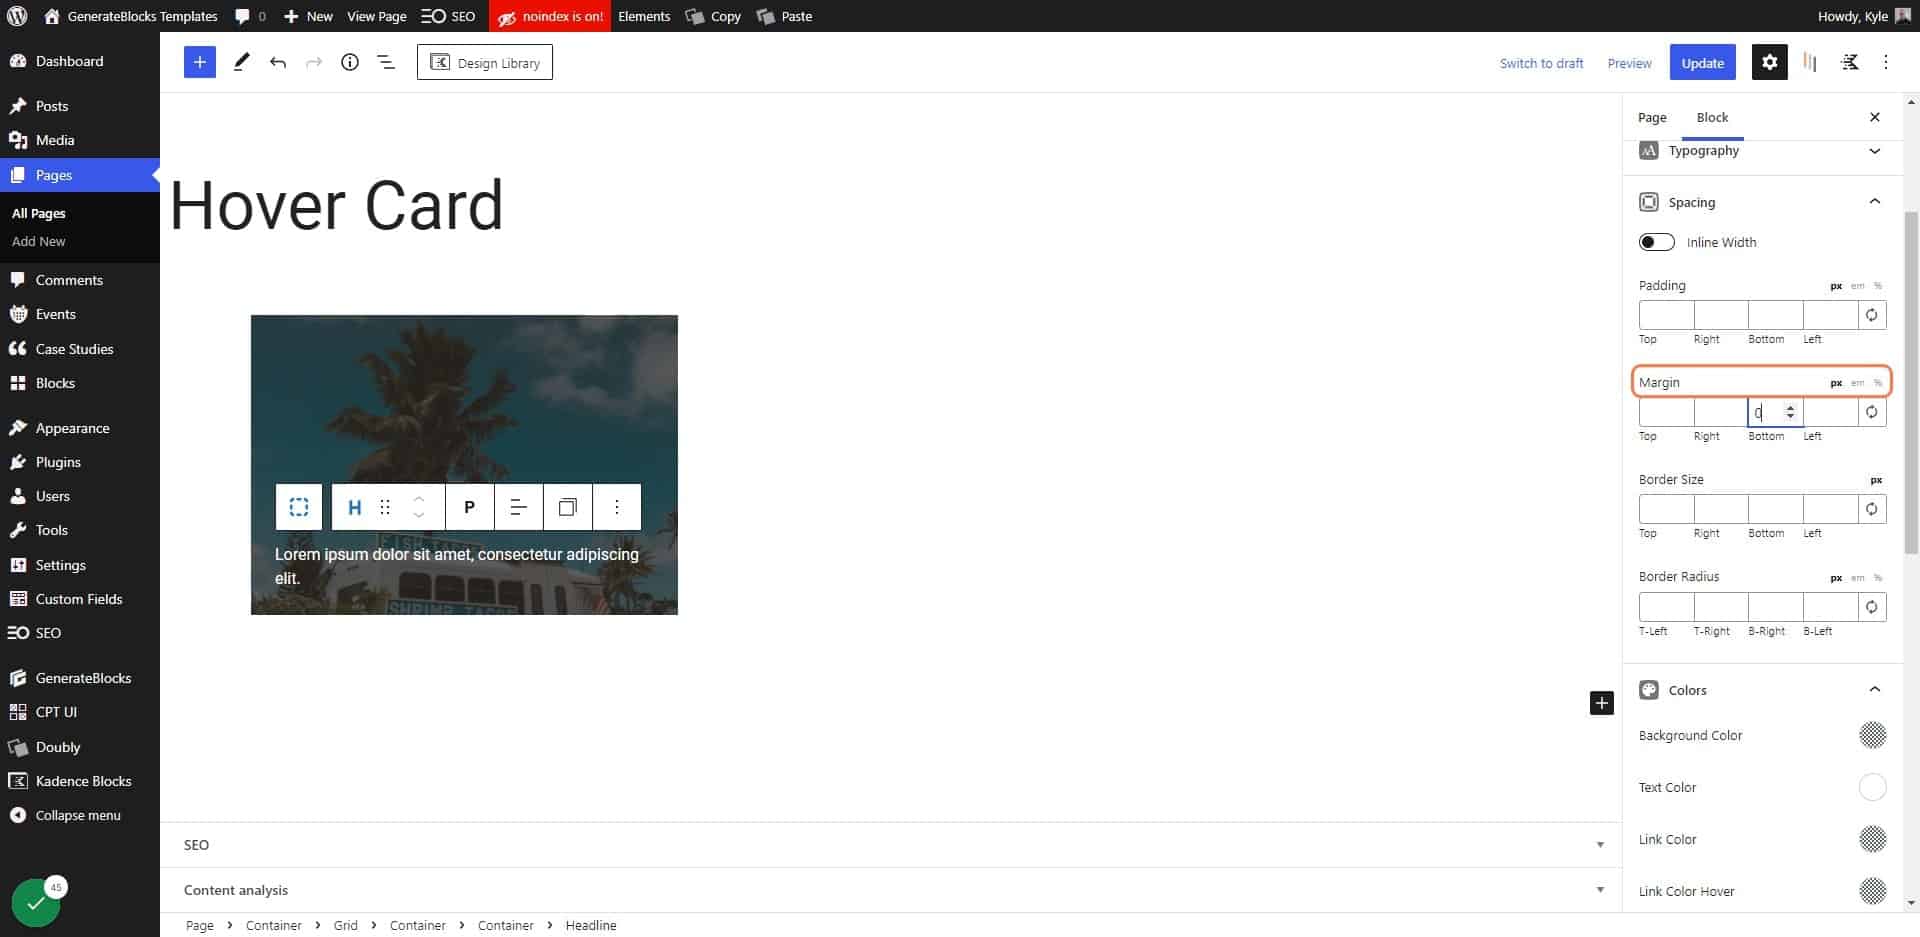
Make sure the text doesn't have any bottom margin

39. Click on Update
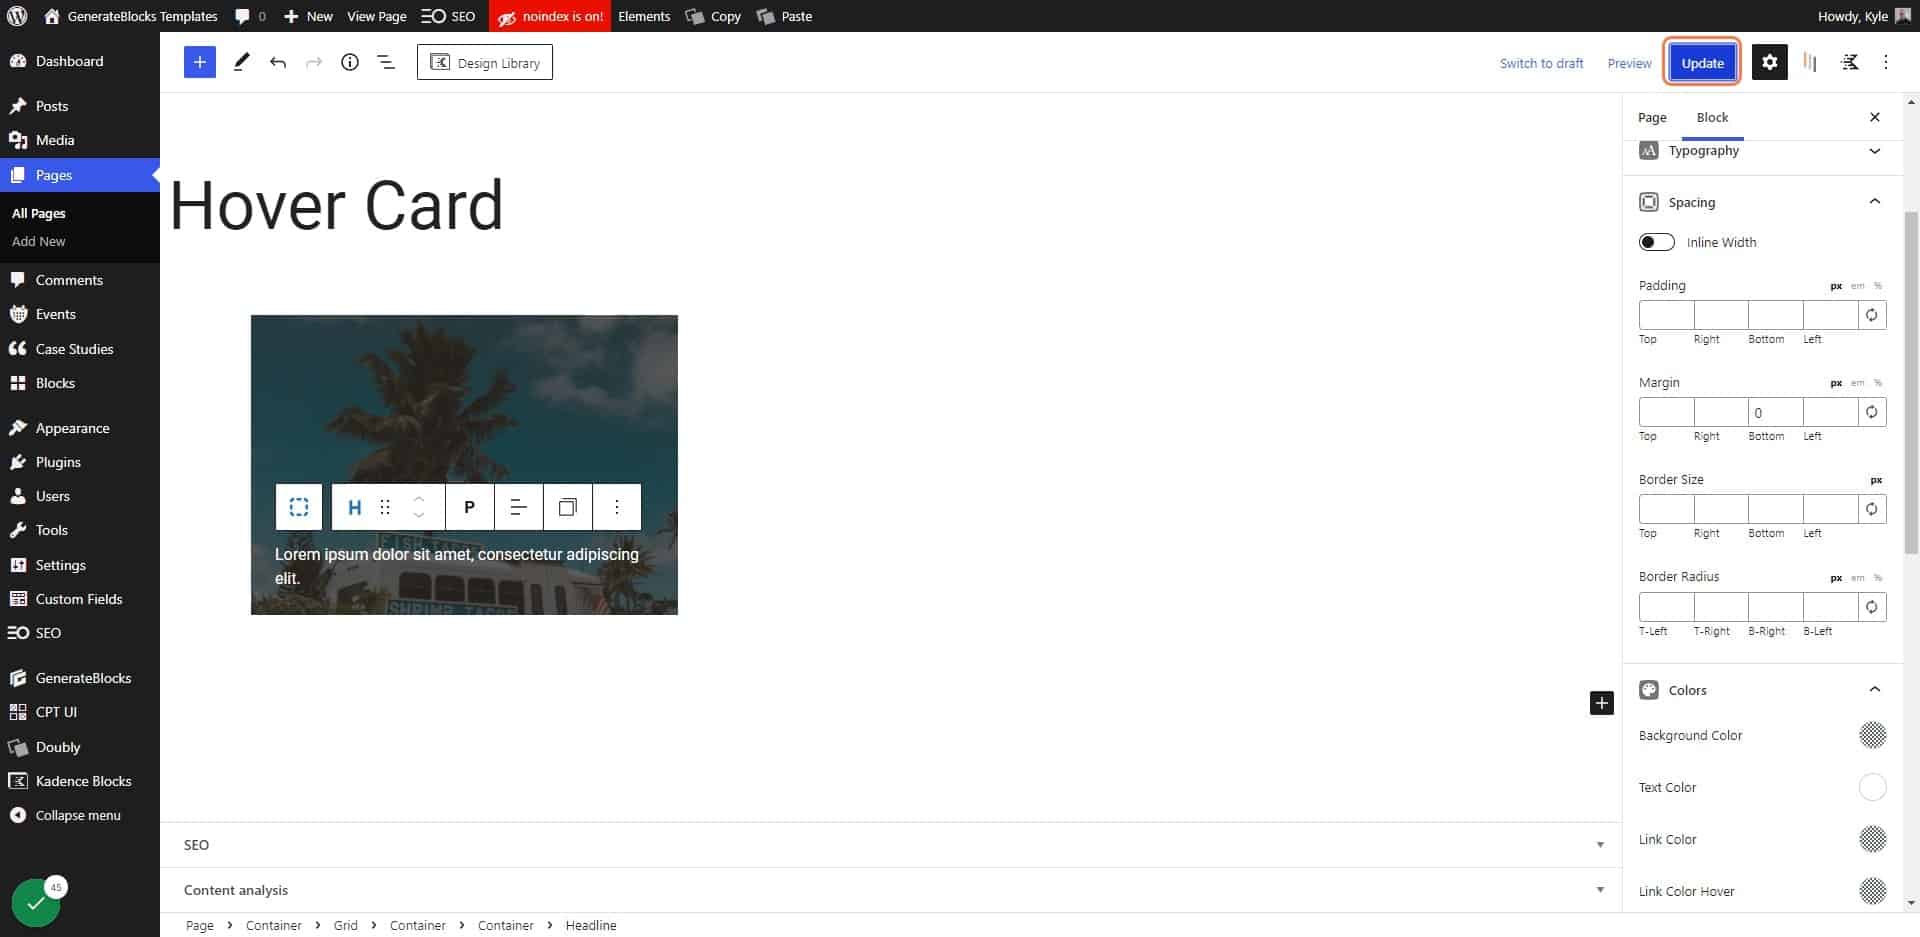
Click on Update

40. Click on View Page
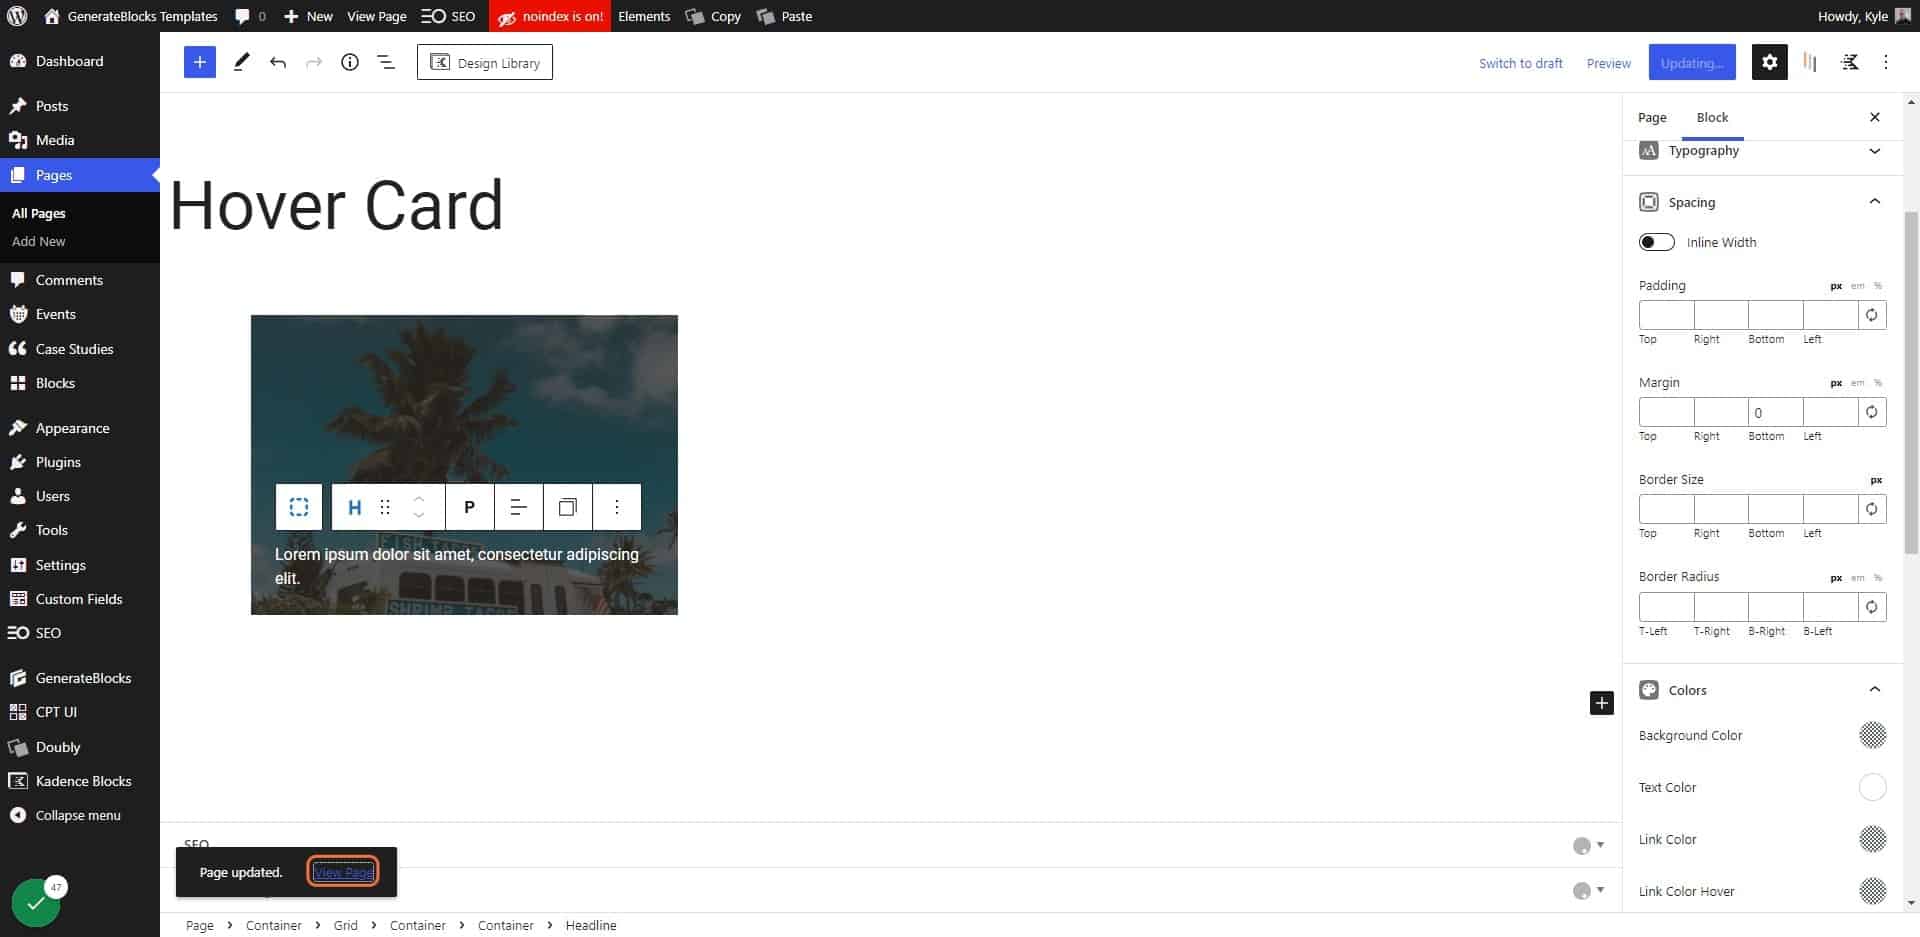
Click on View Page

41. Click on Customize

Click on Customize

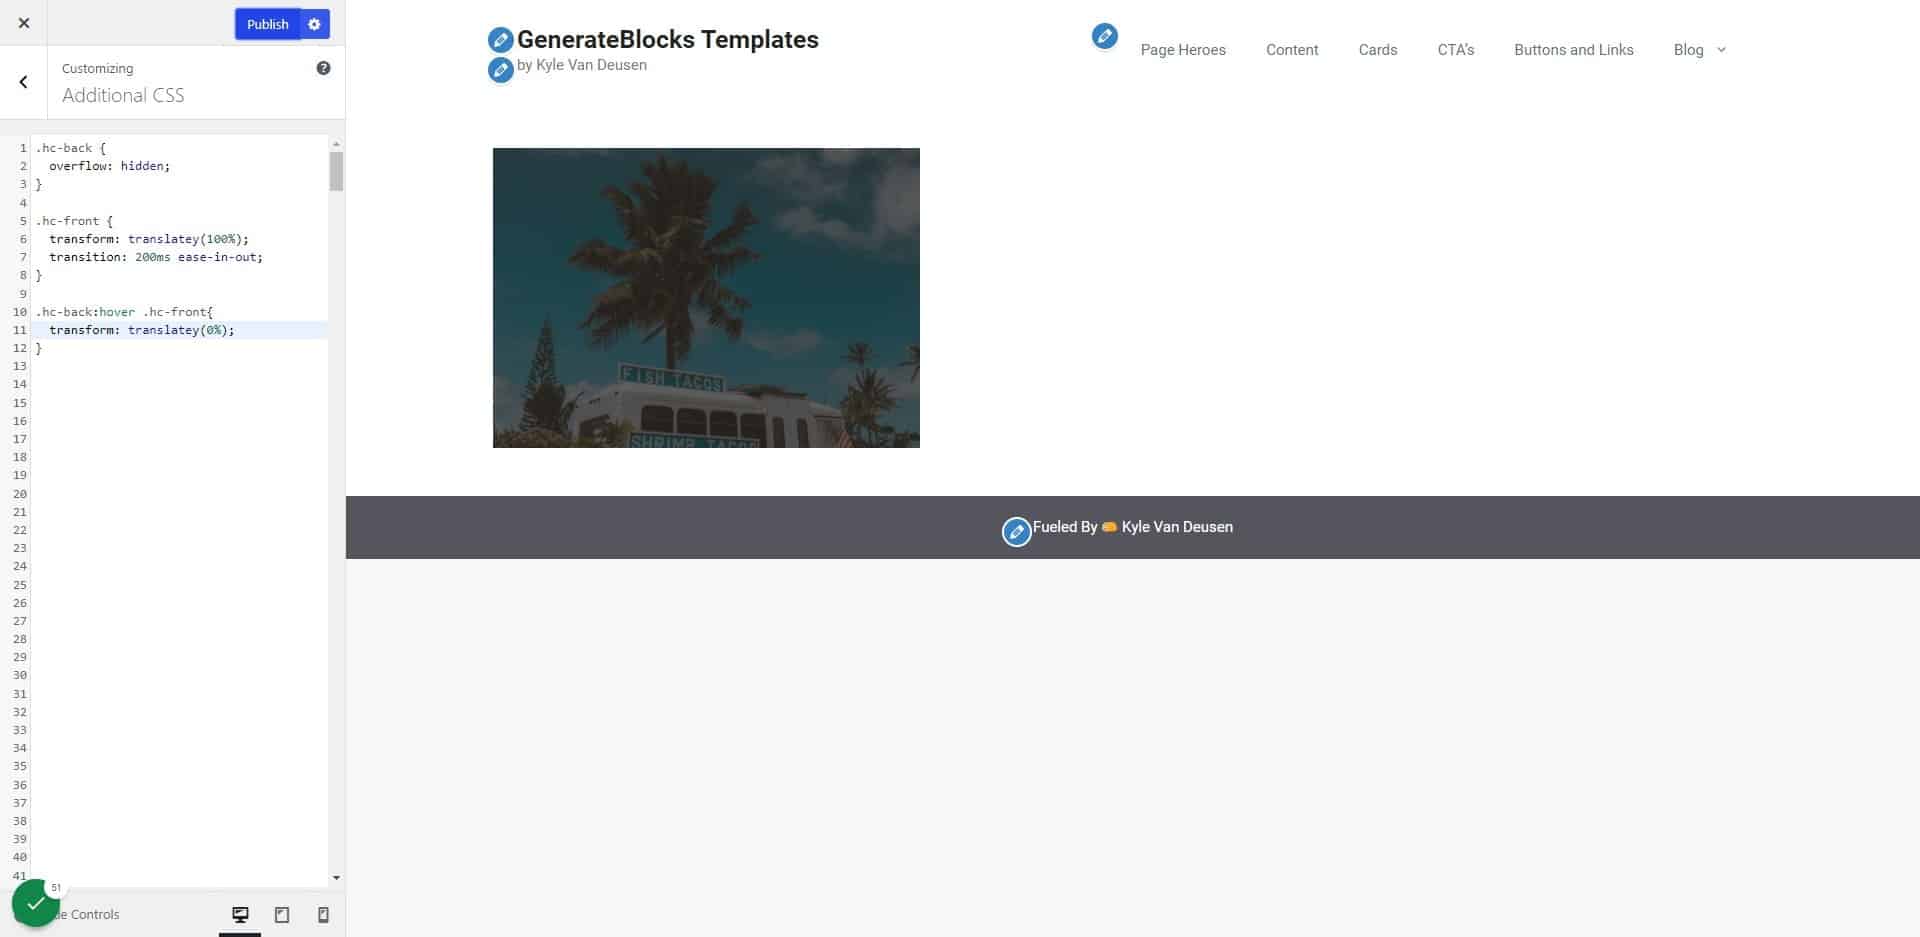
42. Click on Additional CSS…
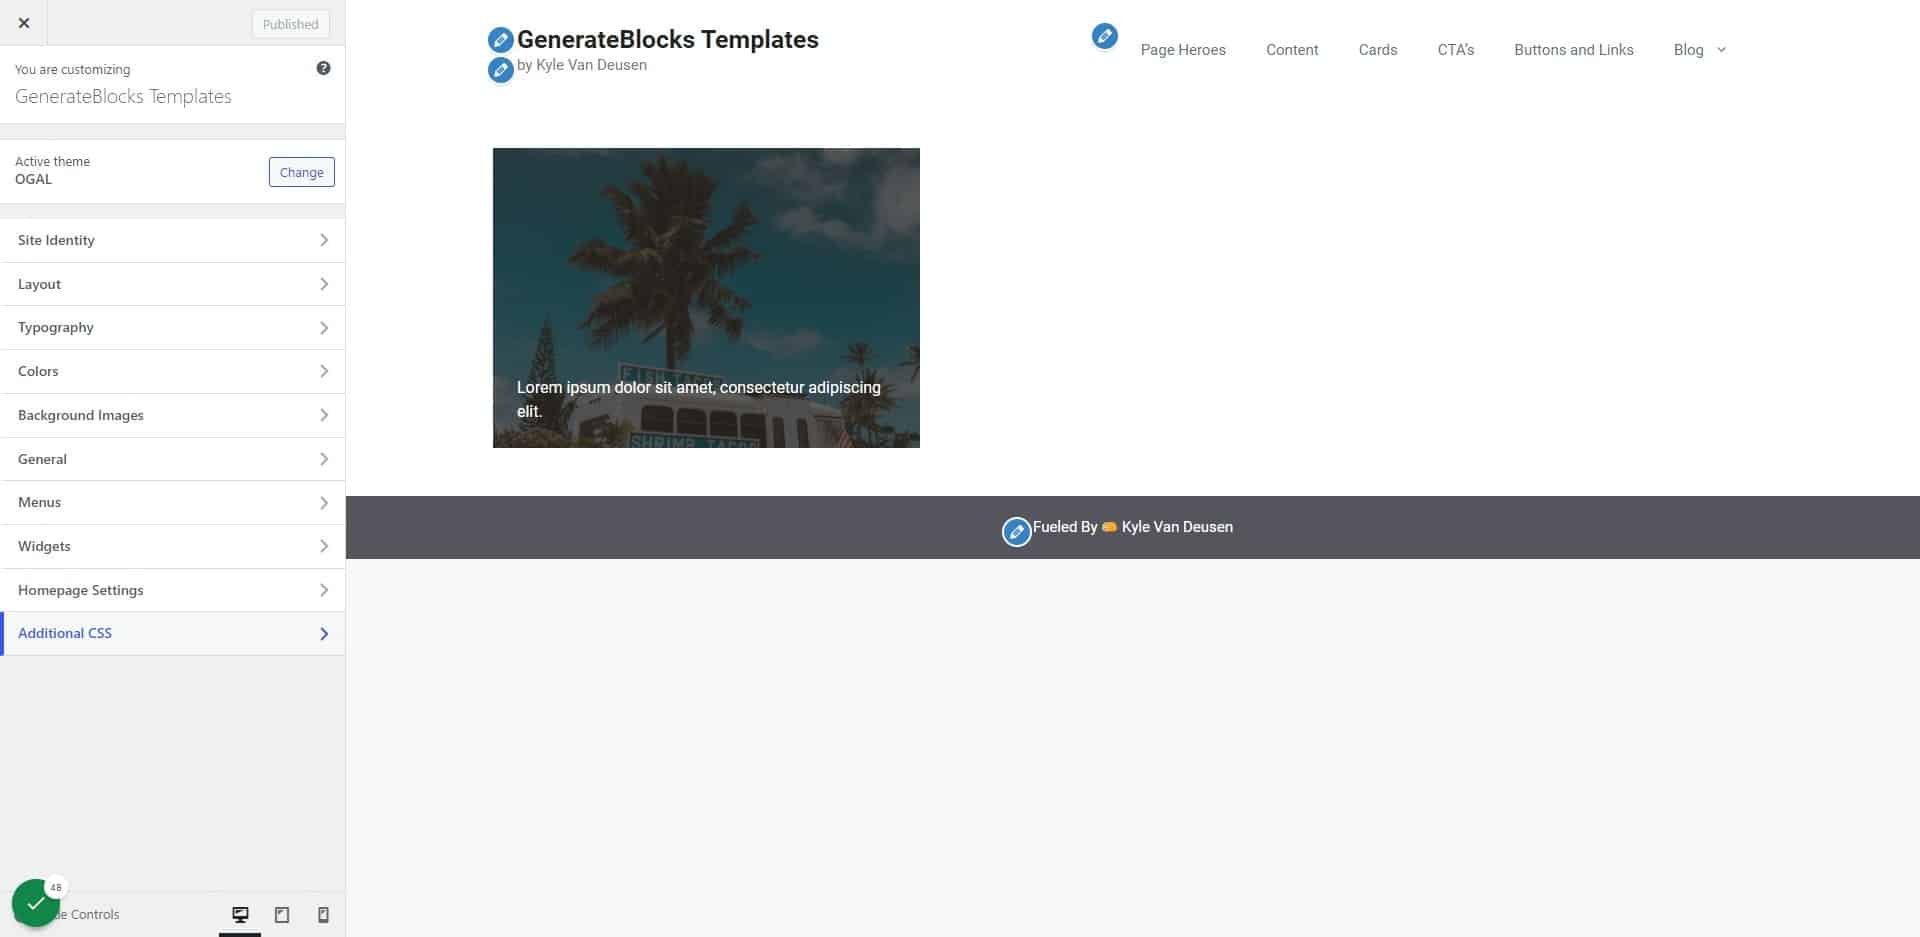
Click on Additional CSS…

43. Add the following code

.hc-back {
	overflow: hidden;
}

.hc-front {
	transform: translatey(100%);
	transition: 200ms ease-in-out;
}

.hc-back:hover .hc-front{
	transform: translatey(0%);
}

}Add the following code

44. Click on publish

Click on publish

Once your hover card is working, you can go back into the page editor and duplicate the outer-most column inside your grid to create multiple cards, then style them as needed.

Share This Article!
Kyle Van Deusen

Kyle Van Deusen

The Admin Bar

After spending 15 years as a graphic designer and earning a business degree, I launched my agency, OGAL Web Design, in 2017. A year later, after finding the amazing community around WordPress, I co-found The Admin Bar, which has grown to become the #1 community for WordPress professionals. I'm a husband and proud father of three, and a resident of the Commonwealth of Virginia.

Come Join Us!

Join the #1 WordPress Community and dive into conversations covering every aspect of running an agency!

Kyle Van Deusen

Community Manager

The Friday Chaser

Wash down the week with the best of The Admin Bar! News, tips, and the best conversations delivered straight to your inbox every Friday!

Latest Events

August 30th, 2024

Vitality – Part 4: Cumulative Layout Shift (CLS)

Join us for a deep dive into Cumulative Layout Shift (CLS) and learn practical strategies to improve your website's visual stability and user experience.

August 2nd, 2024

Vitality – Part 3: First Contentful Paint (FCP)

As we continue to decode the Core Web Vitals, our focus shifts to a metric essential for capturing user attention — First Contentful Paint (FCP)

More Articles

Vitality Lcp 2

How to Fix Interaction to Next Paint (INP) and Total Blocking Time (TBT) Issues

Learn how to improve INP and TBT to boost your website’s speed with practical tips and strategies.

The White Speech Bubble Shaped Post It Note On Green Background

The Web Designer’s Guide to Brand Messaging and How to Craft Your Own

Learn the fundamentals of brand messaging and how to craft your own unique messaging framework that connects with your audience and reflects your brand.

Depositphotos 182960574 L

Privacy Regulations: How to protect your agency when building websites for clients

Protect your web agency from privacy regulation risks with practical tips on client education, legal documentation, and compliance strategies.