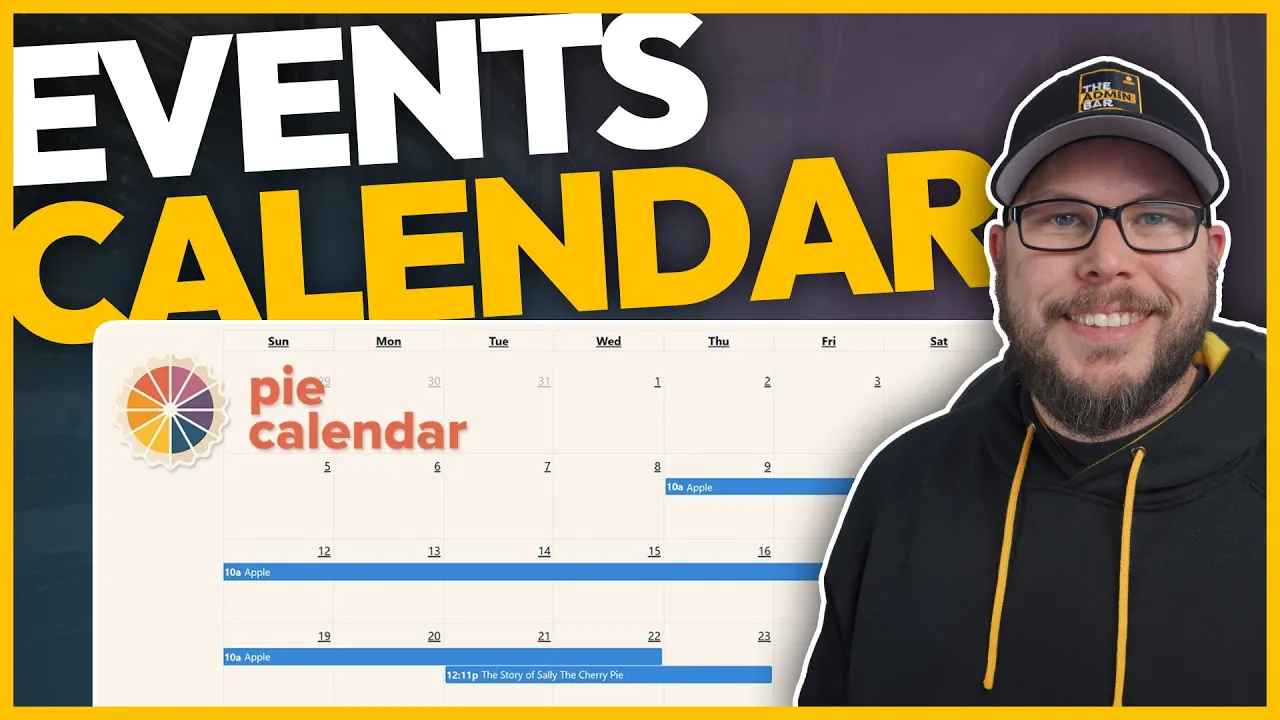
A while back, my friends Jonathan Jernigan and Elijah Mills teamed up to create a plugin called Pie Calendar. This plugin provides a simple way to turn any post, page, or custom post type into a calendar event.
You might be wondering why you’d need something like this. Think of use cases like live music venues, municipalities, sports associations, clubs, memberships—essentially, any scenario where people need to gather at a specific date and time.
While there are plenty of event plugins available, simplicity is rarely part of the equation. Many of these plugins are bloated, inflexible, and overly complicated. In the past, I’ve often opted to use custom post types instead of event plugins to avoid these issues. However, this approach meant sacrificing features like calendars, which are difficult and expensive to custom-code.
Pie Calendar solves these problems by delivering on the promise of simplicity. With just a few clicks, you can turn a post into a calendar event, complete with start and end dates, recurring options, and more. Despite its simplicity, Pie Calendar is surprisingly powerful.
In this post, I’ll walk you through how I used Pie Calendar to set up recurring events for a unique use case. You’ll get a closer look at the plugin and see how it can handle challenges with ease.

The Use Case: Recurring Co-Working Events
For the mastermind groups I run, I needed to set up recurring co-working events. These events happen three times a month:
- The first Thursday of each month
- The second Monday of each month
- The third Friday of each month
I wanted to display all these events on a calendar with detailed information so group members could easily find them. Let me show you how I set this up.
Creating Events with Pie Calendar
Setting Up the First Event
To demonstrate how Pie Calendar works, I’ll use standard WordPress posts for this example.
- Create a New Post:
- Go to Posts and click Add New.
- Title the post (e.g., “Co-Working 1”).
- Add event details in the post content, such as a description and any relevant links.
- Enable the Calendar Option:
- In the post settings, toggle on the Show on Calendar option.
- Set the Event Date and Time:
- Choose the start date (e.g., the first Thursday of the month).
- Set the start time (e.g., 12:00 PM) and end time (e.g., 1:00 PM).
- Customize the Event Appearance:
- Choose an event color and text color (e.g., black and white for simplicity).
- Set Recurrence:
- Enable the Event Repeats option.
- Set the interval to 1 and the frequency to Months.
- Toggle on Same Weekday and Position to ensure the event repeats on the first Thursday of each month.
- Publish the Event:
- Click Publish to save the event.
Displaying the Calendar
To display the calendar on your website, you’ll need to create a page for it.
- Create a New Page:
- Go to Pages and click Add New.
- Title the page (e.g., “Calendar”).
- Add the Calendar Shortcode:
- Pie Calendar uses shortcodes to display calendars.
- Add the shortcode
[pi_cal]to the page content.
- Publish the Page:
- Click Publish to save the page.
When you visit the page on the front end, you’ll see the calendar with your event displayed. Clicking on the event will show its details, including options to add it to your personal calendar or view the post.
Testing Recurrence
The tricky part of this setup was ensuring the event repeated on the first Thursday of every month. Pie Calendar handled this perfectly.
For example:
- The event appeared on December 7th (the first Thursday of December).
- It appeared on January 4th (the first Thursday of January).
- It appeared on February 1st (the first Thursday of February).
This functionality worked seamlessly, and it only took a few minutes to set up.
Adding More Events
Let’s add the second event to the calendar:
- Create a New Post:
- Title the post (e.g., “Co-Working 2”).
- Add event details in the post content.
- Enable the Calendar Option:
- Toggle on Show on Calendar.
- Set the Event Date and Time:
- Choose the start date (e.g., the second Monday of the month).
- Set the start time (e.g., 8:00 AM) and end time (e.g., 9:00 AM).
- Customize the Event Appearance:
- Choose a different event color (e.g., red) and text color (e.g., white).
- Set Recurrence:
- Enable Event Repeats.
- Set the interval to 1 and the frequency to Months.
- Toggle on Same Weekday and Position to ensure the event repeats on the second Monday of each month.
- Publish the Event:
- Click Publish to save the event.
When you refresh the calendar, you’ll see both events displayed. The second event will appear on the second Monday of each month, just as expected.
Why Pie Calendar Stands Out
Pie Calendar makes it incredibly easy to turn posts into calendar events. In just a few minutes, I was able to set up recurring events with all the necessary details.
The plugin includes features like:
- Add to Calendar Links: Users can add events to their personal calendars with a single click.
- Recurring Events: Easily set up events that repeat on specific days or positions within a month.
- Customizable Appearance: Choose event colors and text styles to match your design.
While Pie Calendar may not be needed for every website, it’s the perfect solution for scenarios where simple event functionality is required.
Additional Features
What I’ve shown here is just a small part of what Pie Calendar can do. The plugin offers more advanced features, especially in its pro version.
If you’re interested in learning more, Pie Calendar has a YouTube channel with detailed tutorials. You can download the free version from the WordPress repository or visit PiCalendar.com to explore the pro version.
Final Thoughts
Pie Calendar saved the day for my co-working events. It’s simple, powerful, and easy to use—exactly what I needed for this project.
If you ever need to manage events on your website, Pie Calendar is a fantastic option. It eliminates the complexity of traditional event plugins while still offering robust functionality.
I hope this post gave you a good overview of what Pie Calendar can do. If you have a use case for it, I highly recommend giving it a try!
Kyle Van Deusen
After spending 15 years as a graphic designer and earning a business degree, I launched my agency, OGAL Web Design, in 2017. A year later, after finding the amazing community around WordPress, I co-found The Admin Bar, which has grown to become the #1 community for WordPress professionals. I'm a husband and proud father of three, and a resident of the Commonwealth of Virginia.